25
LTX 3
LTX 5
X
Y
X
Y
1.321 mm
562 mm
1.630 mm
670 mm
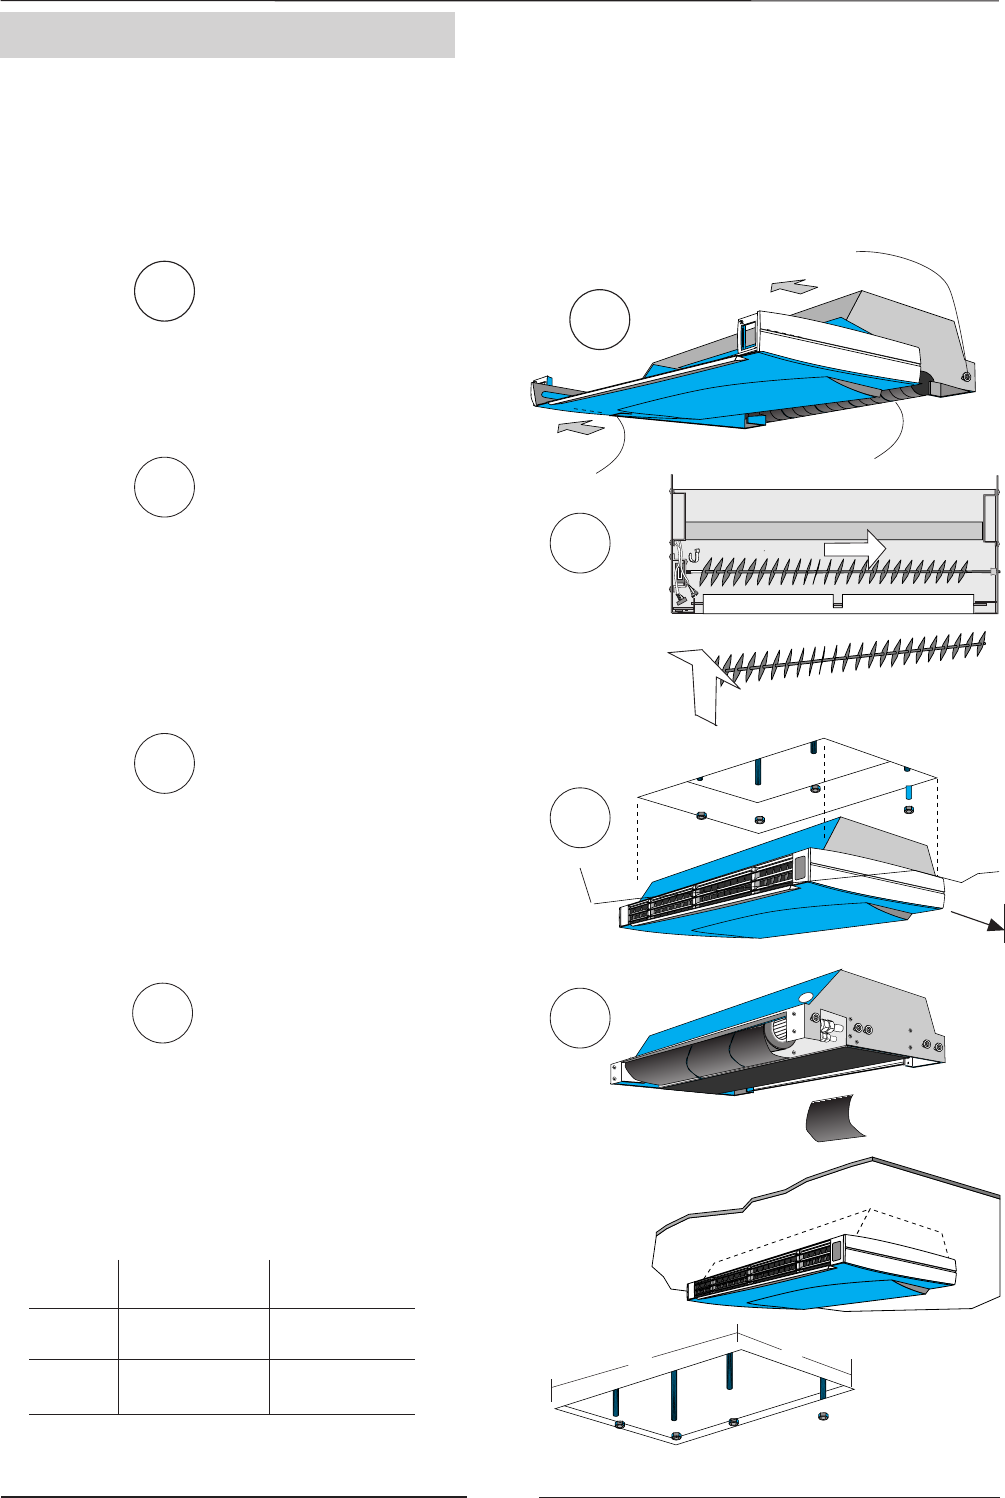
To remove the casing, slide them over the rolling
sides and remove horizontally (See picture A).
Remove the AIR VANES by moving them in the
opposite direction of the air sweep motor until
they come out, then release the central fixing
clip, so that the AIR SWEEP is removed giving
better access to the top of the unit (See picture
B).
Install the unit with the M-8 screws, always use
washers. Fix the screws following the pattern
on page 26.
Check the strength of the screws to avoid
movement of the indoor unit when removing the
side and cover panel.. See picture C
A
B
C
D
INSTALLATION UNIT
Install the unit in a way that the discharge air would not be direct to persons, differences of temperature can create
disturbs.
Keep in mind in the installation of the unit, some ambient can supply electromagnetic radiation that can affect the
good function of the unit, follow then the following instruction recommended in this document.
OPENING IN FLASE CEILING
Always install the filters. If the unit operates
without filters there is a risk of damage in the
indoor unit from dust..
Min. 100 mm.
A
B
C
D
AIR-SWEEP
Rolling sides
Filters
Sides and carcass
INSTALLATION INDOOR UNIT


