


Step 8. To remove the burner, lift right end, slide the burner off the orifice
and out of the air shutter by shifting the burner to the right.
Figure 7
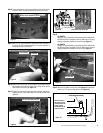
Step 9. Using a 7/16” open-end wrench, loosen pilot stem a quarter of
a turn to the right (counterclockwise). The pilot assembly is
located at the rear of the firebox.
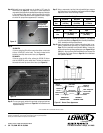
Step 10. Slide the pilot orifice into the NG position by pushing it toward
the opposite side of the pilot stem. The top side of the orifice
slider needs to read NG (see Figure 10).
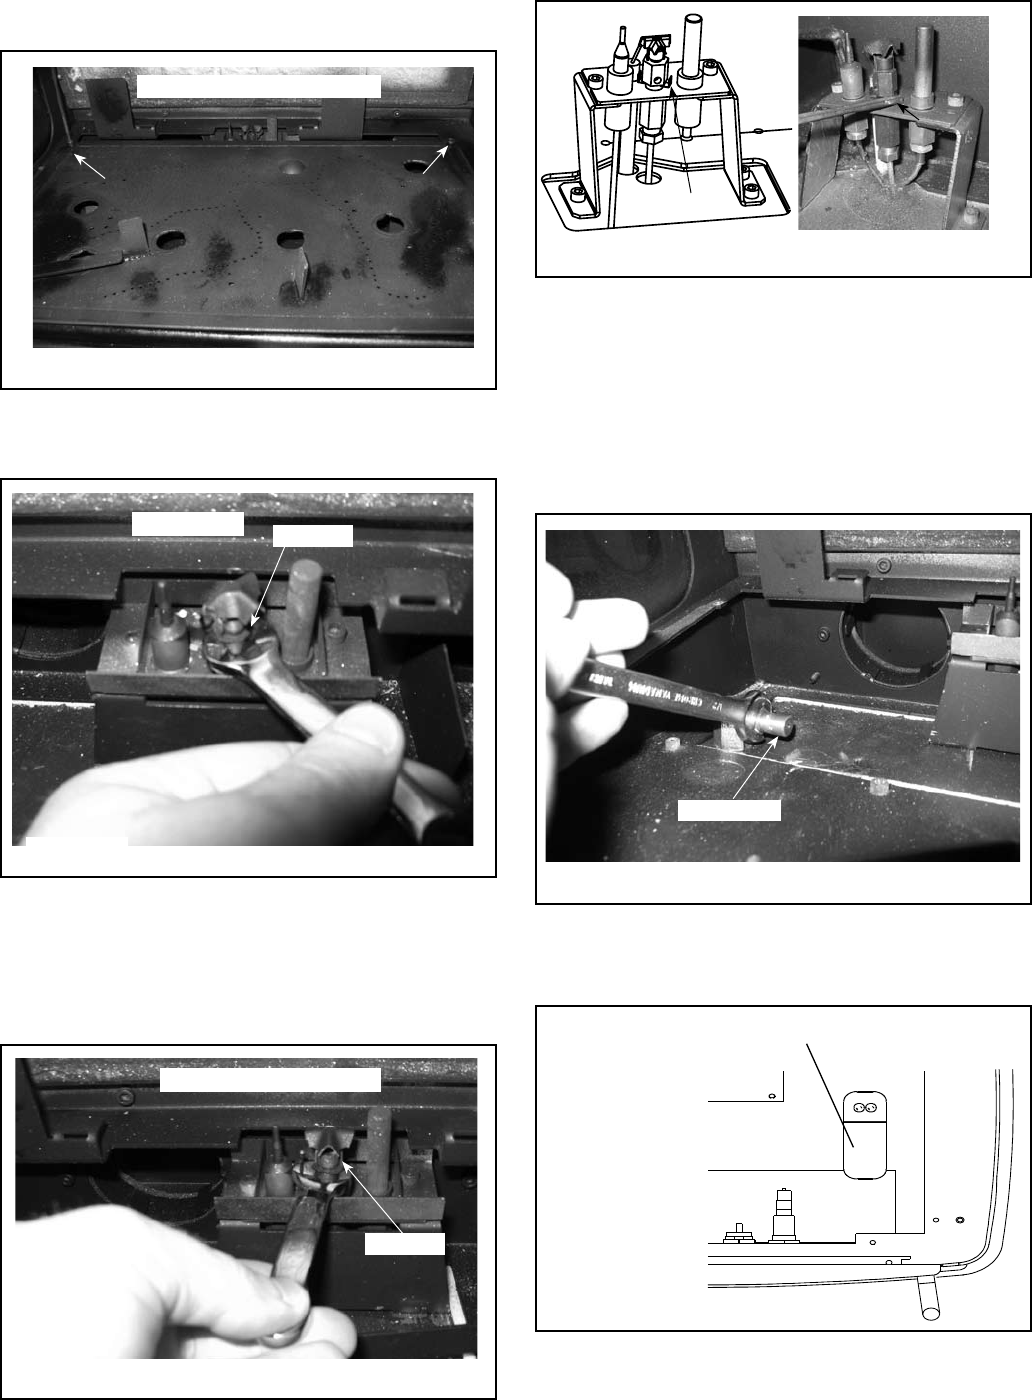
Step 11. Tighten the pilot stem by turning it back to the left (clockwise),
making sure the orifice slider stays into the NG position until
tightened.
Figure 9
Step 12.
35,000 BTU
Using a 1/2” open-end wrench, remove burner orifice. Replace with
#34 NG orifice that is supplied in this kit. Make sure to use pipe
sealing compound on threads of new orifice (see Figure 11).
25,000 BTU
Using a 1/2” open-end wrench, remove burner orifice. Replace with
#42 NG orifice that is supplied in this kit. Make sure to use pipe
sealing compound on threads of new orifice (see Figure 11).
Orifice Slider
Figure 10
Push orifice slider to the right
Shutter Adjustment Handle
Turn the handle to the left to open and to the right to close.
Locate in lower compartment to the right of the valve.
Figure 12
Step 13. Move the air shutter control lever (see Figures 12) to adjust air
shutter to a 1/8” open for Natural Gas (see Figure 13).
Turn the handle to
the left to open and
to the right to close.
Locate in lower
compartment to the
right of the valve.
Pilot Assembly
Pilot Stem
Figure 8
Firebox
Burner Orifice
Figure 11
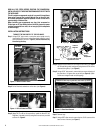
Burner
Remove screws indicated by arrows
3
NOTE: DIAGRAMS AND ILLUSTRATIONS ARE NOT TO SCALE.
Turn Pilot Stem Back to the Left
Pilot Stem