


3
NOTE: DIAGRAMS AND ILLUSTRATIONS ARE NOT TO SCALE.
Figure 7
Figure 8
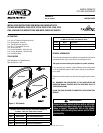
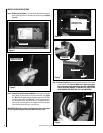
Step 4. Install New Faceplate - Slide the faceplate over the handle rod
while the handle rod is at a 90° position (see Figures 7 and 8).
Move the handle rod up and down and slightly in and out when
sliding the faceplate onto the handle rod.
.25 IMPORTANT, ALWAYS PRESS INWARD ON THE GLASS WHILE
THE FACEPLATE IS NOT RETAINING THE GLASS, OTHERWISE
THE GLASS MAY FALL OUT AND BREAK.
Step 5. Reinstall The Six Screws and Washers - Apply the anti-seize
provided before reinstalling the screws. The anti-seize is applied
to the screws for ease of the removal of the screws if removal is
needed in the future. Ensure that the widest side of the washers
is in the direction of the glass as shown in Figure 9. Do not
tighten screws completely at this time. The door will have up and
down play. Place a level on top of the door to level the faceplate.
Once the faceplate is level, tighten the six screws. The washers
should have a slight bow once they are tightened.
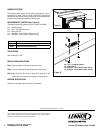
Figure 9
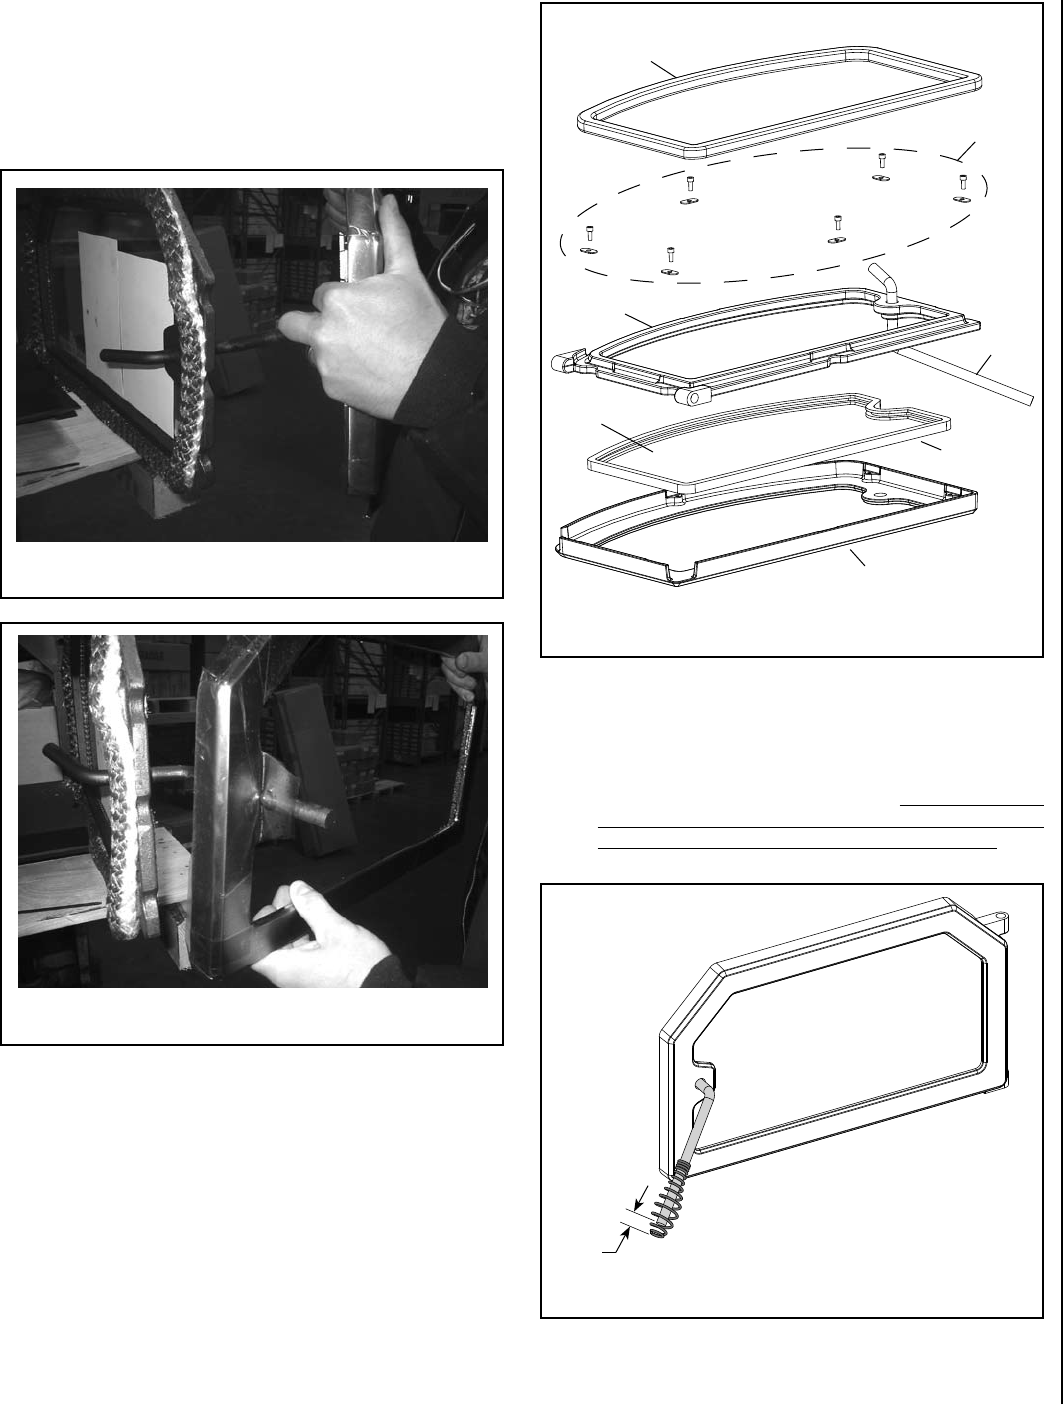
Figure 10
Step 6. Reinstall Spring Handle - Slide the spring handle over the handle
rod by pushing up and turning the spring handle clockwise (see
Figure 10). Make sure to leave a 1/2 inch gap between the end
of the handle rod and the bottom of the spring handle, This will
also allow for a 1/2 inch of play side to side. Installing the spring
handle too far, where there is no side to side play, will result
in the spring handle becoming VERY HOT to the touch.
1/2”
Faceplate
Glass Gasket
Glass
Door Back
Handle Rod
Door Rope
Screws and
Washers