


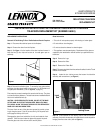
4
NOTE: DIAGRAMS & ILLUSTRATIONS NOT TO SCALE.
Printed in U.S.A. © 2008 by LHP
P/N 506019-19 REV. N/C 01/2008
The manufacturer reserves the right to make changes at any time, without notice, in design, materials, specifications, prices and also to discontinue colors, styles and products.
Consult your local distributor for fireplace code information.
LHP
1110 West Taft Avenue • Orange, CA 92865
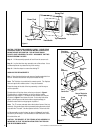
7. Check the placement one last time before continuing.
Note: After glass placement, removing it for adjust-
ment is awkward and should be avoided.
8. Clean on both sides of the glass thoroughly. Use
cotton gloves so you can hold the glass without
smudging it. The underside of the glass is inacces-
sible after installation. Any smudges on the back
side will be difficult to clean.
9. After the glass is clean, lift the glass with the
gloved hand and hold it in front of you like a serving
platter, with the narrow side away from you. Insert
the narrow end into the fireplace and press the glass
onto the two black rubber tabs in the back of the
firebox (see
Figure 8
).
10. Lower the front edge down to the front lip of the
fireplace and hook the glass behind the lip in the
base cover.
If you haven't done so already, turn on the unit.
Step back and examine the flame placement in
correlation with the logs.
Refer to Step 4 and the Glass Information on page 1
and adjust if necessary.
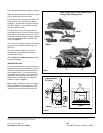
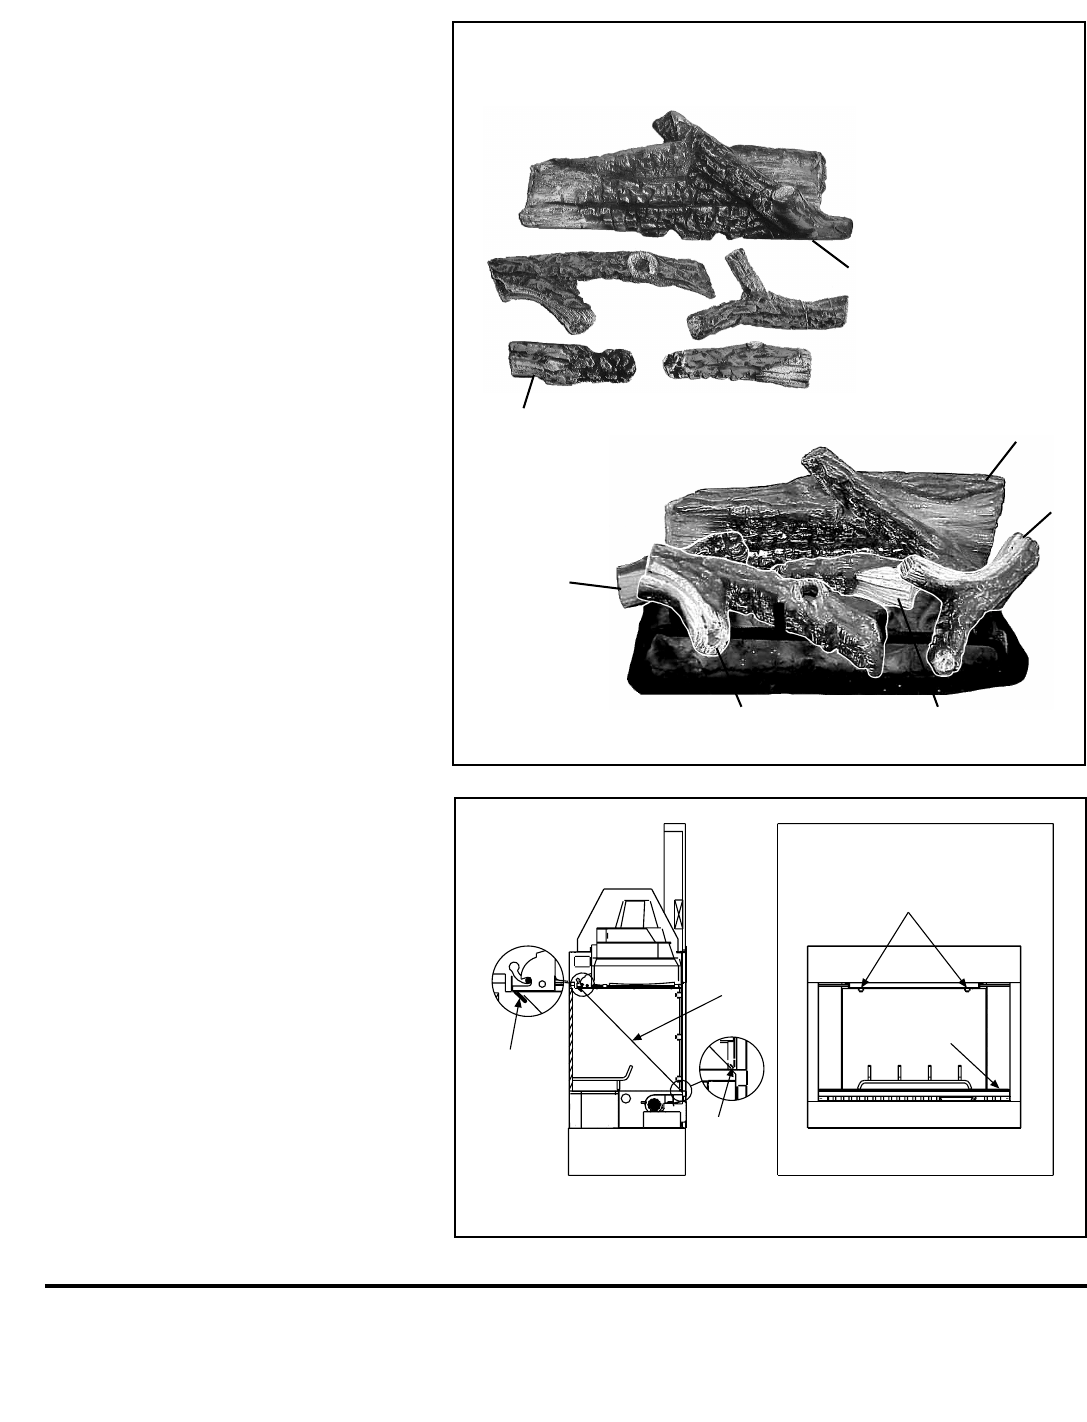
INSTALLING THE LOGS
Place Log Assembly A on the grate first and center it
against the back of the grate, engaging the notch at
the bottom right hand side of the log assembly on
the right grate bracket. The correct placement of
Log Assembly A is important to provide the proper
visual effect. Placement of the other logs can be
adjusted to suit individual taste. Our suggested
placement is shown in
Figure 7.
Note: Log D is provided with a notch on its bottom
side to be engaged over the left grate bar. Log E
should be placed in the cradled depression in the
middle of the ember bed, charred end to the left.
Figure 8
Front Lip
Tabs
Tabs
Glass
Up
(Back)
(Front)
(Front)
(Logs Not Shown
For Clarity)
Figure 7
Note: Position Log "C" to lean against Log "A"
to keep it from moving forward.
A
B
D
E
C
(Notch)
(Notch)
A
B
D
C
E