NOTE: DIAGRAMS & ILLUSTRATIONS ARE NOT TO SCALE.
5
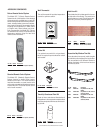
Small Area Paint Touch-up
The fi nish of the insert body and surround
(optional) is a high-quality powdercoat. Only
use factory supplied powdercoat paint kit for
touch-ups (cat. no. 90L74).
Do not attempt to repaint the insert until the
fi nish is completely cured (see Burn-In Period
on Page 3). If the surface later becomes stained
or marred, it may be lightly sanded and touched
up with spray paint.
Paint is available at your local authorized Lennox
Hearth Products dealer. Never attempt to paint
a hot insert.
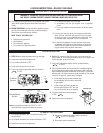
Inspect Wiring
Inspect and clean all wire connections. Ensure
that there is no melting or damage. Inspection
should include:
• Terminals at the valve
• Off/On switch
• Wall thermostat, remote control, or control
kit (optional parts)
• Spill switch
Refer to wiring diagrams on Pages 11 & 12.
WARNING
Do not attempt to touch the front
enclosure glass with your hands
while the fi replace is in use.
IMPORTANT
Do not use abrasive cleaners
on glass. Never clean the glass
when it is hot.
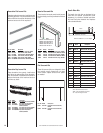
Glass Cleaning
Note: Clean glass after fi rst two weeks of
operation (after Burn-In period is over).
The viewing glass should be cleaned periodi-
cally to remove any build-ups caused from the
following:
• During start-up, it is normal for condensa-
tion to form on the inside of the glass (this
condensation and fog will usually disappear
in a few minutes). This can cause lint, dust
and other airborne particles to cling to the
glass surface.
• Initial curing of the high temperature paint
and burning off of lubricants used in the
manufacturing process may result in a fi lm
on the glass.
• A white coating may form on the glass as a
result of impurities and minerals in the fuel.
It is recommended that the glass be cleaned
two or three times during each heating season,
depending on the circumstances present.
Use one of the following to clean glass:
• Non-ammonia based household cleaner
• 50%-50% mix of white vinegar & water
• gas stove glass cleaner
CAUTION
Label all wires prior to discon-
nection when servicing con-
trols. Wiring errors can cause
improper and dangerous appli-
ance operation.
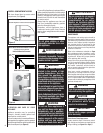
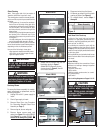
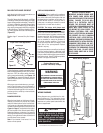
Check
Connections
Spill Switch
Draft Hood
Figure 10
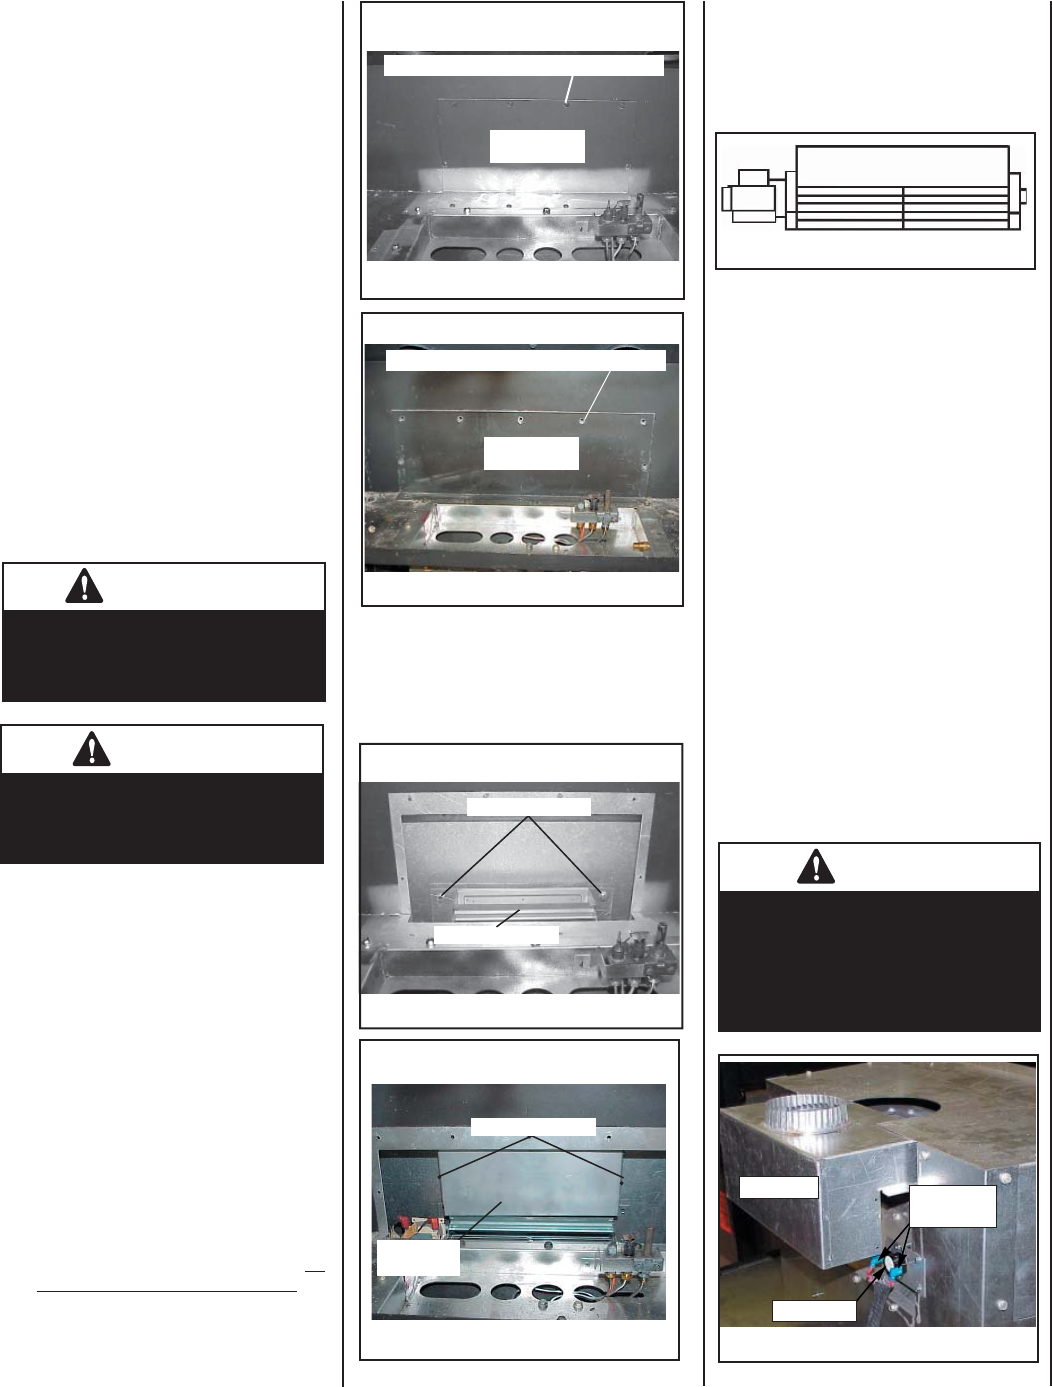
Servicing Blower
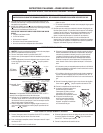
To access the blower assembly for mainte-
nance, adjustment or replacement, see the
following procedure:
1. Unplug 120-volt A.C. power supply to
insert.
2. Shut off gas supply to insert.
3. Remove Glass Door (see Procedure
For Removing Standard Glass Door
Assembly on Page 7).
4. Remove log set, burner and grate.
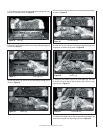
5. Remove blower access panel and
gasket (see Figure 5 for model EBVI25
and Figure 6 for model EBVI30). Be
careful not to damage the gasket.
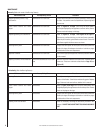
Access Panel
w/ Gasket
Figure 6
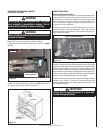
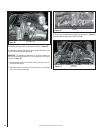
6. (Model EBVI25) Remove the two hex
head bolts shown in Figure 7.
(Model EBVI30) Remove the two
screws shown in Figure 8, then lift
out air duct channel.
Model EBVI30
Figure 5
Access Panel
w/ Gasket
Model EBVI25
Remove 10 Screws (use phillips screwdriver)
Remove 12 Screws (use phillips screwdriver)
Figure 8
Remove 2 Screws
7. Disconnect wires from the blower.
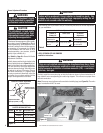
8. Lift blower up and pull it out from back
opening of fi rebox (see Figure 9).
9. To reinstall blower, reverse Steps 1
through 8.
Figure 7
Blower
Remove 2 Bolts
Model EBVI30
Model EBVI25
Lift Out Air
Duct Channel
Figure 9
Blower Assembly


