8
Operation Instructions
FOR YOUR SAFETY - READ THIS
SECTION BEFORE LIGHTING
A. BEFORE LIGHTING smell all around the appliance area for
gas. Be sure to smell next to floor because some gas is
heavier than air and will settle on the floor.
LIGHTING INSTRUCTIONS
W
ARNING: IF YOU DO NOT FOLLOW THESE INSTRUCTIONS
EXACTLY, A FIRE OR EXPLOSION MAY RESULT CAUSING
PROPERTY DAMAGE, PERSONAL INJURY OR LOSS OF LIFE
IF YOU SMELL GAS:
1. Do not try to light appliance.
2. Do not touch electrical switches; do not use any phone in
your building.
3. Immediately call your gas supplier from a neighbour’s phone.
Follow your gas suppliers instructions.
4. If you cannot reach you gas supplier’s, call the fire department.
B. Use only your hand to push in or turn the gas valve control
knob. Never use tools. If the knob will not push in or turn by
hand, do not try to repair it, call a qualified service technician.
Force or attempted repair may result in a fire or explosion.
C. Do not use this appliance if any part has been under water.
Immediately call a qualified service technician to inspect the
appliance and to replace any part of this control system and
any gas control which has been under water.
ATTENTION:
Keep burner and control compartment clean.
See installation and operating instructions accompanying the
heater.
See the safety information on the sides of the heater.
WARNINGS:
Hot while in opera
tion.
Do not touch.
Keep children, clothing and furniture away.
Do not light or opera
te where gasoline and other liquids ha
ving
flammable va
pors are present.
1.
Stop! Read and Heed the Warnings and Cautions on the side
of the heater.
2. Check that gas supply to the heater is on.
3. Push in gas control knob slightly and turn clockwise
to “OFF” position.
NOTE: knob cannot be turned from "PILOT" to "OFF" unless
knob is pushed in slightly. Do not force.
4. Wait five (5) minutes to clean out any air. Then smell for gas,
including near the floor. If you smell gas, STOP! Follow "B" in
the safety information on the side of the heater. If you do not
smell gas, go to the next step.
5. Push in gas control knob slightly and turn counterclockwise
to "PILOT/IGN” and depress for five (5) seconds.
NOTE: The first time that the heater is operated after connecting
the gas supply, the control knob should be depressed for
about thirty (30) seconds. This will allow air to bleed from
the gas system.
6. Release control knob and turn clockwise to "OFF".
7. Depress control knob while "OFF", then turn back to
to "PILOT/IGN”. This should cause the spark from the piezo
ignitor to light the pilot gas. Keep control knob depressed for
ten (10) seconds before releasing. If pilot does not light,
repeat steps 5, 6 and 7 or use a match.
8. When pilot is lit, turn the ignition knob to "ON".
9. To select the heating level desired, use the knob LOW to HIGH.
1. Stop! Read and Heed the Warnings and Cautions on the side
of the hea
ter.
2. Check that gas supply to the heater is on.
3. Push in gas control knob slightly and turn clockwise
to “OFF” position.
4. Wait five (5) minutes to clean out any air. Then smell for gas,
including near the floor. If you smell gas, STOP! Follow "B" in
the safety information on the side of the heater. If you do not
smell gas, go to the next step.
5. Turn control knob counterclockwise to “PILOT”
position. Press in control knob for five (5) seconds.
NOTE: The first time that the heater is operatedafter connecting
the gas supply, the control knob should be depressed for
about thirty (30) seconds. This will allow air to bleed from
the gas system.
6. With control knob pressed in, push down and release ignitor
button. This will light pilot. If needed, keep pressing ignitor
button until pilot lights.
7. Keep control knob pressed in for 30 seconds after lighting
pilot. After 30 seconds, release control knob.
8. If pilot goes out, repeat steps 5 through 7 or use a match.
9. When pilot is lit, turn control knob to on.Turn control knob
counterclockwise to desired heating level between
5 and 1.
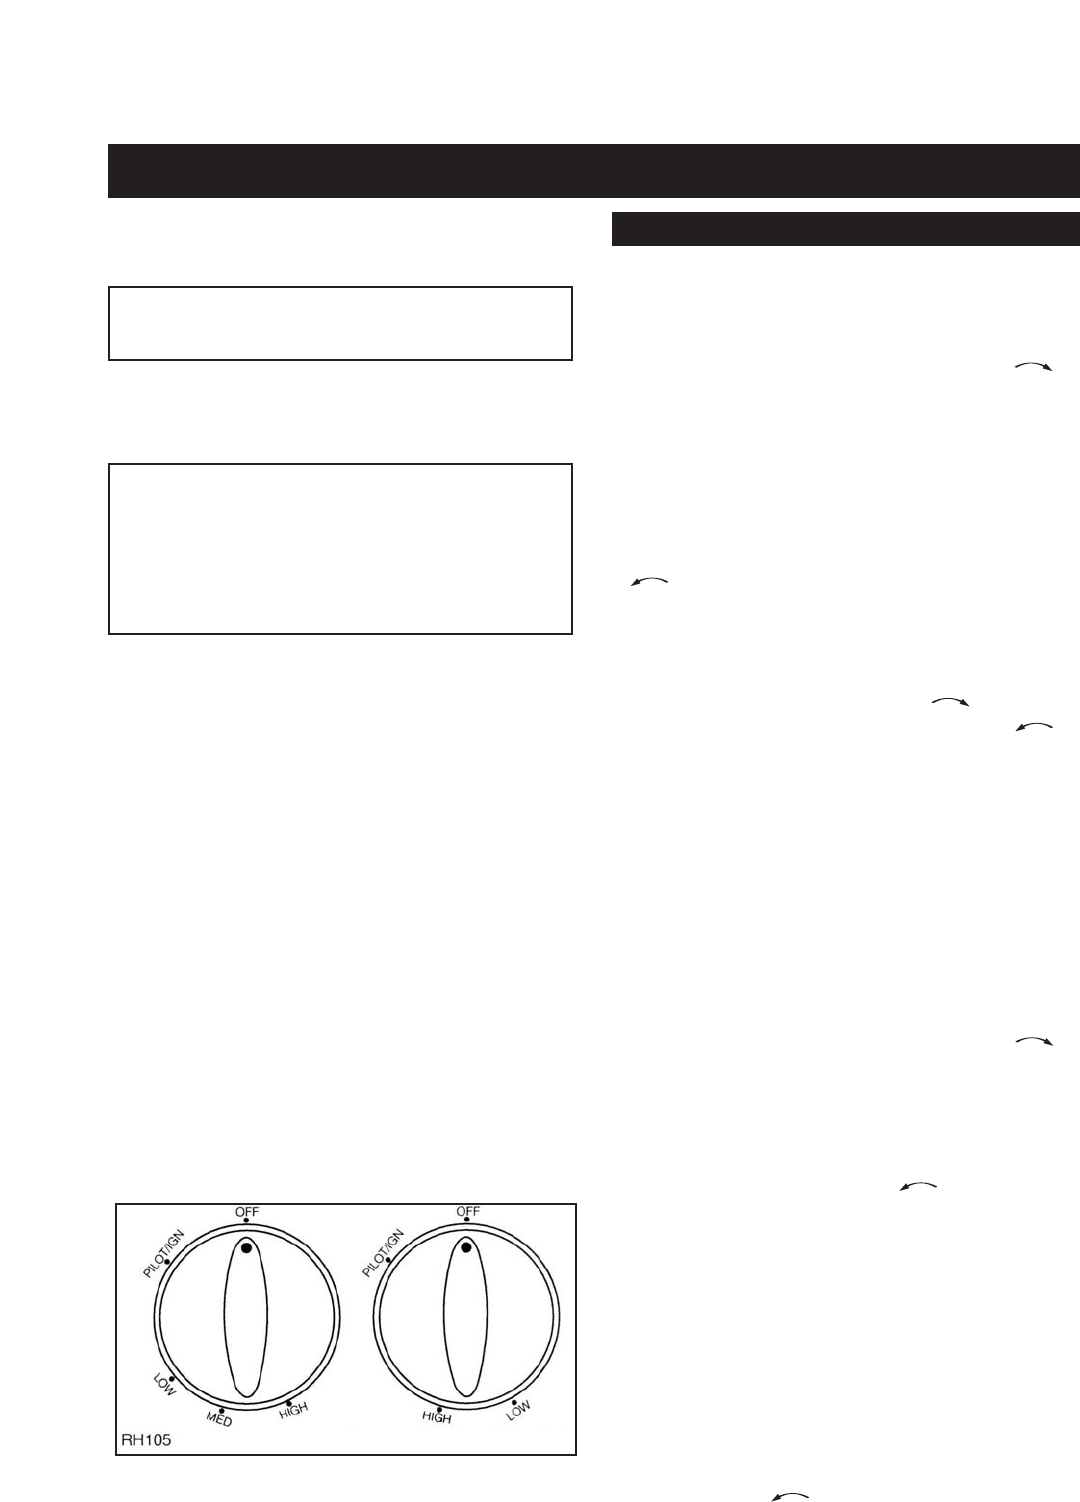
Fig.
8
Control knobs
MANUAL GAS CONTROL
THERMOSTAT GAS CONTROL
RMC-LC10, RMC-LI10 & LI06 Only


