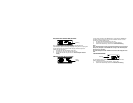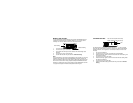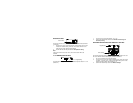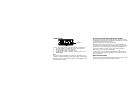
If the batteries are used as the main power source:
1. Projected image brightness, alarm volume and back-light strength will
be weaker when batteries are low
2. Battery life time will be much less than 1 year; depending on the
frequency of projection and alarm.
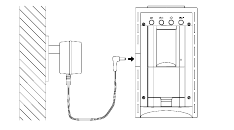
TO USE THE PROJECTOR POWER ADAPTER
The unit comes with an AC-DC adapter for using the projector for an extended
period of time, such as throughout the night.
To connect the AC-DC adapter:
Important!
Make sure that your household voltage is 120V! Otherwise it can result in
damaging your Weather Projection Station.
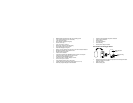
1. Connect the AC-DC adapter to a wall socket. Plug the adapter into the
jack at the side of the Weather Projection Station. All segments of the
LCD will light up briefly and a short signal tone will sound. Then the
ALM 1 6:00, the indoor temperature and humidity, the time as 12:00,
the date as WE 1.1., the moon icon, the weather icons (sun and clouds)
will be displayed. If the indoor temperature and indoor humidity are not
displayed after 15 seconds, remove the batteries and wait for at least 3
minutes before reinserting them.
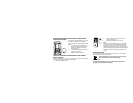
2. Within 4 minutes of activating the Weather Projection Station, place the
batteries into the sensor (see “To install and replace batteries in the
Thermo-hygro Sensor“).
3. After inserting the batteries into the sensor, the Weather Projection
Station will start receiving data from the sensor. The outdoor
temperature and humidity should then be displayed on the Weather
Projection Station. If this does not happen after 3 minutes, the batteries
will need to be removed from both units and reset from step 1.
4. The Weather Projection Station can receive up to 3 remote Outdoor
Thermo-hygro sensors. If you have purchased additional sensors,
repeat from step 3 for all extra sensors. However, ensure that you leave
10 seconds in between the reception of the last sensor and the set-up
of the following sensor. The Weather Projection Station will number the


