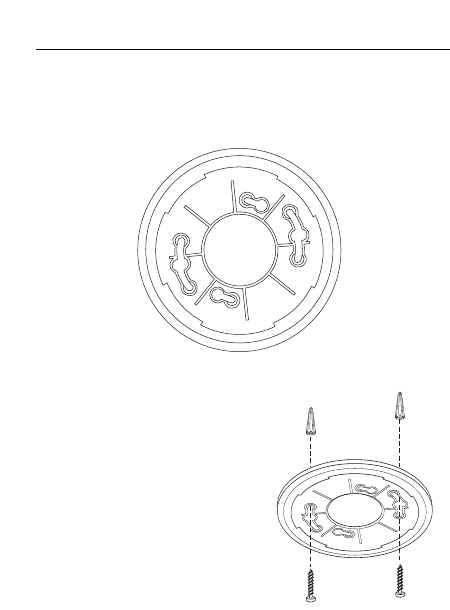
Drill a hole through the pencil
marks and use the enclosed
screws and anchors (see dia-
gram E) to secure (use 3/16”
drill bit for anchor holes).
Align the Smoke/CO Alarm
with the mounting plate and
rotate clockwise (right) until
the unit is aligned. Screw and
anchor accessories are sup-
plied.
To ensure aesthetic alignment of the alarm with the hallway
or wall, the “A” line on the mounting plate should be par-
allel with the hallway when ceiling mounting, or horizontal
when wall mounting. See Diagram D.
Operating and Installation Instructions
14
Two labels are included with your alarm. They have impor-
tant information on what to do in case of an alarm. Add the
phone number of your emergency provider (Fire Department
or 911) in the space provided. Place one label next to the
alarm after it is mounted, and one label near a fresh air
source such as a door or window.
DIAGRAM D
DIAGRAM E


