


Installation
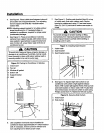
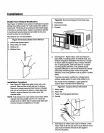
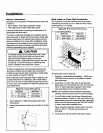
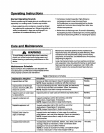
Figure 29. Installing Seal Strip
1. Seal strip
2. Outdoor sash
3. Indoorsash
//1
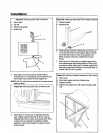
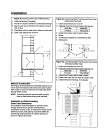
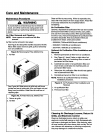
12. See Figure 30. Under normal conditions, unit can
evaporate water as fast as it is removed from indoor
air. In very humid conditions, however, excess water
may drip off chassis, To avoid dripping, install
condensate drain cup (included with unit). Insert
condensate drain cup through %" hole recessed in
flange on right side of outer case bottom. Then
place ½" diameter hose or tube on bottom spout of
drain cup.
Rgure 30. Condensate Drain Cup Installation
1. Outer case
2. Condensate drain cup
3. Y2"diameter hose
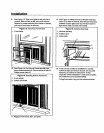
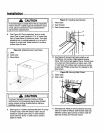
13. See Figure 30A. With additional help, slide chassis
into outer case. Attach base pan retaining clip to
chassis with ¼" screw. Reinstall front frame, air
filter, and front grille. Because window sash helps
keep unit in window, make sure sash contacts case
before reinstalling chassis.
14. To be sure air conditioner installation is correct,
review all steps and ensure all parts are securely
fastened, as outlined in instructions. Iffinal
inspection shows installation issolid and complete,
airconditioner can be operated safely.
Tobegin operation, plug unit into electrical outlet.
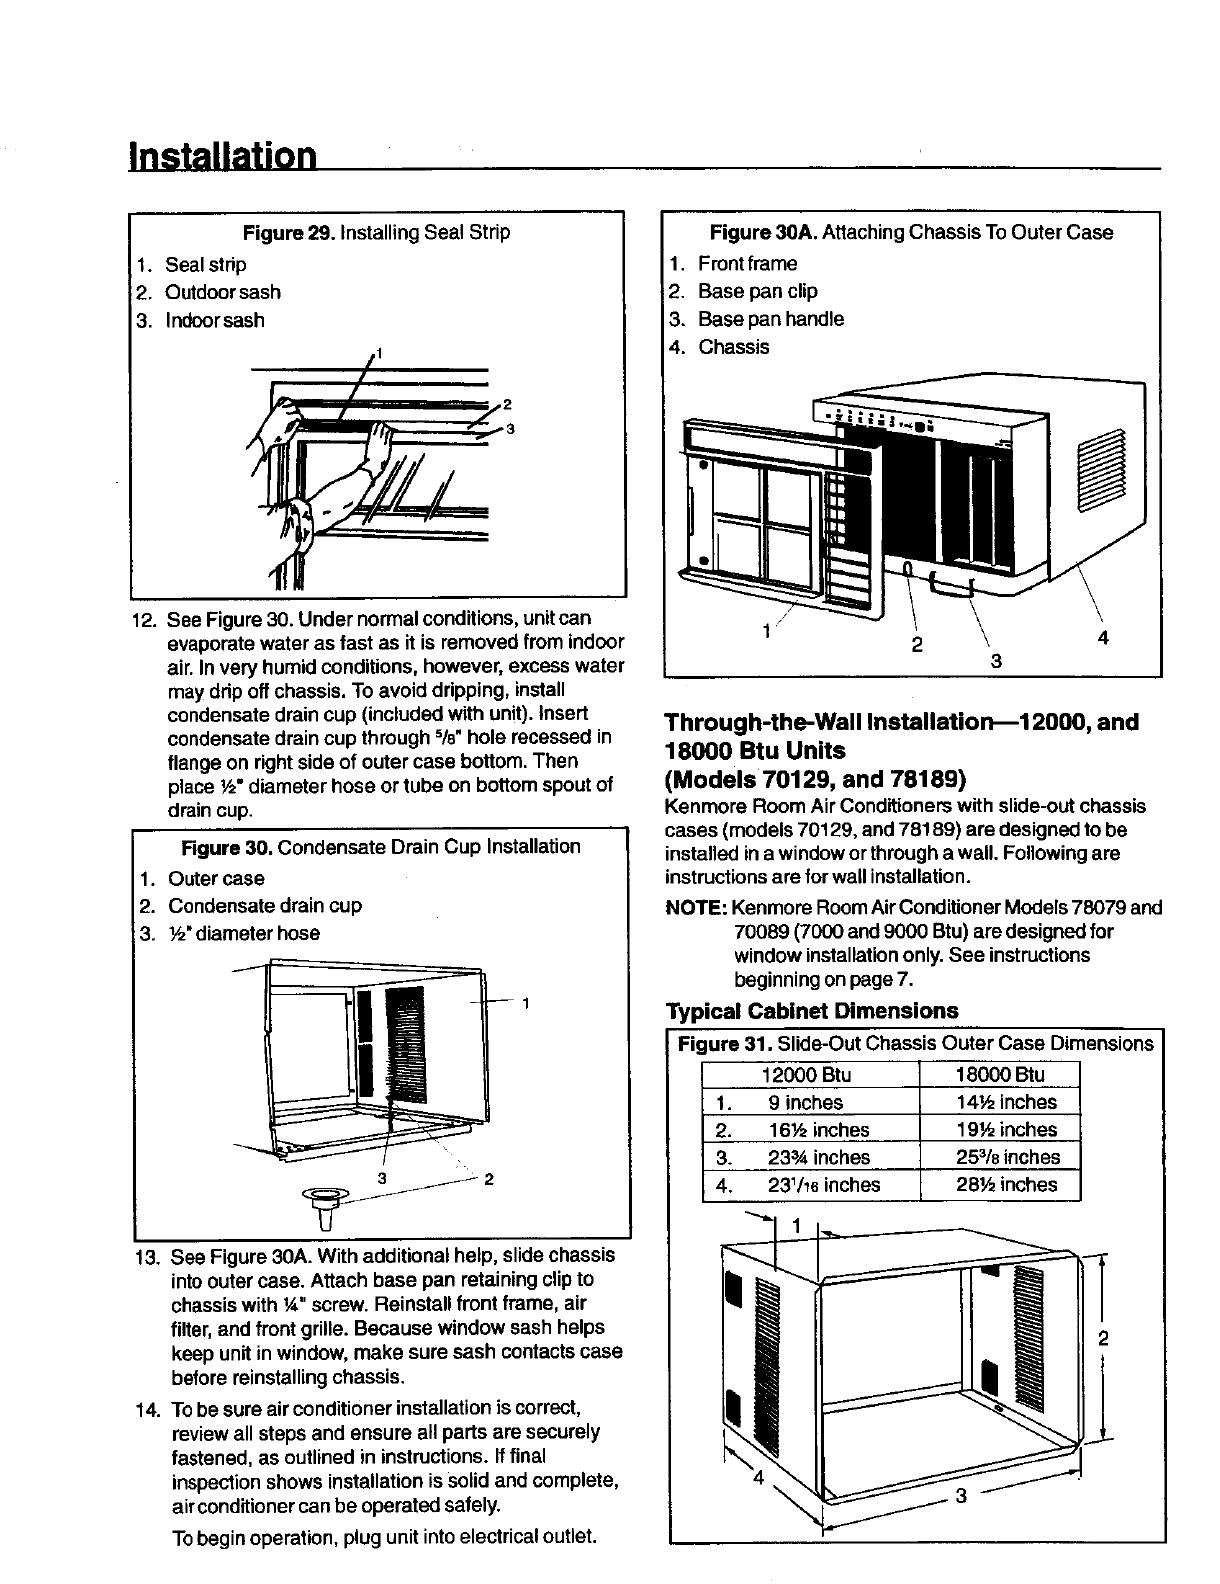
Figure 30A. AttachingChassis To Outer Case
1. Frontframe
2. Base pan clip
3. Base pan handle
4. Chassis
2
4
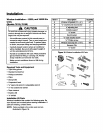
Through-the-Wall Installation_12000, and
18000 Btu Units
(Models 70129, and 78189)
Kenmore Room Air Conditioners with slide-out chassis
cases (models 70129, and 78189) are designed to be
installed ina window or through a wall. Following are
instructionsare for wall installation.
NOTE: Kenmore Room AirConditioner Models 78079 and
70089 (7000 and 9000 Btu) are designed for
window installationonly. See instructions
beginning on page 7.
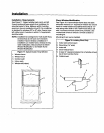
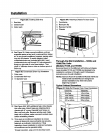
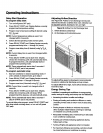
Typical Cabinet Dimensions
Figure 31. Slide-Out Chassis Outer Case Dimensions
12000 Btu 18000 Btu
1. 9 inches 14½ inches
2. 16½ inches 19½ inches
3. 233Ainches 25318inches
4. 231/16inches 28½ inches
3