


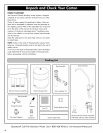
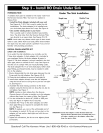
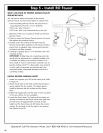
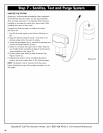
SELECT LOCATION OF REVERSE OSMOSIS FAUCET
MOUNTING HOLE
You will need to select the location of the Reverse
Osmosis Faucet. You have three options to choose from:
° Use the existing sink top hole for the spray hose or
soap dispenser (Must be 1-1/4" in diameter)
° Drill a new hole in the sink
° Drill a new hole in the countertop next to the sink
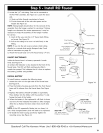
1. Determine where you are going to install your Reverse
Osmosis Faucet.
2. Check to ensure the Reverse Osmosis faucet will mount
flat against the mounting surface.
3. Visually review the routing of the tubes from the
Reverse Osmosis filter assembly to the faucet. Check to
ensure there is adequate tube routing space between
the faucet and filter assembly.
4. If drilling is needed, drill a 1-1/4" diameter hole in the
mounting surface.
IMPORTANT: Drilling holes into countertops and sinks
should only be performed by a qualified installer who
is certified for drilling such materials. Drilling of sur-
faces made of stone or solid surface materials such as
granite, marble, Corian TM or other plastic resin products
or sinks made of porcelain and stainless steel may
cause permanent, irreparable damage to the sink or
countertop surface.
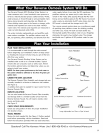
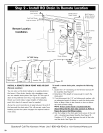
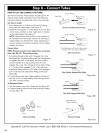
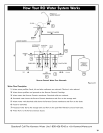
INSTALL REVERSE OSMOSIS FAUCET
1. Locate and organize your RO faucet install parts. Refer
to Figure 14.
2. Mount faucet base to sink hole until the faucet base is
square against the sink surface. The rubber gasket
should be between the sink surface and the faucet
base.
3. Tighten the toggle bolts until the base is firmly mounted
to the sink surface. Do not overtighten.
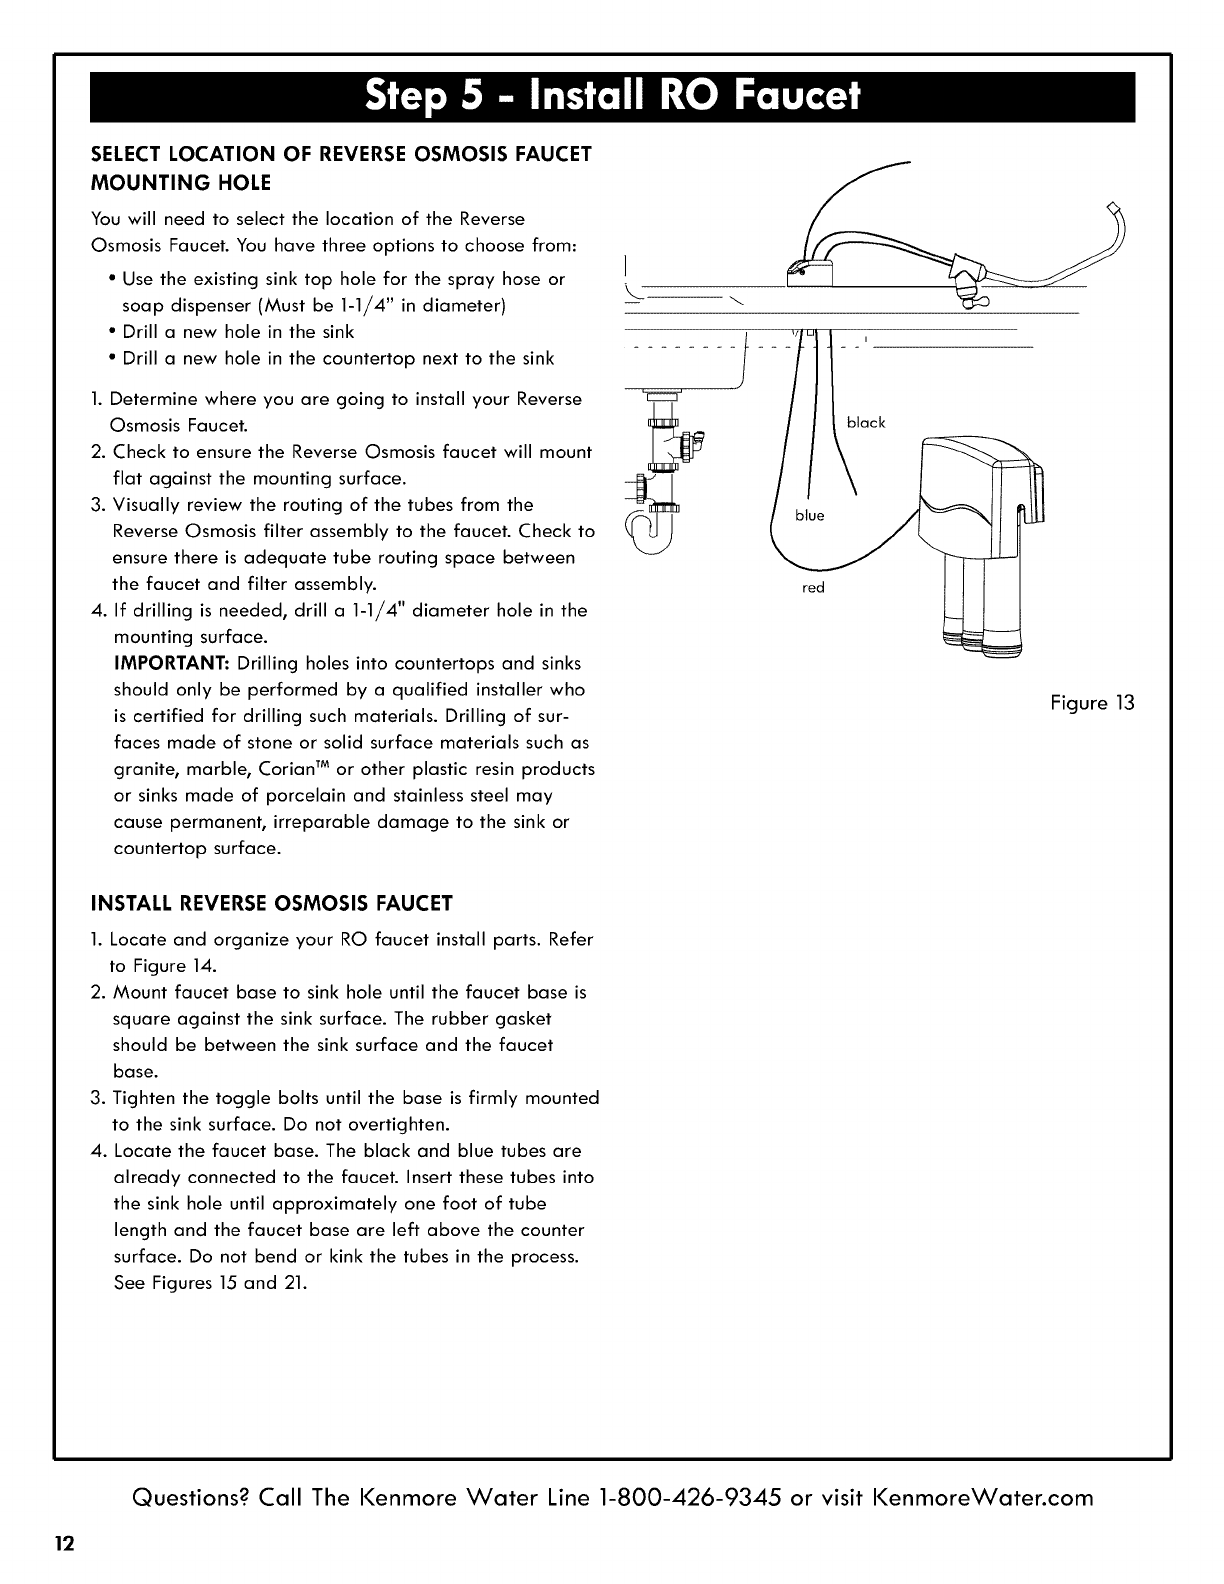
4. Locate the faucet base. The black and blue tubes are
already connected to the faucet. Insert these tubes into
the sink hole until approximately one foot of tube
length and the faucet base are left above the counter
surface. Do not bend or kink the tubes in the process.
See Figures 15 and 21.
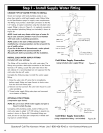
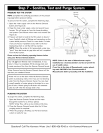
I
black
red
Figure 13
Questions? Call The Kenmore Water Line 1-800-426-9345 or visit KenmoreWater.com
12