


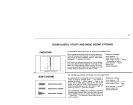

29
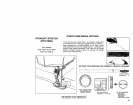
MACHINE-SEWED
BUTTONS? YES--
WiTH THiS
KENMORE!
Clear plastic foot
makes job easy!
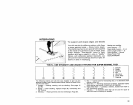
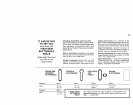
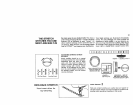
Your settings: Stitch Selector ii
Set Length Control at any number
Width Contro! -- adjust to button size
Use Zigzag Needleptate and Darning Plate
Use Clear Plastic Satin Stitch Foot
Scotchtape button on fabric to hold
in place while needle stitches-from
side to side. Stitch width must equal
space between holes in button, You
will need to experiment with each
style button, For the same series of
buttons, settings remain the same,
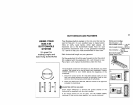
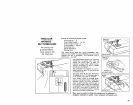
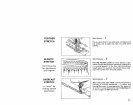
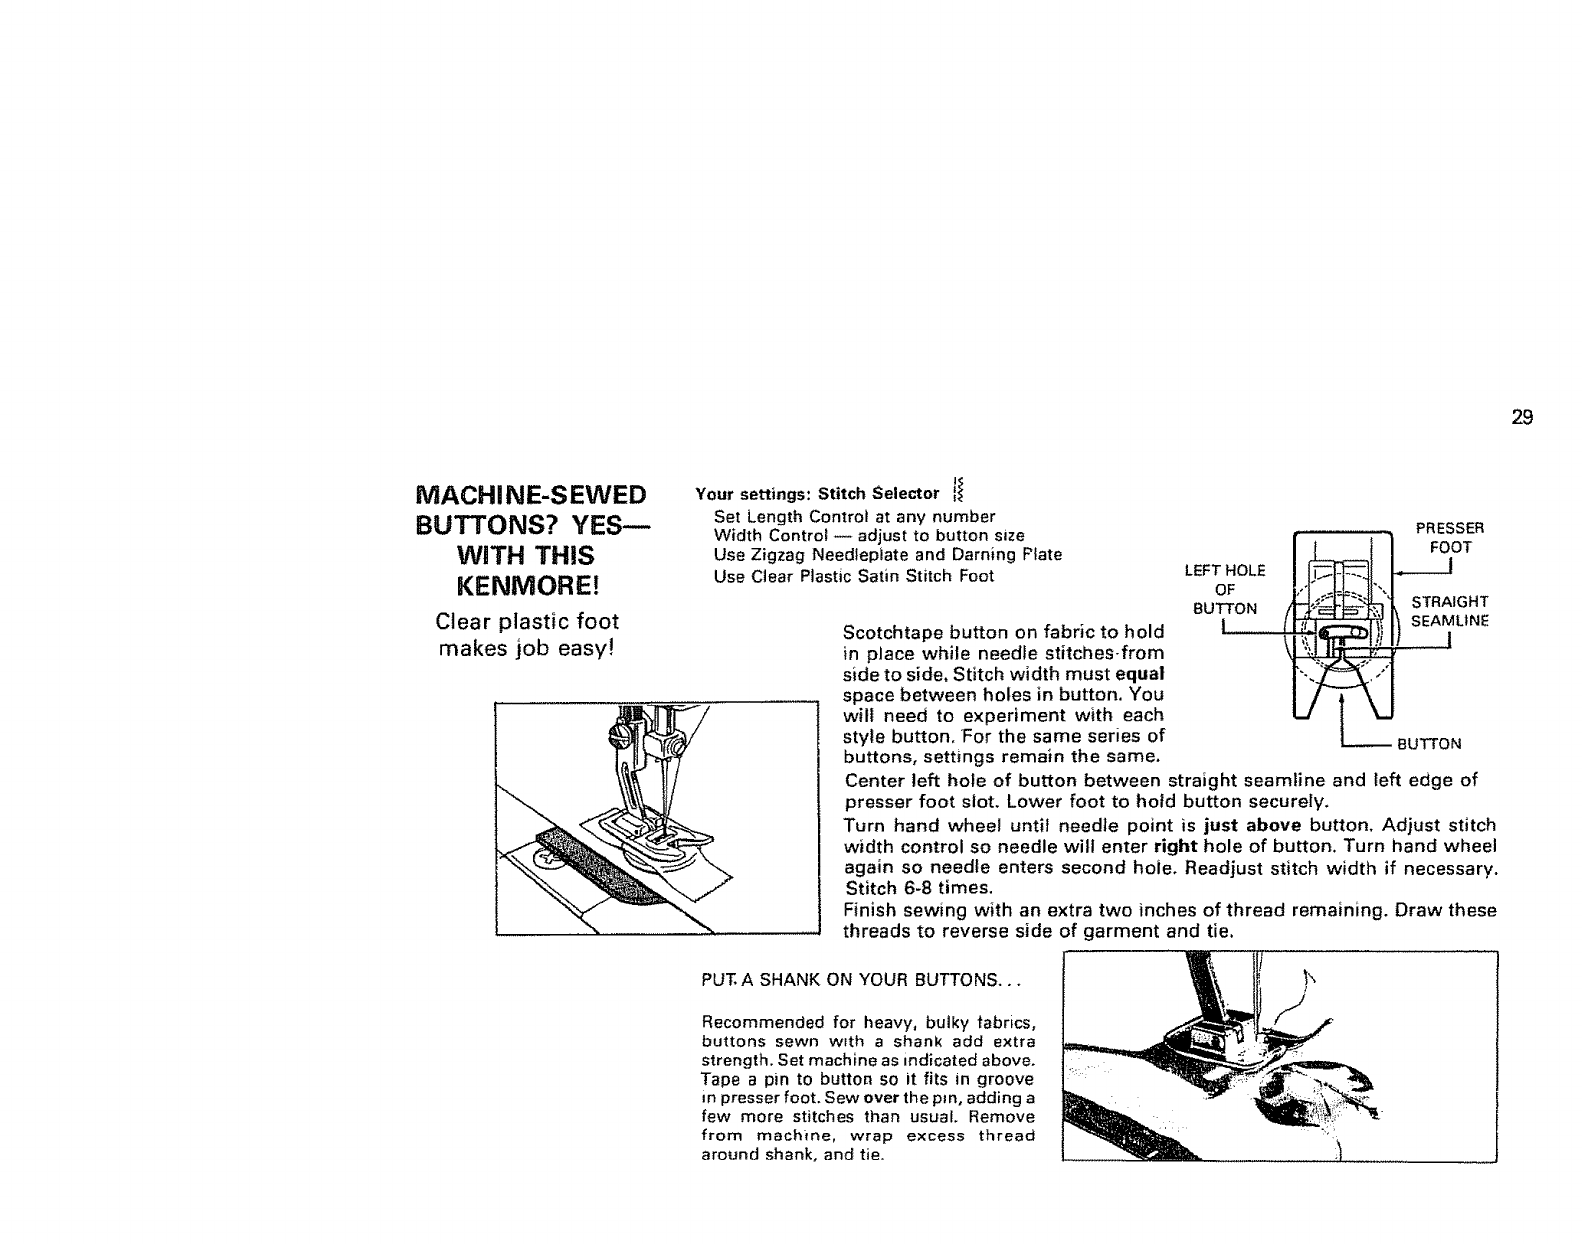
LEFTOFHOLE
BU_ON
PRESSER
t/ FOOT
STRAIGHT
BUTTON
Center left hole of button between straight seamline and left edge of
presser foot slot. Lower foot to hold button securely,
Turn hand wheel until needle point is just above button. Adiust stitch
width control so needle will enter right hole of button. Turn hand wheel
again so needle enters second hole. Readjust stitch width if necessary.
Stitch 6-8 times,
Finish sewing with an extra two inches of thread remaining. Draw these
threads to reverse side of garment and tie.
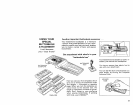
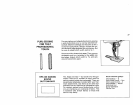
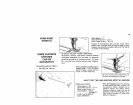
PUT.A SHANK ON YOUR BUTTONS.,.
Recommended for heavy, bulky tabrics,
buttons sewn w_th a shank add extra
strength. Set machine as indicated above.
Tape a pin to button so it fits in groove
in presser foot. Sew over the pro, adding a
few more stitches than usual Remove
from machine, wrap excess thread
around shank, and tie.