


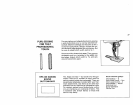
BUTTONHOLES AND FASTNERS
23
USING YOUR
BUILT-IN
BUTTONHOLE
SYSTEM
It's great for
making single and
extra-long buttonholes
_p
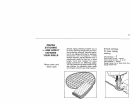
Your Kenmore built-in system is the only one that can be
used on free-arm. It is an excellent way to make button-
holes on cuffs, waist bands, other tight places. An
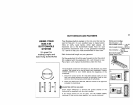
important aid is the Buttonhole Guide Foot (in your
buttonhole attachment box). It has graduated markings
IYB" apart) to help you make buttonholes to exact size.
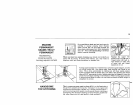
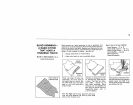
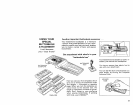
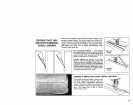
Mark buttonhole length on your garment.
Pull the guide foot (A) all the way forward so that the notch
(B) is aligned with the graduation (C), with thread to rear.
Place fabric with marked buttonholes under the foot.
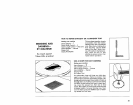
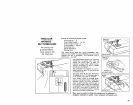
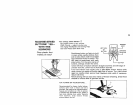
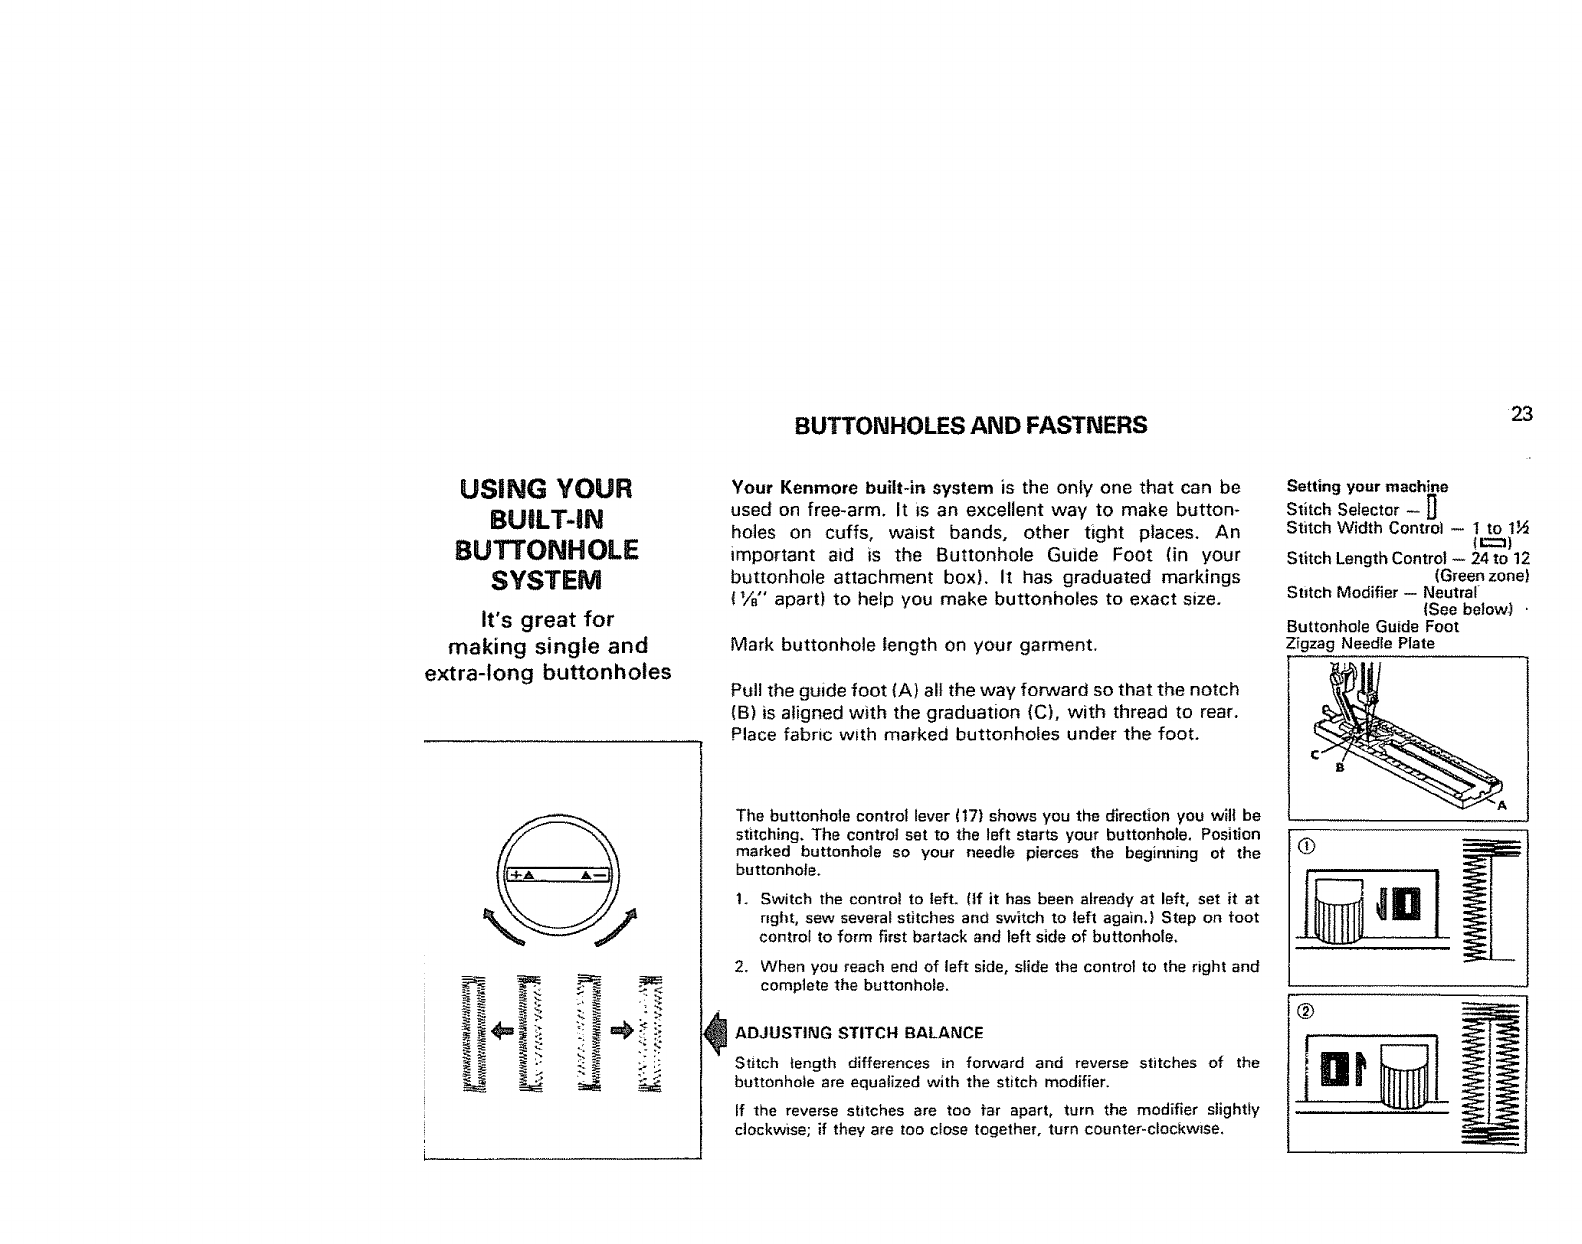
The buttonhole control lever (t7) shows you the direction you w_l{ be
stitching, The control set to the left starts your buttonhole. Position
marked buttonhote so your needle pierces the beginning of the
buttonhole.
1. Switch the control to left, (if it has been already at left, set it at
right, sew several stitches and switch to left again.) Step on foot
control to form first bartack and left side of buttonhole,
2. When you reach end of left side, slide the control to the right and
complete the buttonhole.
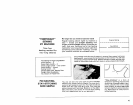
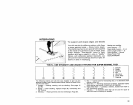
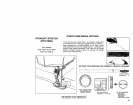
ADJUSTING STITCH BALANCE
Stitch length differences in forward and reverse stitches of the
buttonhole are equalized with the stitch modifier.
If the reverse stitches are too far apart, turn the modifier slightly
clockwise; if they ere too close together, turn counter-clockwise.
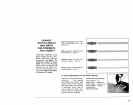
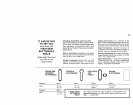
Setting your machine
Stitch Selector - L_
Stitch Width Control _ 1 to 1_
Stitch Length Control _ 24 to 12
(Green zone)
Stitch Modifier -- Neutral
{See below)
Buttonhole Guide Foot
Zfgzag NeedEe Plate
@