


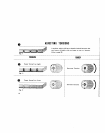


BUTTONHOLES
(Models 68, 95, 1600,
1650, t651, 1652)
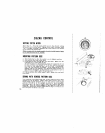
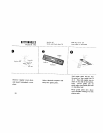
Use disc _: I and special buttonhole _oot
Stitch tength at red mark
Buttonho[e control knob F
Feed dog cantrol U
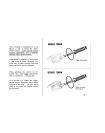
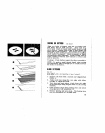
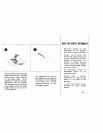
Place the fabric, with the buttonhole length marked at both ends, under
the buttonhole foot. Without lowering the foot, let the needle pierce the
fabric at the beginning of the buttonhole. Set the foot so the beginning
of the red zone _closest to the needle_ is at the mark of the opposite
end of the buttonhole. Lower the foot.
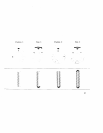
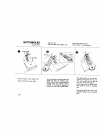
Stitch forward until the needle reaches the red zone on the front edge of
foot, Then turn the knob to R, and stitch the other side of the button-
hole. Turn knob back to F to finish end of buttonhole. The speed with
which the knob is turned determines the number of stitches at the ends
of the buttonhole. The slower the knob is turned, while sewing, the
more stitches are formed. See page 21.
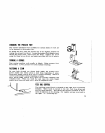
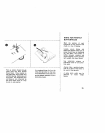
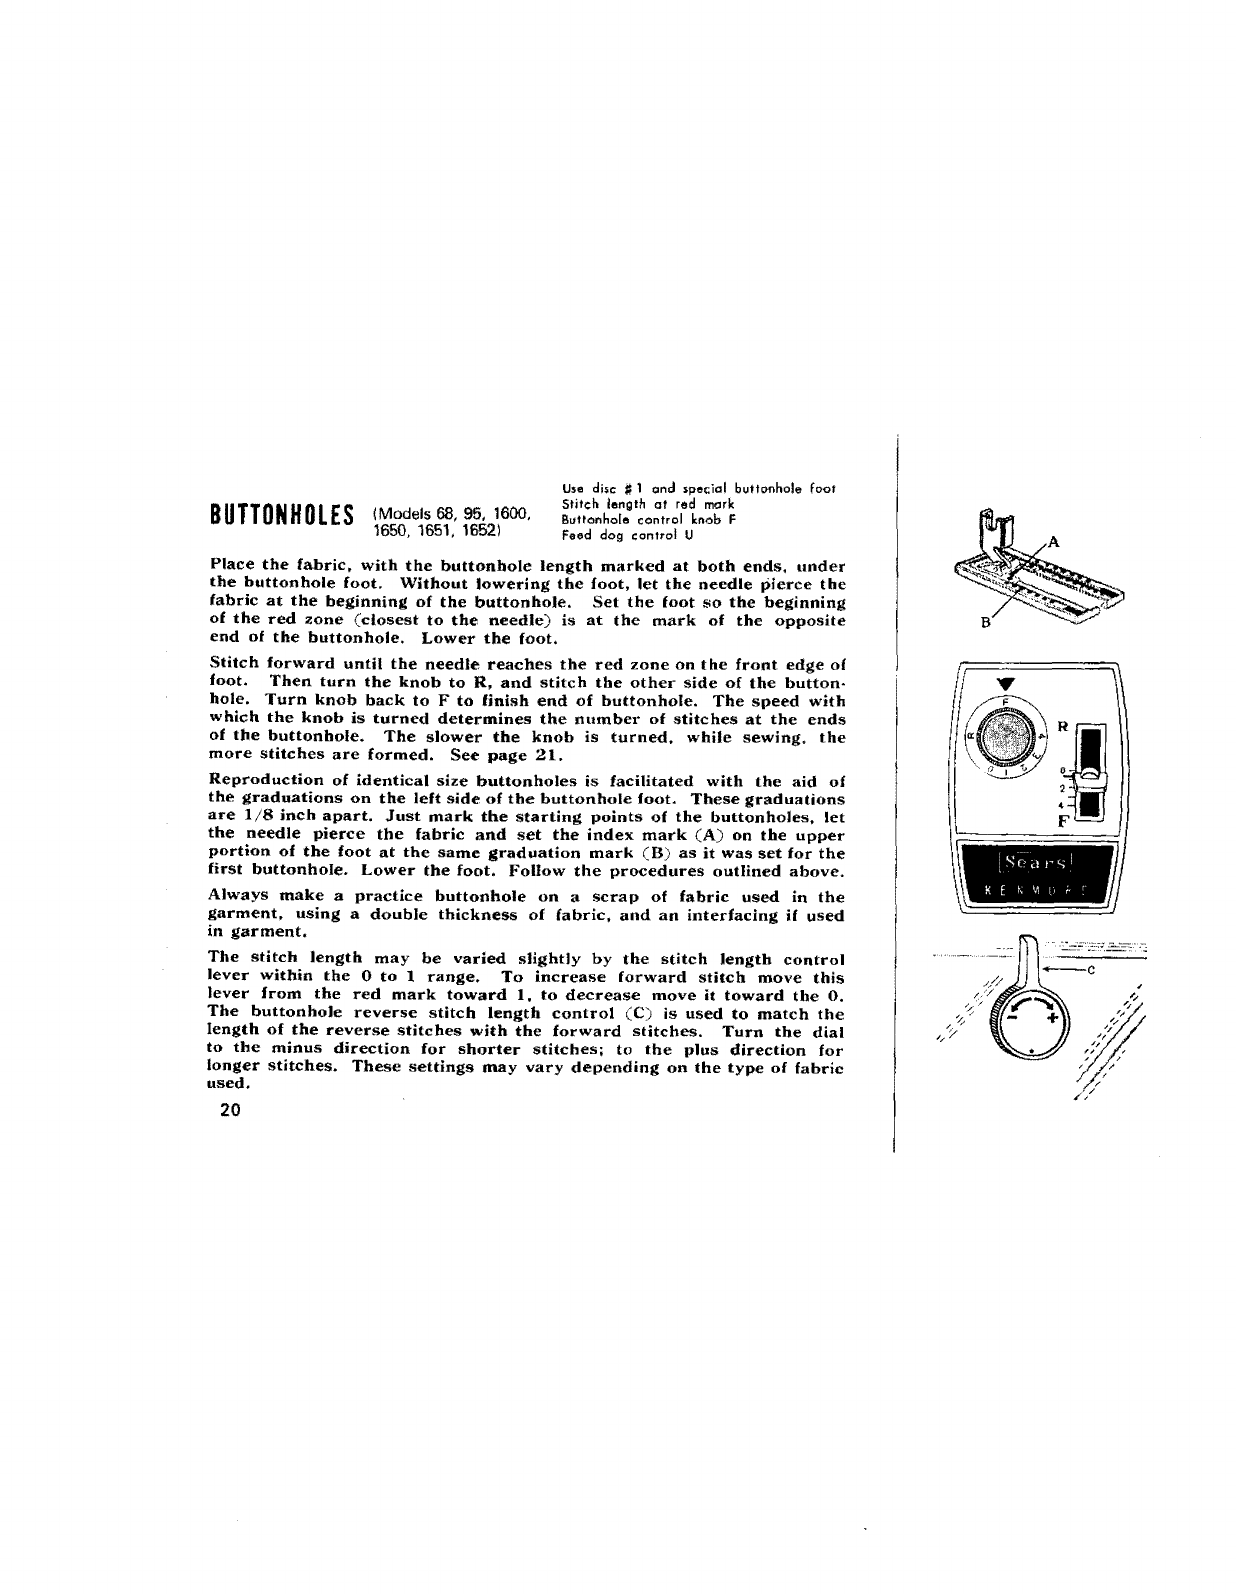
Reproduction of identical size buttonholes is facilitated with the aid of
the graduations on the left side of the buttonhole foot. These graduations
are 1/8 inch apart. Just mark the starting points of the buttonholes, let
the needle pierce the fabric and set the index mark CA_ on the upper
portion of the foot at the same graduation mark CB_ as it was set for the
first buttonholeo Lower the foot, Follow the procedures outlined above.
Always make a practice buttonhole on a scrap of fabric used in the
garment, using a double thickness of fabric, and an interfacing if used
in garment.
The stitch length may be varied slightly by the stitch length control
lever within the 0 to 1 range. To increase forward stitch move this
lever from the red mark toward 1, to decrease move it toward the 0.
The buttonhole reverse stitch length control _C_) is used to match the
length of the reverse stitches with the forward stitches. Turn the dial
to the minus direction for shorter stitches; to the plus direction for
longer stitches. These settings may vary depending on the type of fabric
used,
2O