


Service and Adjustment (cont'd)
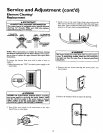
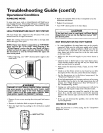
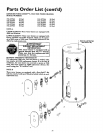
6. Lifx out the tab as shown to unclip the terminal cover from
the thermostat. The terminal cover can now be removed
from the thermostat.
lift out tab t_ until I
terminal cover from
TERMINALCOVER
CUPPED TOTHER-
MOSTAT AT THIS
POINT
k_
Z
r
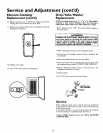
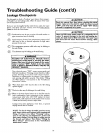
LOANER THERMOSTAT
PLASTIC TABS ON
'BOTH SIDES OF
TERMINAL COVER
HOLD IT IN
PLACE.
THERMOSTAT
/BRACKET
_--TANK
"ELEMENT
jAC_--_KET _
7. Disconnect the two wires on the element and unscrew the
old element from the tank.
8. Clean the area around the element opening. Remove any
sediment from or around the element opening and inside
the tank.
_WARNING I
Replacement elements must (I) be the samevoltageand I
(2) no greater wattage than listed on the model rating I
plate affixedto the water heater. ]
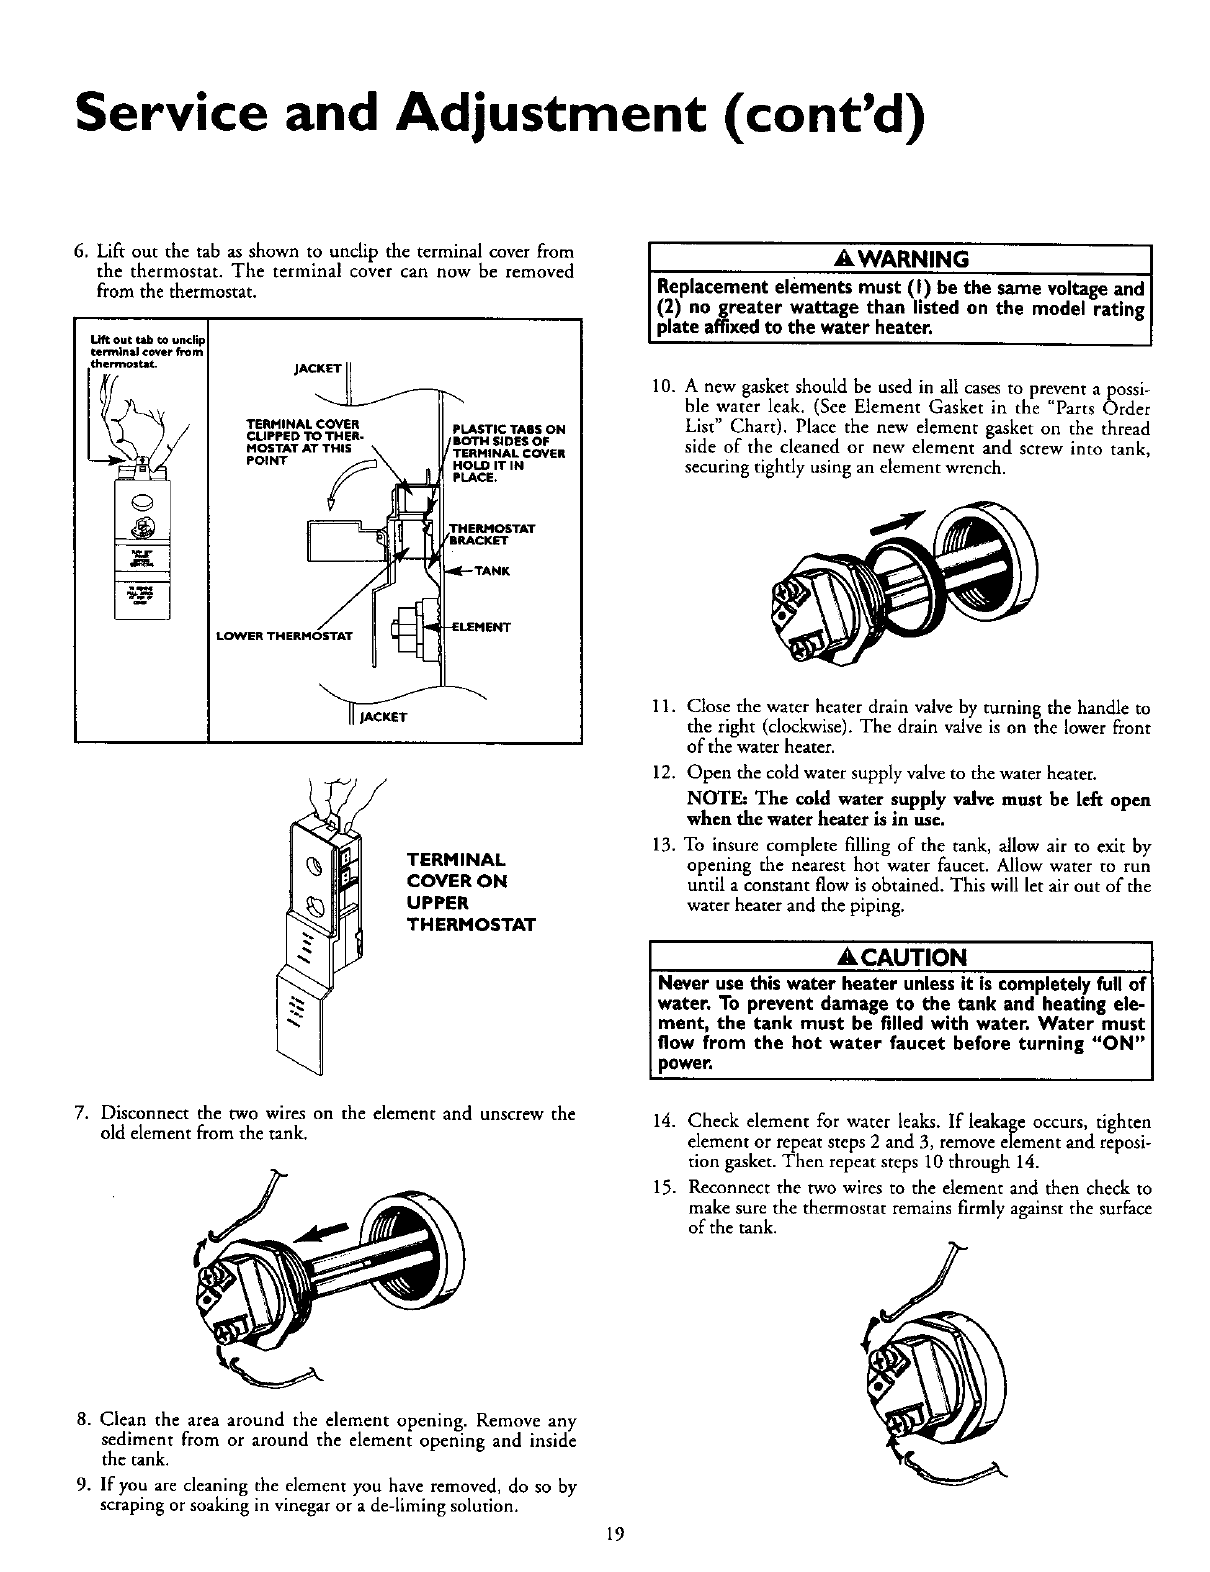
10. A new gasket should be used in all casesto prevent a possi-
ble water leak. (See Element Gasket in the "Parts Order
List" Chart). Place the new element gasket on the thread
side of the cleaned or new element and screw into tank,
securing tightly using an element wrench.
11.
12.
13.
Close the water heater drain valve by turning the handle to
the right (clockwise). The drain valve is on the lower front
of the water heater.
Open the cold water supply valve to the water heater.
NOTE: The cold water supply valve must be left open
when the water heater is in use.
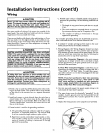
To insure complete filling of the tank, allow air to exit by
opening the nearest hot water faucet. Allow water to run
until a constant flow is obtained. This will let air out of the
water heater and the piping.
& CAUTION I
Never use this water heater unless it is completely full of I
water. To prevent damage to the tank and heating ele- I
ment, the tank must be filled with water. Water must I
flow from the hot water faucet before turning "ON"
power.
14. Check element for water leaks. If leakage occurs, tighten
element or repeat steps 2 and 3, remove element and reposi-
tion gasket. Then repeat steps 10 through 14.
15. Reconnect the two wires to the element and then check to
make sure the thermostat remains firmly against the surface
of the tank.
9. If you are cleaning the element you have removed, do so by
scraping or soaking in vinegar or a de-liming solution.
19