


2. Remove (slide) the filter from the unit.
3. If you are replacing the filter skip to step 4. To clean the
filter use a vacuum with a hose attachment to remove any
dust or debris.
4. Place the new or cleaned filter into the water heater and
secu re thefilter to the shroud with the screw loosened earlier.
NOTE: Use the guides/slots when inserting the filter into
the water heater.
5. Restore power to the water heater and press the power
button to turn the water heater on. NOTE: The water heater
will conduct a system diagnostic check prior to operation.
Inspection/Cleaning of the Condensate Drain
Pan & Condensate Drain Lines
IMPORTANT: Before attempting to clean or replace the
condensate drain pan or lines press the power button to place
the water heater in Standby Mode and shut-off power to the
water heater at the circuit breaker/fuse box.
1. Remove the access panel (fan side) by loosening the screws
securing it to the unit.
2. Check the condensate drain pan and drain lines for any dirt or
debris that might interfere with proper drainage. Wipe out any
dirt or debris with a damp cloth.
3. Once the condensate drain pan and lines have been
inspected/cleaned, secure the access panel to the water
heater.
4.
Restore power to the water heater and press
the power button to turn the water heater on.
NOTE: The water heater will conduct a system diagnostic
check prior to operation.
Drain Valve Washer Replacement
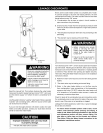
• Before removing any access
panels or servicing the water
heater, make sure the electrical
supply to the water heater is
turned "OFF".
• Failure to do this could result in
death, serious bodily injury, or
property damage.
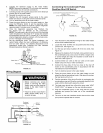
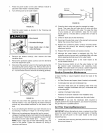
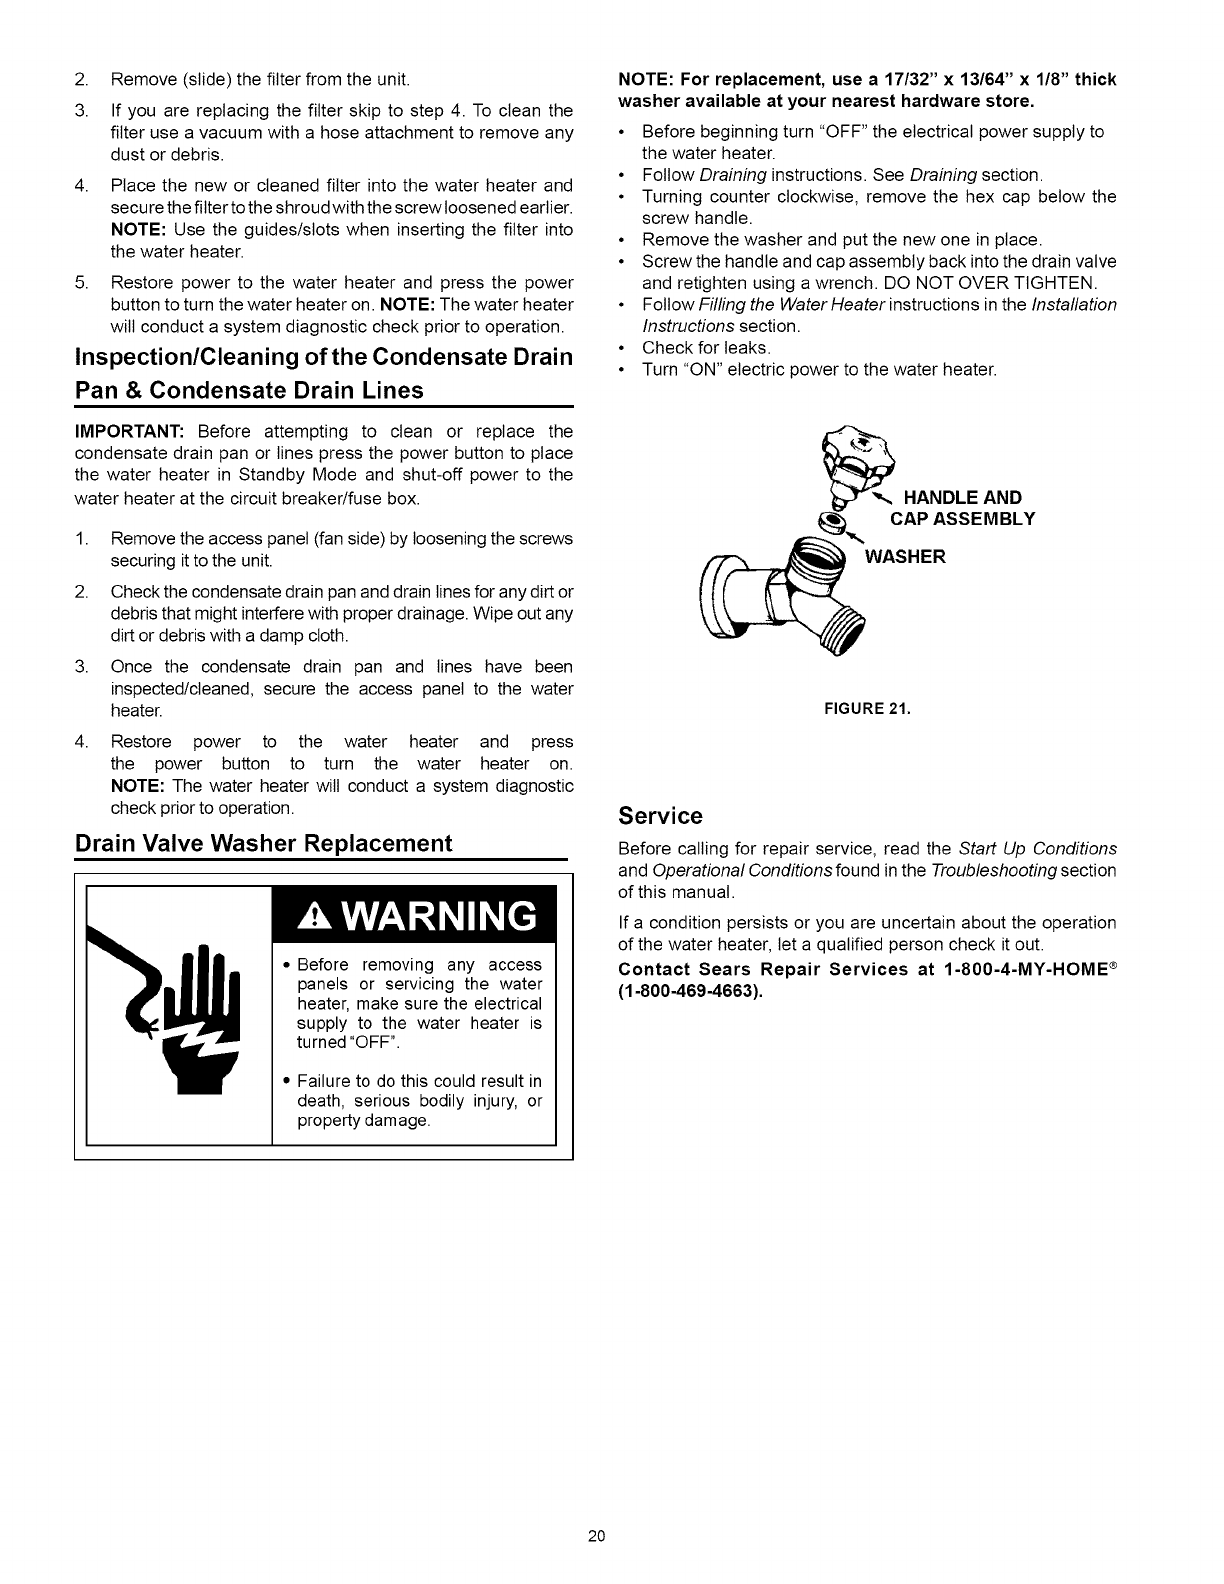
NOTE: For replacement, use a 17/32" x 13/64" x 1/8" thick
washer available at your nearest hardware store.
• Before beginning turn "OFF" the electrical power supply to
the water heater.
• Follow Draining instructions. See Draining section.
• Turning counter clockwise, remove the hex cap below the
screw handle.
• Remove the washer and put the new one in place.
• Screw the handle and cap assembly back into the drain valve
and retighten using a wrench. DO NOT OVER TIGHTEN.
• Follow Filling the Water Heater instructions in the Installation
Instructions section.
• Check for leaks.
• Turn "ON" electric power to the water heater.
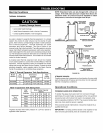
WASHER
FIGURE 21.
Service
Before calling for repair service, read the Start Up Conditions
and Operational Conditions found in the Troubleshooting section
of this manual.
If a condition persists or you are uncertain about the operation
of the water heater, let a qualified person check it out.
Contact Sears Repair Services at 1-800-4-MY-HOME ®
(1-800-469-4663).
20