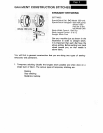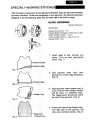
SPECIAL FINISHING STITCHES
After the basic construction of your garment is finished, there are still many finishing
touches to be done. To aid your completion of your garment, the Kenmore has been
designed to do the following tasks that formerly had to be done by hand.
O
24-
6-
BLIND HEMMING
(Model 1250 only)
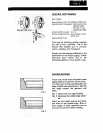
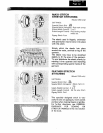
SETTINGS:
Special Stitch Dial - v'v"
Special Stitch Variegator- Red mark on top
Stitch Width Control - 2 to 3
Stitch Length Control - about 8 to 12
Zigzag Stitch Foot
F
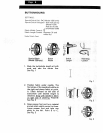
_-_lnside of Dress
Finished edge
Fig. 1
Fig. 2_Finished edge
rF
Presse oot
Fig. 3
Fig. 4
finished hem
,
,
1
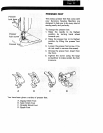
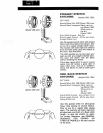
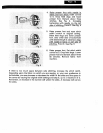
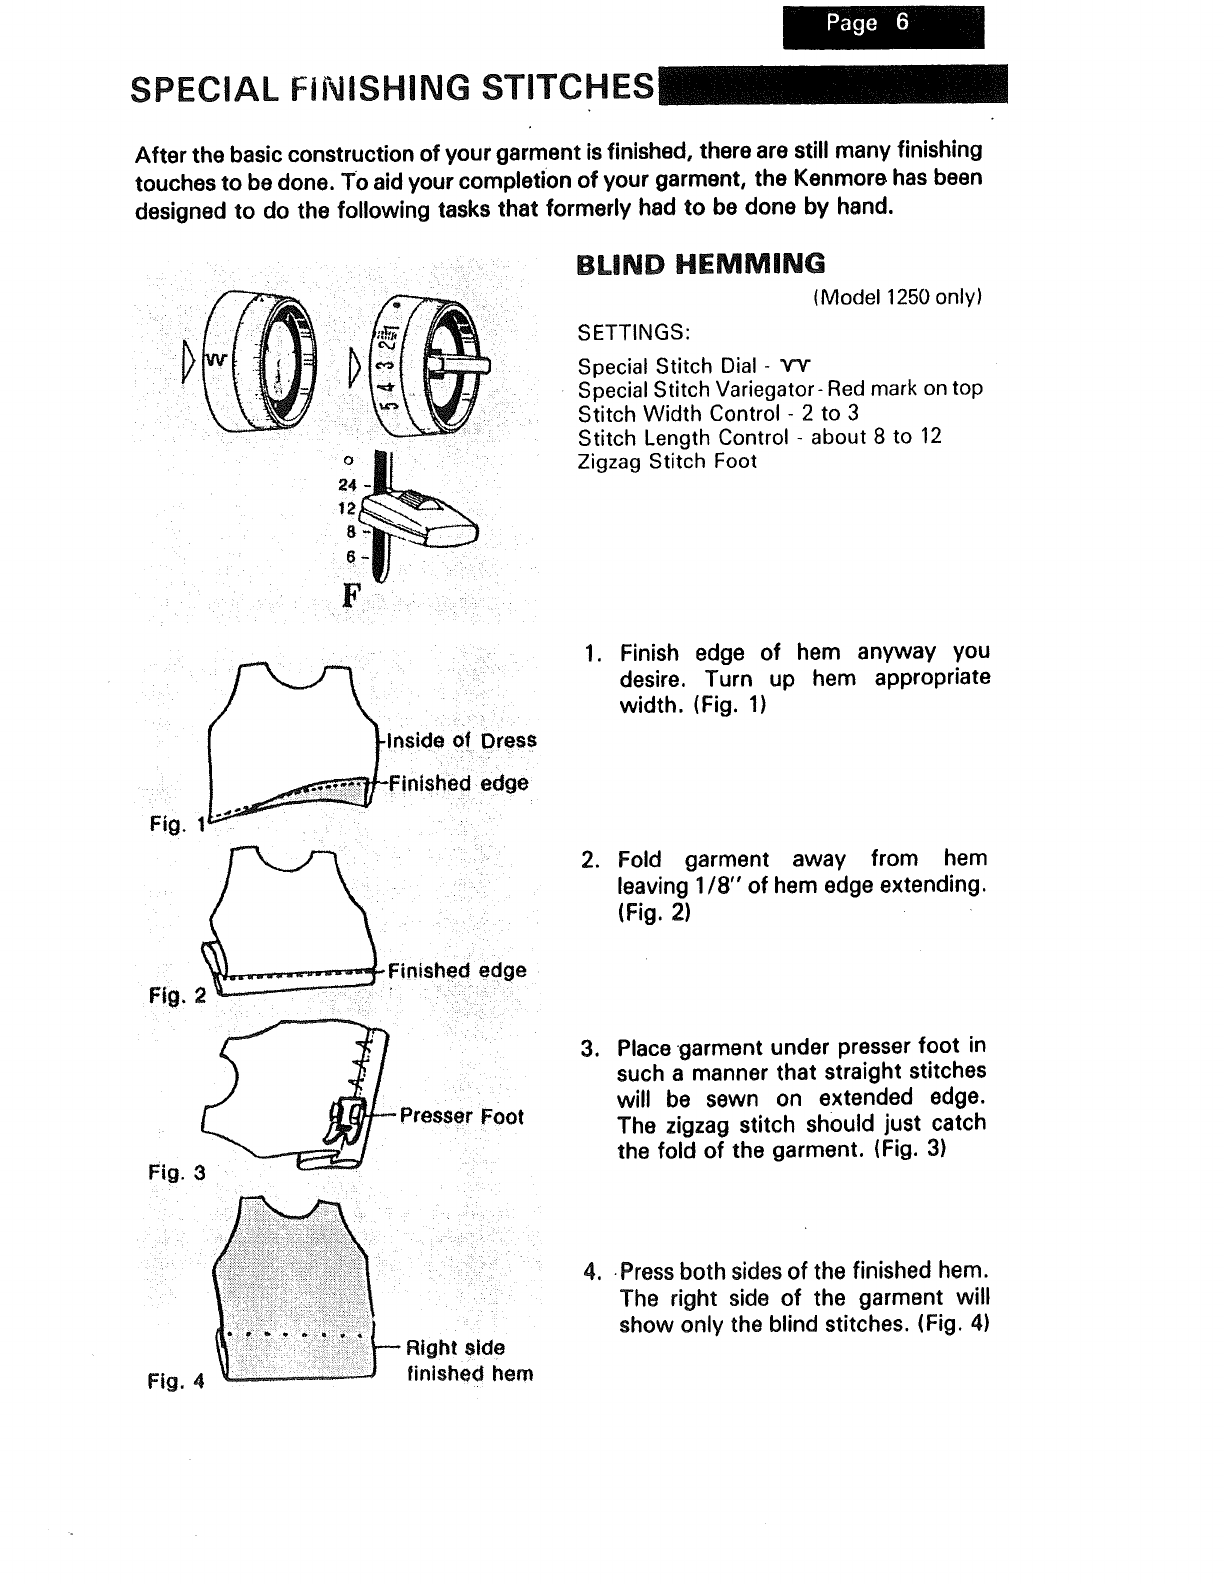
Finish edge of hem anyway you
desire. Turn up hem appropriate
width. (Fig. 1)
Fold garment away from hem
leaving 1/8" of hem edge extending.
(Fig. 2)
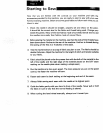
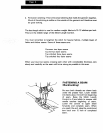
Place garment under presser foot in
such a manner that straight stitches
will be sewn on extended edge.
The zigzag stitch should just catch
the fold of the garment. (Fig. 3)
4. Press both sides of the finished hem.
The right side of the garment will
show only the blind stitches. (Fig. 4)


