SECTION 2—OPERATING THE BATH LIFT
1900/1900S Bath Lift 14 Part No. 1148113
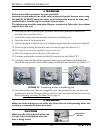
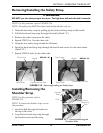
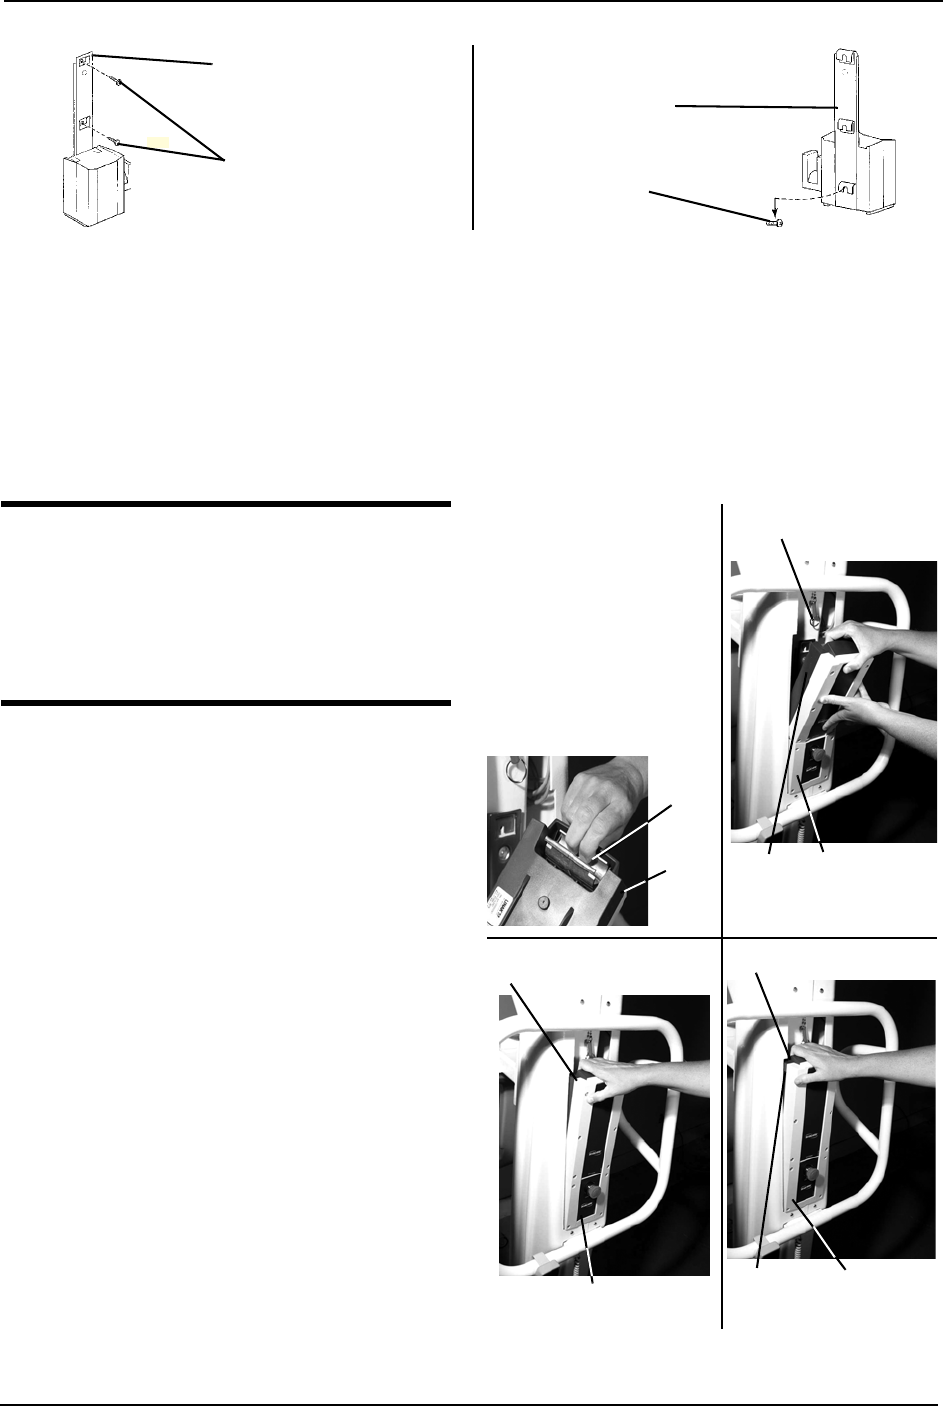
FIGURE 2.8 Mounting the Battery Charger
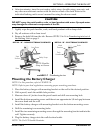
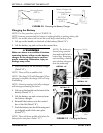
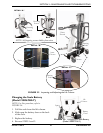
Charging the Battery
NOTE:Forthisprocedure,refertoFIGURE 2.9.
NOTE:Invacarerecommendsthebatteryberechargeddailytoprolongbatterylife.
NOTE:Anaudiblealarmwillsound(hornwillbeep)whenbatteryislow.
1. Liftuponthehandleonthebackofthebattery(Detail“A”).
2. Liftthebatteryupandoutfromthecontrolbox.
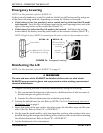
ƽ WARNING
Make sure there is an audible click when
mounting battery either on the battery
charger or the control box to confirm
proper mounting. Otherwise, injury or
damage may occur.
3. Placethebatteryonthebatterycharger
(Detail“B”).
NOTE:Therewillbeanaudibleclick.
NOTE:ThechargeLEDwillilluminate.When
chargingis complete,thechargeLEDwillstop
illuminating.
NOTE:Abatteryneedingto befullyrecharged
willtakeapproximatelyfourhours.
4. Liftuponthehandleonthebackofthe
battery(Detail“A”).
5. Liftthebatteryupandoutawayfrom
thebatterycharger.
6. Reinstallthebatteryontothecontrol
boxofthelift(Detail“B”).
7. Push thebatteryintoth elifthousingand
rockslightlyuntilitlocksintoplace
(Detail“C”).
NOTE:Therewillbeanaudibleclickwhenthe
batterylocksintoplace(Detail“D”).
FIGURE 2.9 Charging the Battery
Mounting Bracket
(STEP 6)
Mounting Screws
(STEP 7)
Battery Charger with
Mounting Bracket
(STEP 5)
BOTTOM
Mounting Screw
(STEP 4)
Handle
Audible
Click
Control Box
Battery
DETAIL “A”
DETAIL “B”
Battery
Control Box
Battery
Control
Box
Battery
DETAIL “C”
DETAIL “D”
NOTE:Thebatteryis
shownbeingremoved
f
romandinstalledintoa
controlbox.Removing
andinstallingabattery
intoabatterychargeris
donethesameway.
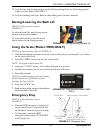
Emergency Pull Pin


