


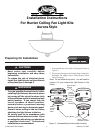
41558-01 3-6-2003 2 © 2003 Hunter Fan Company
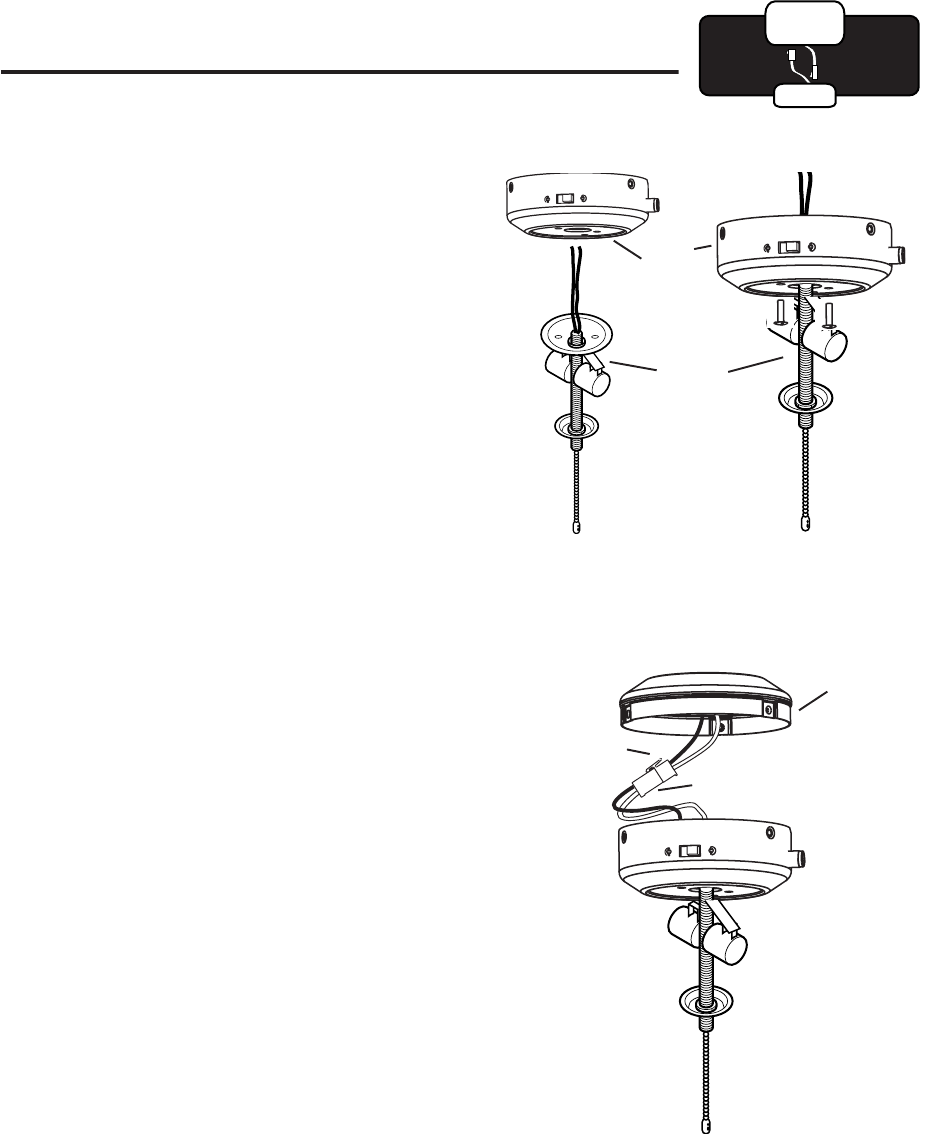
1. Insert the black wire and white wire from the
light kit assembly through the hole in the bottom
of the lower switch housing. Refer to Figures 2
and 3.
2. Securely tighten the light kit assembly into the
bottom of the lower switch housing. Refer to
Figure 3.
3. Install the nut and washer onto the end of the
light kit assembly inside of the lower switch
housing. Securely tighten the nut and washer.
Insert and tighten the two #6-32 sems light
fixture mounting screws. Refer to Figure 3.
4. Using the wire nuts on the two light kit wires in
the lower switch housing, connect the black wire
from the light kit assembly to the black/white
wire from the lower switch housing and connect
the white wire from the light kit assembly to the
white wire from the lower switch housing.
5. Reconnect the upper plug connector from the
upper switch housing to the lower plug connector
in the lower switch housing. Refer to Figure 4.
Note: Both plug connectors are polarized and will
only fit together one way. Make sure that both
connectors are properly aligned before connecting
them together. Incorrect connection could cause
improper operation and damage to the product.
6. Align the holes in the upper switch housing and
the lower switch housing. Securely tighten the
three switch housing screws assembly screws.
Refer to Figure 1 and 4.
Figure 2 - Assembling
the Light Kit
Figure 3 - Attached Light
Kit Assembly
Installing the Light Fixture
Figure 4 - Connecting the Plug Connectors
Upper Plug
Connector
Lower Plug
Connector
Upper
Switch
Housing
Light Kit
Assembly
Lower
Switch
Housing