


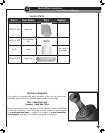
5
©2010 Hunter Fan Company
Using Your Humidifier
Initial Setup and Operation
2
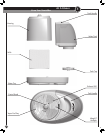
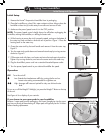
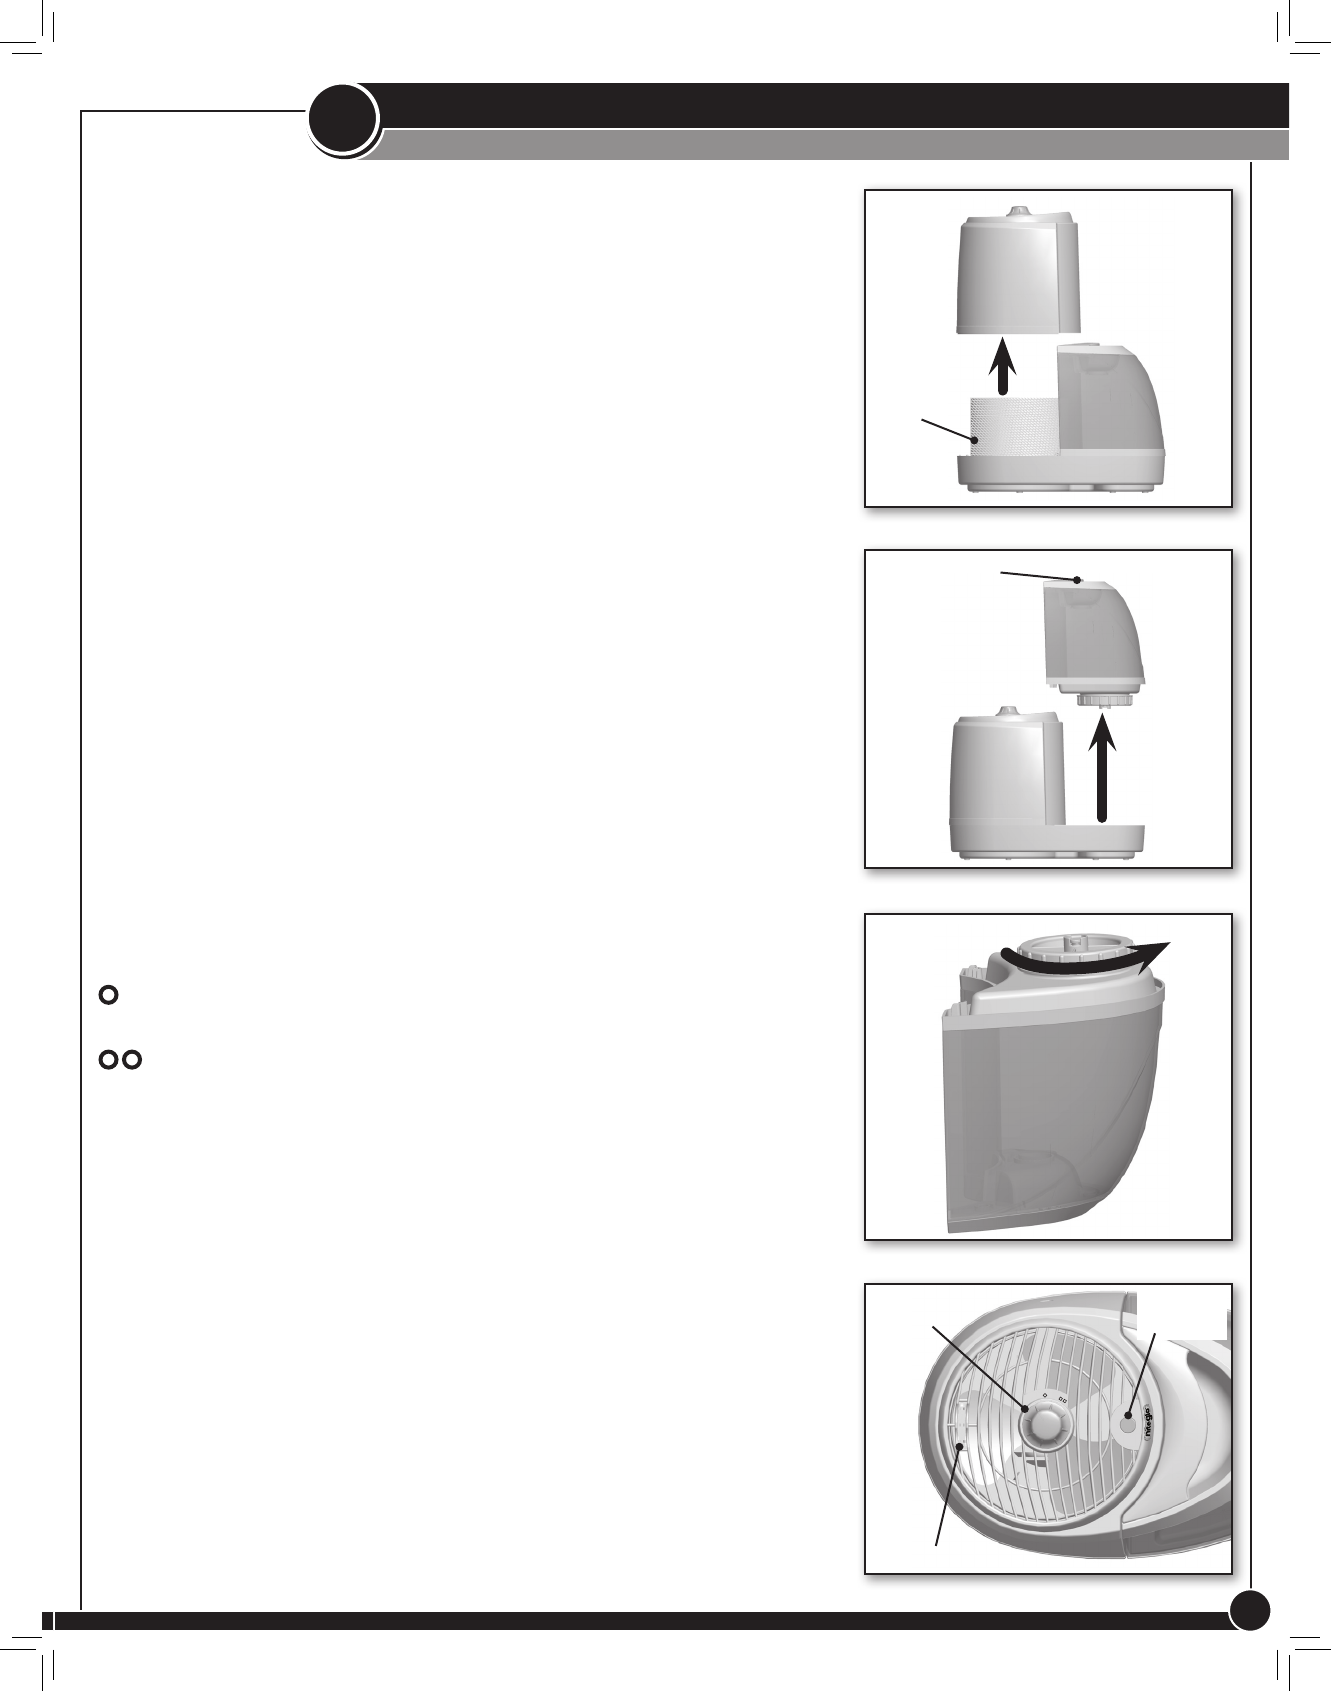
Figure 1.
Initial Setup
1. Remove the Hunter
®
Evaporative Humidier from its packaging.
2. Place the humidier on a hard, at, water resistant surface. Always place the
humidier at least six (6) inches away from walls and sources of heat.
3. Make sure the power/speed control is in the ‘OFF’ position.
NOTE: The power/speed control should always be off before unplugging the
humidier, moving the humidier, or relling the water tank.
4. Lift the housing to ensure the wick is properly seated, resting on the bottom of
the water tray and not tilted or otherwise out of position. Figure 1. Place the
housing back on the water tray.
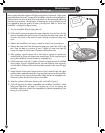
5. Grasp the water tank by the tank handle and remove it from the water tray.
Figure 2.
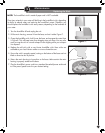
6. Turn the water tank upside-down and remove the tank cap by turning counter-
clockwise. Figure 3.
7. Fill the water tank with clean, cool water and return the tank cap to its position.
Tighten it by turning clockwise, and return the water tank to the water tray.
8. Plug the humidier’s power cord into a standard household power outlet.
9. Turn the power/speed control to your desired humidier fan speed.
Wick
Figure 3.
Figure 2.
Tank Handle
O
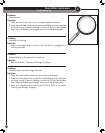
Figure 4.
Control
Knob
Operation
Off Turns the unit off.
Low: Extends the time between rells by running the fan on low.
Lowest noise setting recommended for nighttime use.
High: Average rell rate and optimal for day use. Minimal noise
level.
To turn on or off the Niteglo™ Nitelight, just press the Niteglo™ Button on the top
of the unit.
See Figure 4. for a display of your controls.
If you choose to use vapor pads in your humidier:
Remove 1 vapor pad from the packaging, and insert it lengthwise into the vapor
pad tray on the top of the exhaust grill. Vapor pads will typically last for 24 hours
before needing replacement.
Vapor Pad Tray
Niteglo™
Nitelight