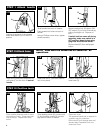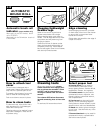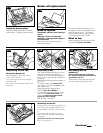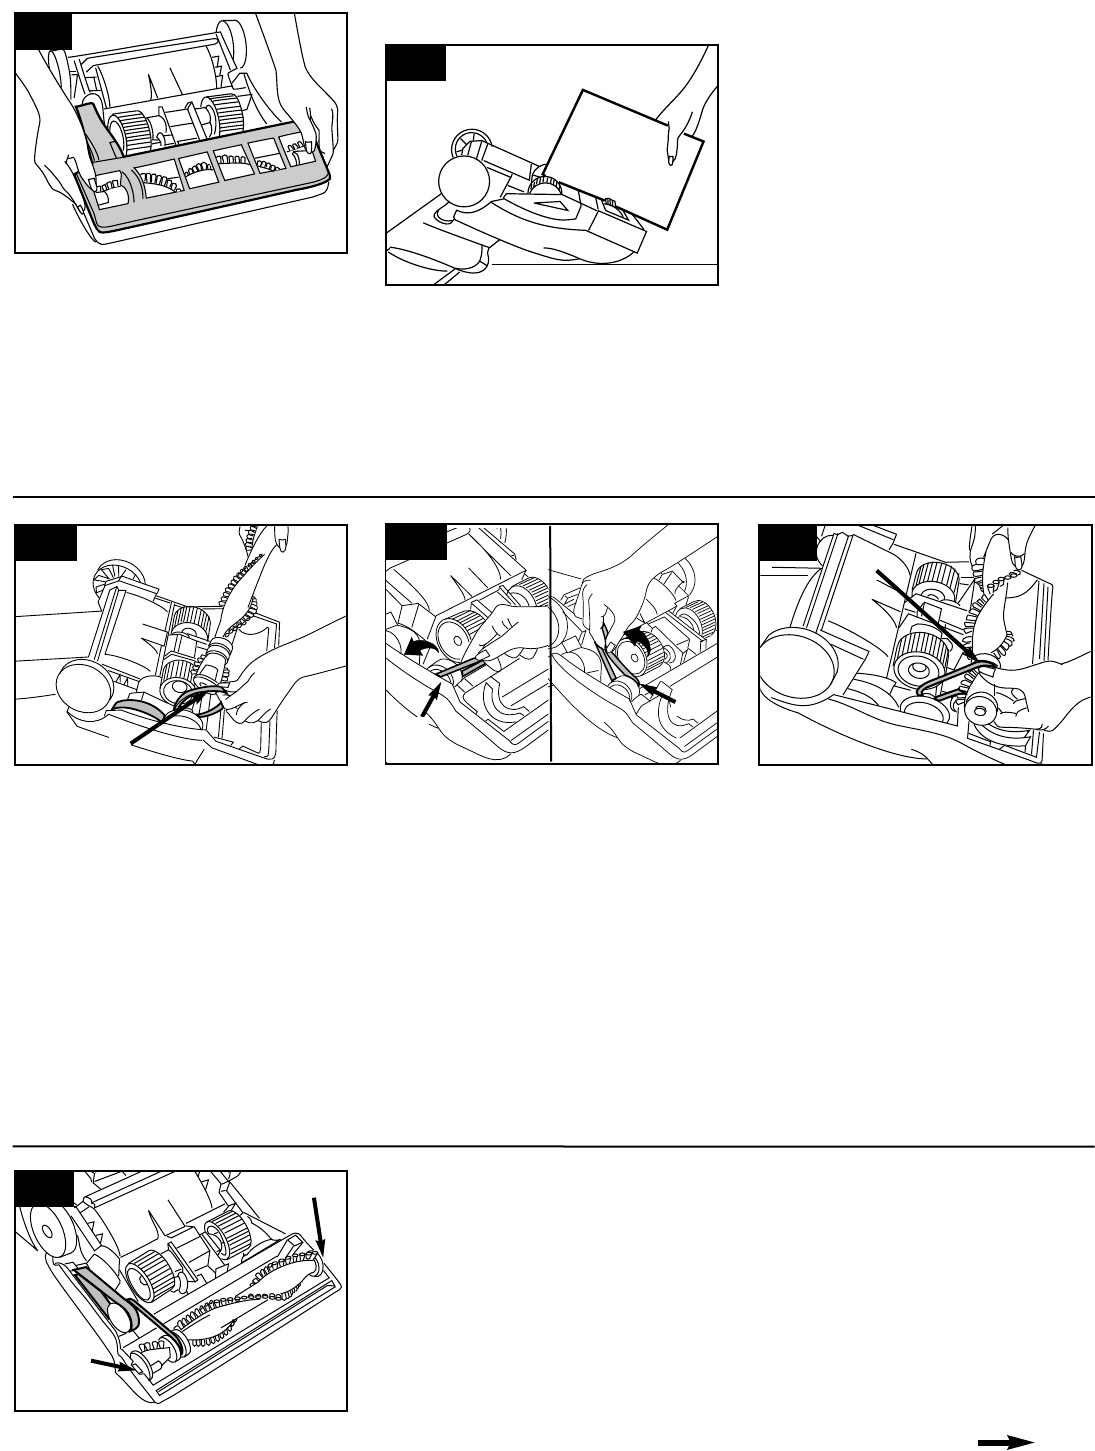
Installing brush roll
Grasp brush roll and fit it into position by
first sliding end, opposite the belt, into
the rectangular slot (G) on side of clean-
er.
Push other side of brush roll (H) into
place. Belt may fit loosely when proper-
ly installed.
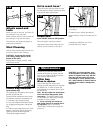
Reposition flat belt and bottom plate
(Figs. 3-12 and 3-13).
Replacing brush roll
Removing brush roll
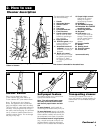
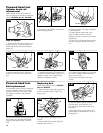
Slide Brush Roll Control (Fig. 2-9) to
“Hard” (OFF) position.
Turn cleaner over and remove bottom
plate (Fig. 3-9).
Lift up brush roll and slide V-belt (D) off
brush roll.
11
3-13
3-15
3-17
Inspecting V-belt
The V-belt is designed to last for a long
time and is not normally replaced.
However, if V-belt is cracked, gouged or
broken, now is a good time to replace it
as follows.
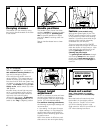
Slide flat belt off large pulley as shown in
Fig. 3-10.
To remove V-belt, slide back of belt
over pulley (C). Then firmly pull on belt
and “snap” it out.
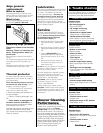
Discard used belt. Replace with
HOOVER part No. 38528034.
To install new belt (with lettering on out-
side of belt), slide back of belt over
pulley and pull front of belt toward
groove (E) next to pulley.
Belt will “pop” into place.
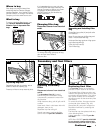
Positioning belt on
brush roll
Before positioning belt onto brush
roll, check for debris accumulation as
described in Fig. 4-2.
Insert brush roll through belt and posi-
tion belt in groove (F) on brush roll.
D
F
3-18
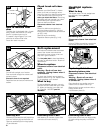
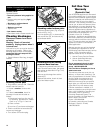
Replacing bottom plate
Reposition bottom plate and 4 Phillips
head screws. Tighten screws securely.
Continued
3-14
Brush roll replacement
When to replace
Disconnect cleaner from electrical
outlet.
Warning - Brush roll can start
suddenly. Unplug cleaner when it
is turned over.
When brush roll brushes are worn, it
should be replaced.
To check condition of brushes, move
the edge of a card across bottom plate
while turning brush roll. To maintain
cleaning effectiveness, replace brush
roll if brushes do not touch card.
What to buy
When purchasing a new brush roll, ask
for HOOVER part No. 48414069.
3-16
C
E
H
G


