4
1-6 1-7
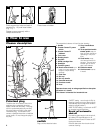
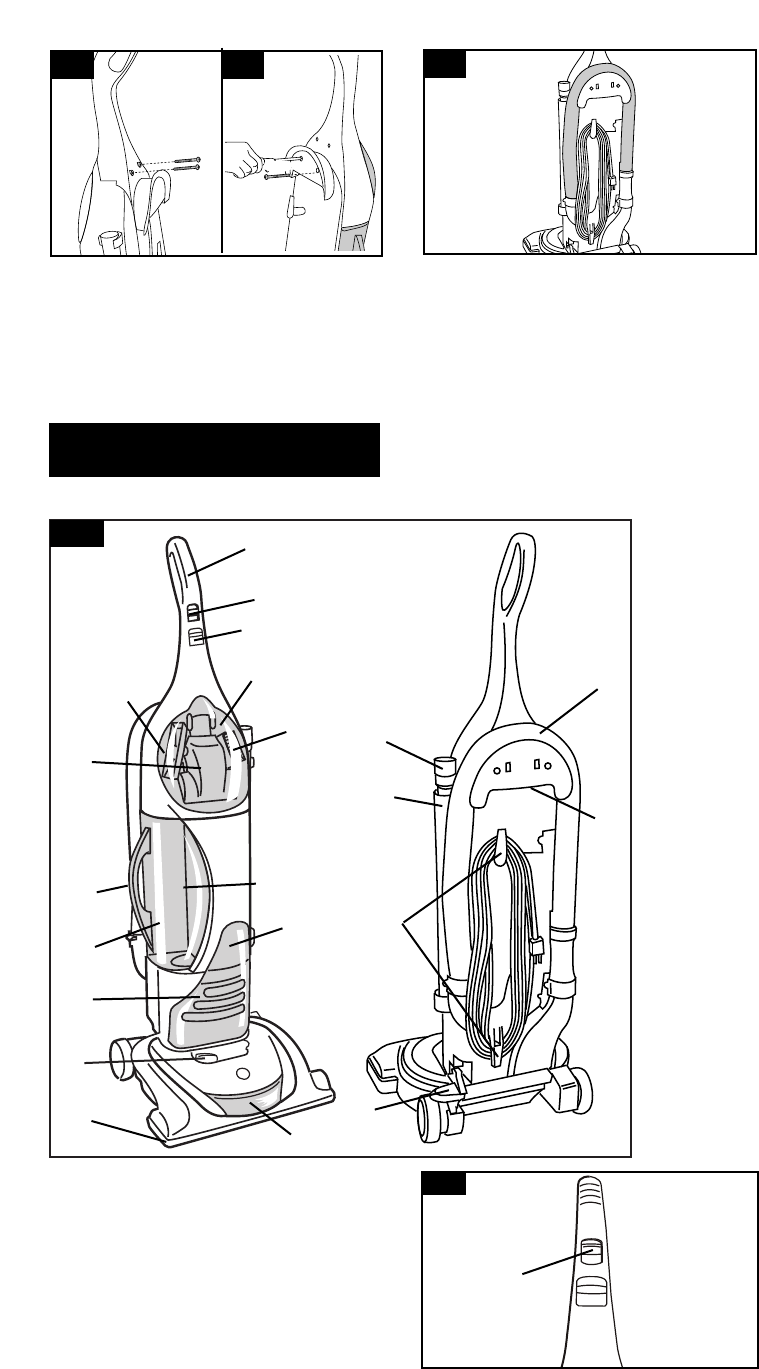
1. Handle
2. Custom Control™ power
switch
3. Custom Control™
indicator
4. Tool cover
5. Dusting brush
6. Pre-filter
7. HEPA cartridge filter
8. Headlight
9. Furniture guard
10. Nozzle control knob: turn
knob to correct setting for
height of carpet being
cleaned.
11. Final filter
12. Dirt cup
13. Dirt cup handle
14. Powered hand tool
15. Furniture nozzle
16. Hose
17. Carry handle/Hose
holder
18. Three position handle
release pedal: step on
lever to lower handle to
operating or low posi-
tions.
19. Cord hooks: wrap
cord around hooks for
storage. The top hook
rotates right or left for
easy cord release.
20. Extension wand
21. Crevice wand: stores
in wand.
2-1
Cleaner description
1
2
3
18
14
15
11
13
6
7
8
9
10
12
19
17
20
5
2. How to use
21
4
16
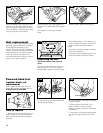
The assembled cleaner will look like the drawing.
Operate cleaner only at voltage specified on data plate
on bottom of cleaner.
This cleaner is intended for household use.
Polarized plug
To reduce the risk of electric shock, this
appliance has a polarized plug (one
blade is wider than the other). This plug
will fit in a polarized outlet only one way.
If the plug does not fit fully in the outlet,
reverse the plug. If it still does not fit,
contact a qualified electrician to install the
proper outlet. Do not change the plug in
any way.
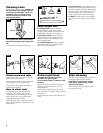
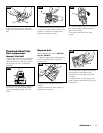
CARPET setting - turns brush roll ON, for
cleaning carpets and rugs. (Brush roll will
automatically stop turning when handle is
raised to upright position.)
BARE FLOOR setting - turns brush roll OFF
for cleaning hard surfact floors.
Brush roll automatic
shut-off
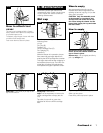
If something gets caught in the brush roll,
the cleaner will automatically turn off.
Slide the Custom Control™ switch to OFF.
Unplug the cleaner.
Remove obstruction from brush roll and
continue cleaning.
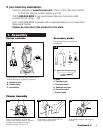
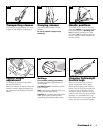
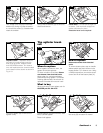
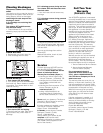
Place hose on holder.
Push screws into holes on back of
handle (Fig. 1-6) and hose holder
(Fig. 1-7).
Tighten screws securely with a
Phillips screwdriver.
1-8
2-2
A
Custom Control™
switch
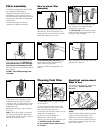
Plug cord into electrical outlet.


