


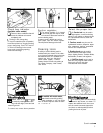
Questions or
Concerns?
The Hoover Company wants to
quickly resolve any concerns about
your cleaner or questions regarding
its use. Look on the list provided
with the product for your local
Hoover Factory Service Center
or
in the Yellow Pages under “Vacuum
Cleaners
-
Household” for the near-
est
Authorized Hoover Warranty
Service Dealer
(Depot) or call:
l-800-944-9200
for an automated
referral of authorized service outlet
locations (U.S. only)
OR
l-330-499-9499
to speak with a
representative in the Hoover
Consumer Response Center.
DO NOT RETURN THIS PRODUCT
TO THE STORE OR SEND
ITT0
NORTH CANTON FOR SERVICE.
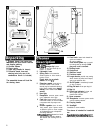
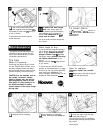
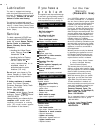
Connect hose
El
With hose toward front of cleaner,
push hose connector into opening
in bag lid.
When hose is attached properly, hose
cord plug will reach to receptacle on
cleaner.
q
Insert plug as deeply into the
recep-
’ tacle as possible. Latch (A) will
automatically fasten.
To disconnect hose, first remove hose
cord plug from receptacle while pulling
out on latch. Then, depress buttons
(shown in Fig. 3 by arrows) on hose con-
nector and pull up.
Note: The flexible hose contains elec-
trical wires for connection to the
power nozzle
and
should not be used
if damaged. The wires should not be
seen through the outer skin.
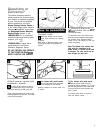
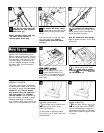
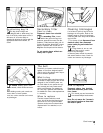
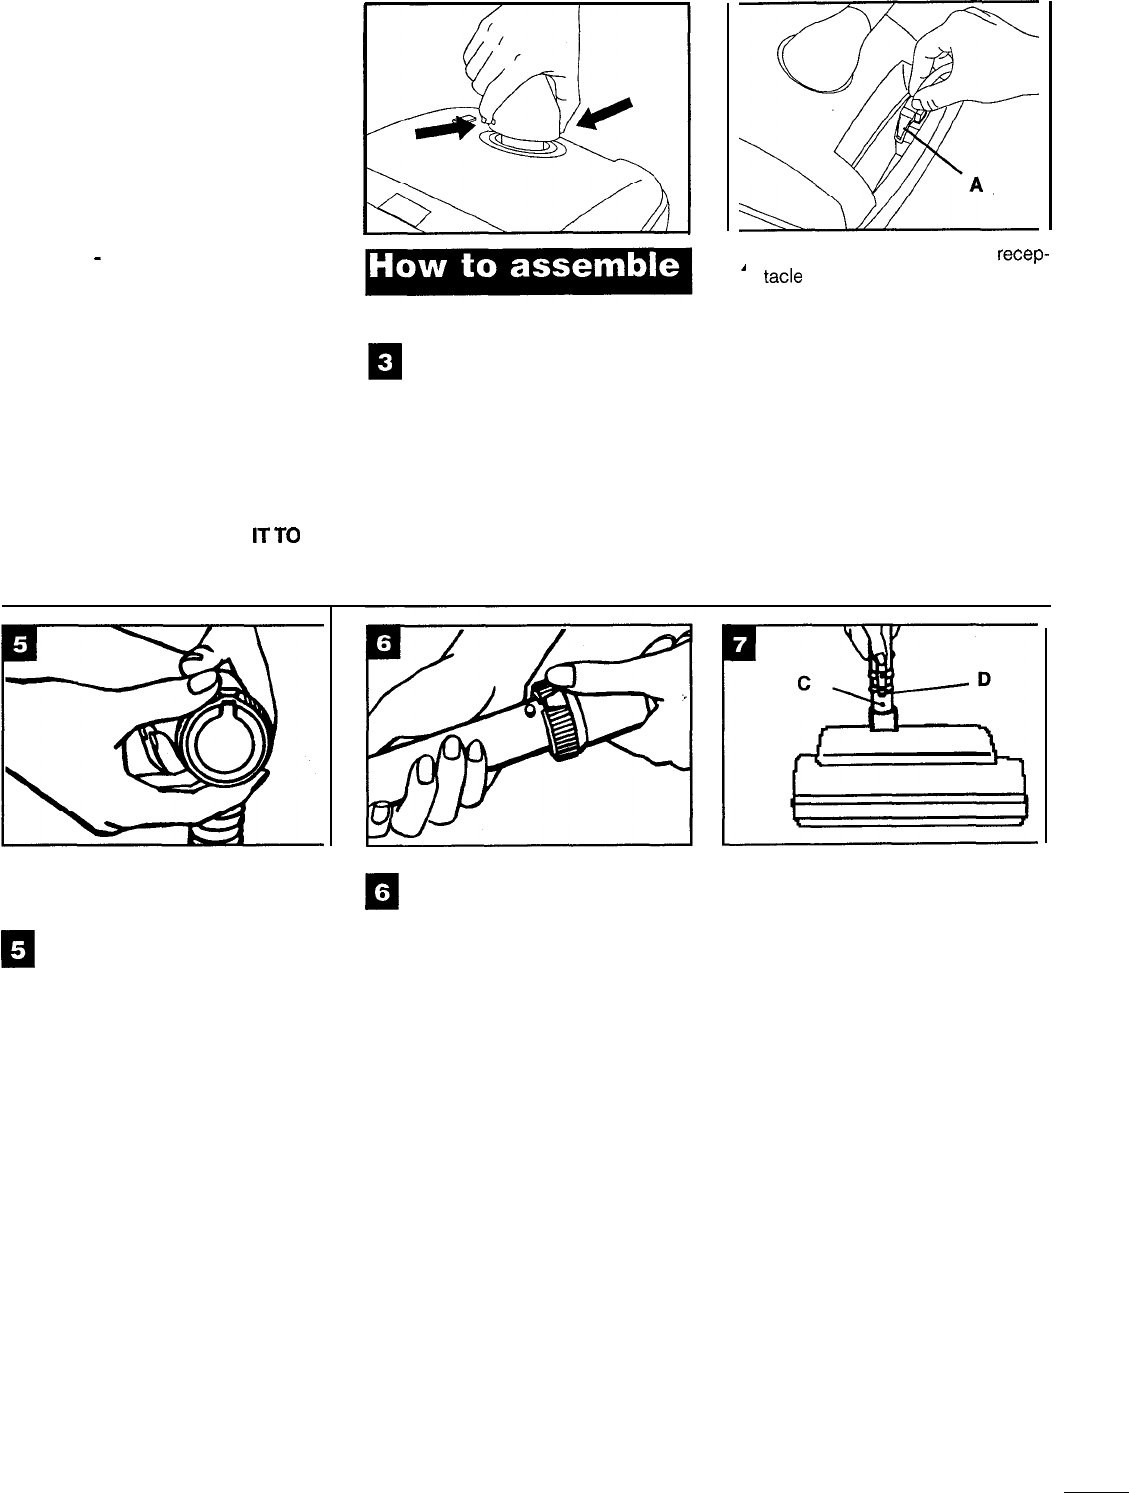
Attach power nozzle and
extension wands
u
To attach hose to extension wand,
turn plastic latch ring on hand grip
until outer slot lines up with inner slot.
Push hand grip down onto wand so that
button projection fits into slot. Turn latch
ring to lock into place.
13
For cleaners with plastic wands,
’
the second wand, tools and power
nozzle are attached in this manner.
Reverse procedure to remove wand, tool
or nozzle.
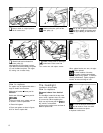
P
q
For cleaners with metal wands,
attach second wand or tool by
pushing the button projection (C) on one
into the spring latch (D) of the first wand.
Connect nozzle to second wand in the
same manner.
To release, press down on center of
latch and remove nozzle.
3