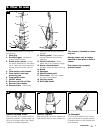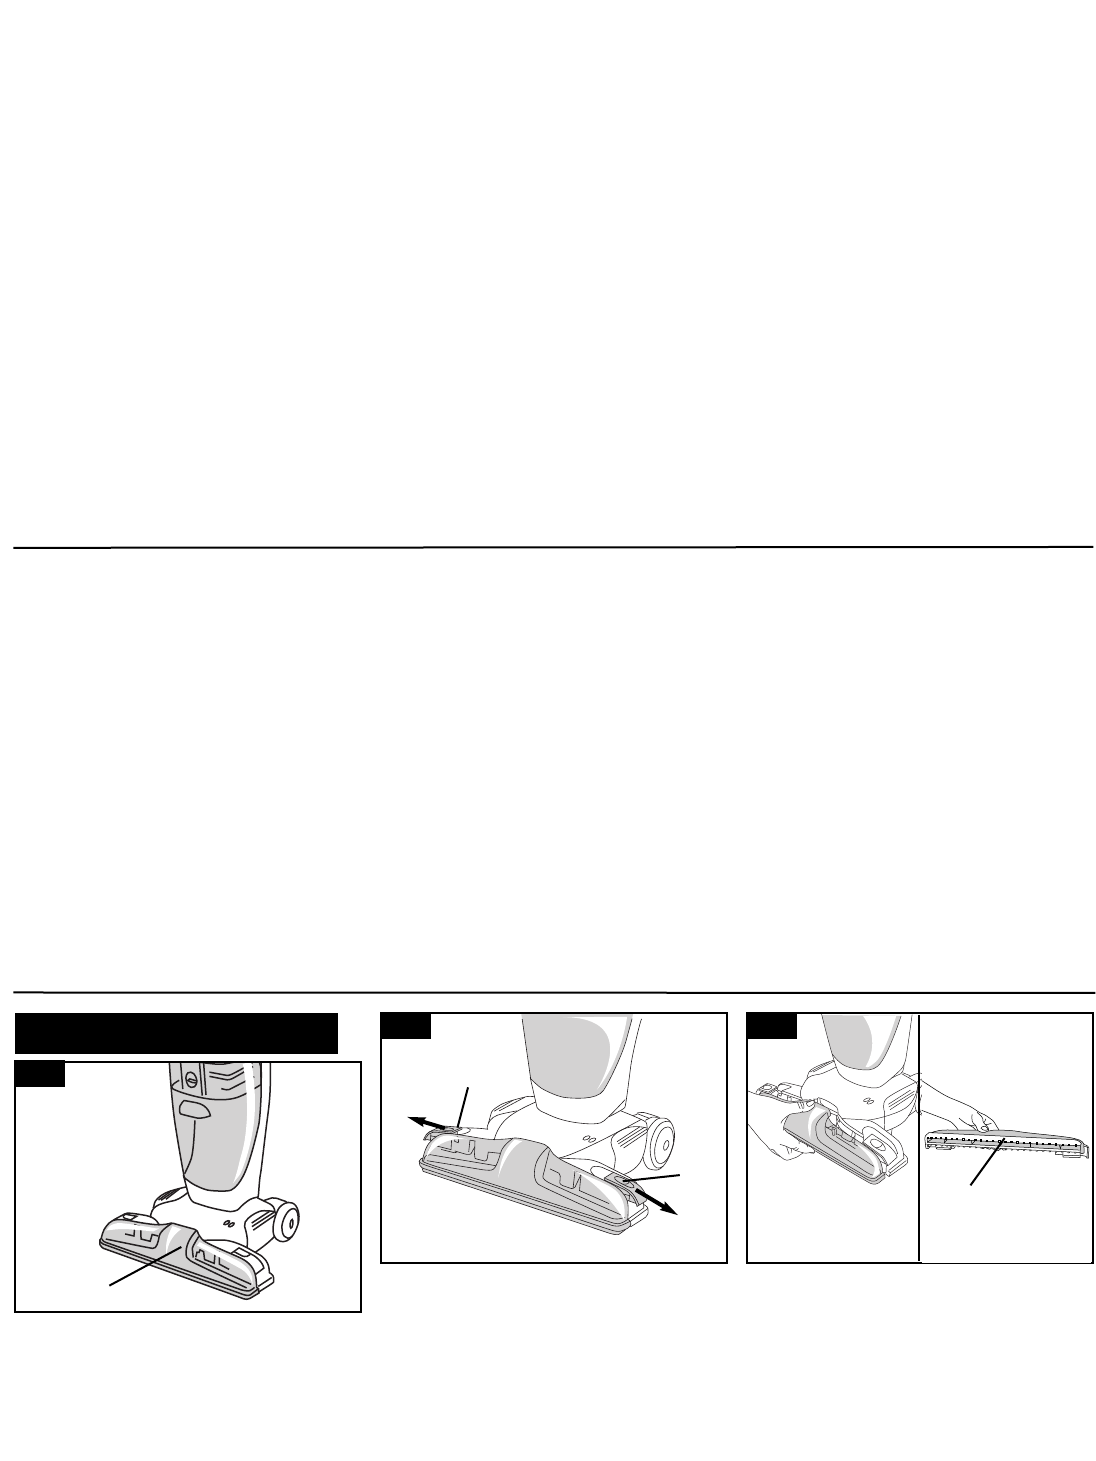
4-1
4-2 4-3
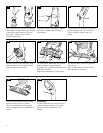
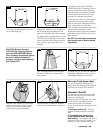
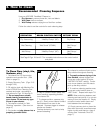
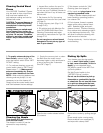
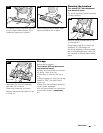
Slide the two nozzle release latches
(B) outward.
Remove the nozzle by pulling straight
out.
Rinse nozzle under running water.
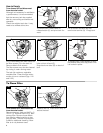
Remove debris from squeegee (C)
and wipe with a damp cloth.
Cleaning the Nozzle
Turn cleaner OFF and disconnect
from electrical outlet.
The cleaner’s nozzle (A) can be
removed for easy cleaning.
4. Maintenance
B
B
A
C
10
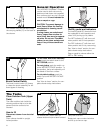
Cleaning Sealed Wood
Floors
Your HOOVER ‘FloorMate’ Cleaner
may be used to clean wood floors
that have been sealed with a
polyurethane coating and can be
cleaned with water.
CAUTION: To prevent damage to
wood floors, follow the flooring
manufacturer’s cleaning recom-
mendations.
If using cleaner on sealed wood
floors, inspect floor surface for
worn finish, bare wood or separat-
ed joints. Do not use ‘FloorMate’
cleaner to wet clean sealed wood
floors if any of these conditions
exist.
1. Inspect floor surface for worn fin-
ish, bare wood or separated joints.
Do not use your ‘FloorMate’ cleaner to
wet clean the floor if any of these con-
ditions exist.
2. Set cleaner for Dry Vacuuming
operation and vacuum floor (see chart
on Page 9).
3. Empty recovery tank (Figs. 2-16
through 2-20).
4. Fill solution tank with Machine For-
mula OLD ENGLISH® Wood Floor
Cleaning Concentrate and water,
according to instructions for Figs. 2-8
through 2-12.
Do not use pine or solvent based
detergents. Do not put any type of
wax in your cleaner.
5. Set cleaner controls for “Wet”
Cleaning (see chart page 9).
6. Dry hands and plug cleaner in to
a properly grounded outlet.
7. Step on handle release pedal and
lower handle to operating position;
turn cleaner ON.
8. Push cleaner forward, squeeze
trigger while pulling cleaner back-
ward. Release trigger and push
cleaner forward. Continue cleaning
floor surface while releasing solution
on the backward strokes only. This
will allow for effective cleaning with
small amounts of solution.
Overlap strokes by 1 inch to help pre-
vent streaking.
9. To greatly enhance drying of the
floor surface, release trigger and
move wet control switch to the “WET
PICKUP” setting.
10. To continue cleaning, move wet
control switch down to “WET Scrub”.
Repeat steps 7 – 9. Make sure all
areas are completely dry. Ensure
that no water remains on the floor.
NOTE: When switching between wet
cleaning and wet pickup, it is not
necessary to turn the cleaner off.
Simply move the control switch back
and forth between the two settings.
11. Empty the recovery tank or clean
the filter when the motor sound
becomes higher in pitch and there is
a loss of suction (see “Automatic
Shut-Off”, Page 7).
Picking Up Spills
Your cleaner may also be used to
pick up small liquid spills (1 quart
or less, never to exceed 1/4 inch in
depth) on non-carpeted floors.
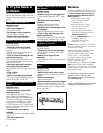
Set Wet/Dry pedal in the WET Pick-
up/Scrub position.
Set Wet Control switch to the
“WET/DRY Pickup” position.
Do not use the cleaner to pick up
flammable or combustible liquids
or chemicals. Do not use the clean-
er to pick up detergents that con-
tain pine or solvent based ingredi-
ents.


