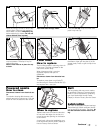
3-9
3-10
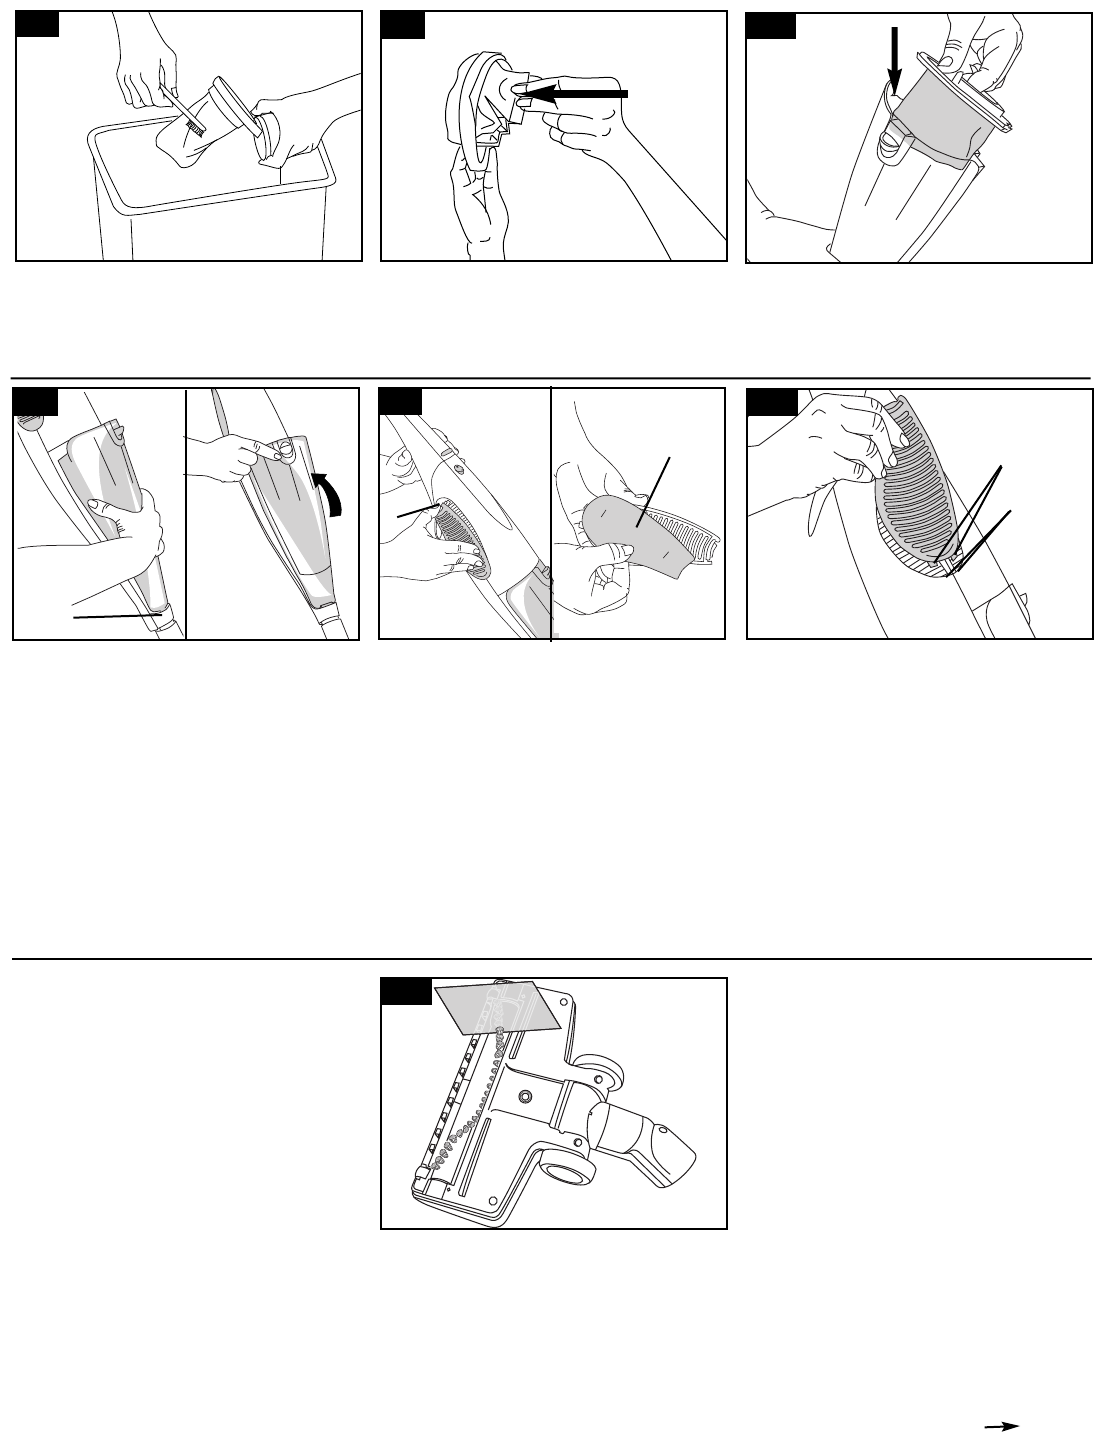
3-5
Brush the surface of filter to remove any
clinging litter. (Filter may be washed in
warm water. It must be completely dry
before replacing in cleaner. Do not use
cleaner without filter in place.)
3-6
Push filter back through frame.
Place filter on top of cup as shown and
push firmly into cup.
Final filter
How to replace
The final filter assists in returning clean air
to the room. The filter is located on the
side of the cleaner body.
When it becomes dirty, it must be
replaced. Replace with part no.
59136-022.
Disconnect cleaner from electrical out-
let.
To replace, press down on grill tab (F)
and remove grill. Remove the felt filter (G)
and replace with a new one.
Powered nozzle
How to clean
Disconnect cleaner from electrical out-
let.
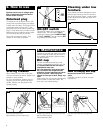
To maintain cleaning effectiveness, peri-
odically remove lint, strings, etc. from the
brush roll from the bottom of the nozzle.
3-7
Place bottom of cup (E) first, then pivot
cup into position. Press top of cup to
snap it into place.
NOTE: Filter must be in place for cup
to latch.
5
Continued
To replace the filter grill, insert tabs (H) at
the bottom of the grill into slots (I) in the
cleaner body. Press on grill to snap it into
position.
E
I
H
F
3-8
G
3-11
Belt
The long-lasting belt may never need to
be replaced. However, if the belt should
break, it can be replaced by contacting
your local Authorized Hoover Dealer
(Depot) or Hoover Factory Service Center.
Lubrication
The motor is equipped with two bearings.
These bearings contain sufficient lubrica-
tion for the life of the motor. Therefore, do
not add lubricant to either motor bear-
ing.
When to replace
Replace the brush roll when the brushes
do not touch the edge of a card as it is
moved across the opening on the bottom
of the nozzle.
A new brush roll can be installed by your
local authorized Hoover Dealer (Depot) or
Hoover Factory Service Center.


