60-2242—2 8
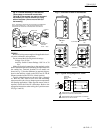
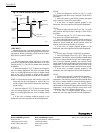
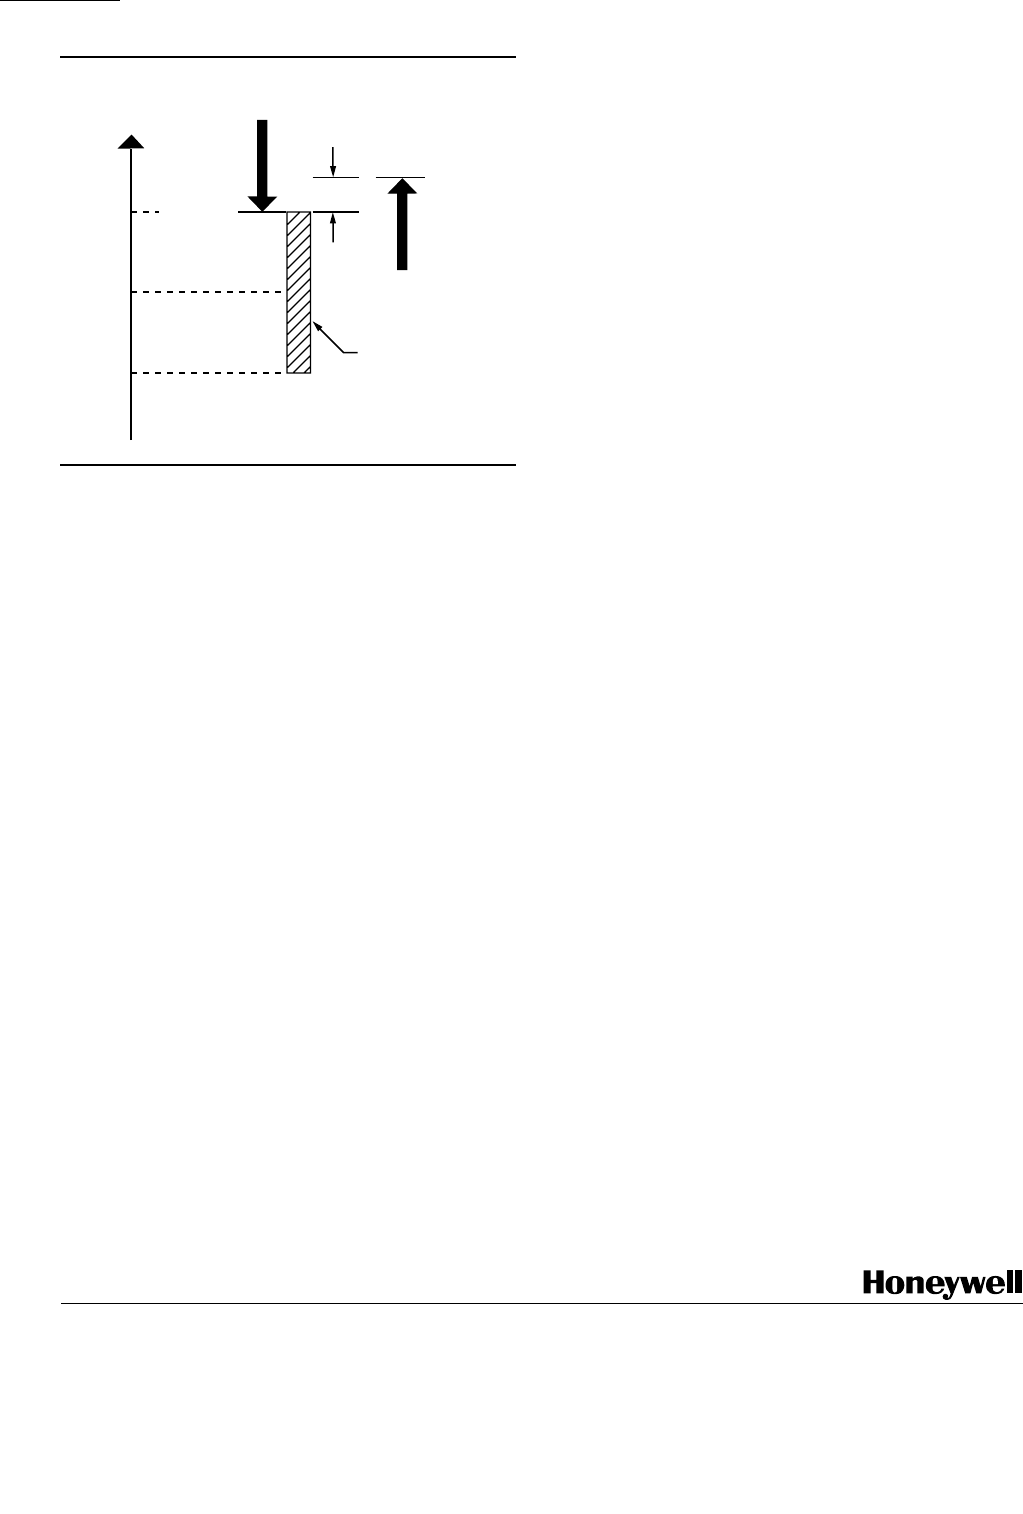
Fig. 13—T921G auxiliary switch operation.
T921A,B,E-G
OPERATION␣
T921B
1. Place the changeover switch (see Fig. 11) in the
HEAT position and follow steps 1 through 3 of the T921A
procedure.
2. Move the switch to the COOL position and repeat
steps 1 through 3 of the T921A procedure.
3. If the valve or damper responds properly to the
thermostat, move the setpoint to the desired temperature.
T921E
1. Place the night setback switch (see Fig. 11) in the
OFF position and follow steps 1 through 3 of the T921A
procedure.
2. Move the setpoint 5° F [3° C] above room tempera-
ture; the valve or damper should open.
3. Move the night setback switch to the ON position; as
the heater in the thermostat warms up, the valve or damper
should be driven toward the closed position. Allow 30
minutes for the heater and bellows to warm up.
4. If the valve or damper responds properly to the
thermostat, move the setpoint to the desired temperature.
T921F
1. Follow steps 1 through 3 of the T921A procedure.
2. Move the setpoint at least 10° F [6° C] above room
temperature. The auxiliary switch should be make R-B and
the valve or damper should be open (for heating applica-
tion). Lower the setpoint gradually; the auxiliary switch
should make R-W before the setting indicator reaches room
temperature. As the setting indicator moves below room
temperature, the valve or damper should be driven closed.
3. If the valve or damper responds properly to the
thermostat, move the setpoint to the desired temperature.
T921G
1. Follow steps 1 through 3 of the T921A procedure.
2. Move the setpoint at least 6° F [4° C] below room
temperature. The auxiliary switch should be made R-B and
the valve or damper should be closed (for heating applica-
tion). Raise the setpoint gradually; the auxiliary switch
should make R-W before the setting indicator reaches room
temperature. As the setting indicator moves above room
temperature, the valve or damper should open.
4. If the valve or damper responds properly to the
thermostat, move the setpoint to the desired temperature.
M5991
+2.5˚ F
[+1.5˚ C]
SETPOINT
TEMPER-
ATURE
-2.5˚ F
[-1.5˚ C]
R-B MAKES
TEMPERATURE
RISE
1˚ F [0.5˚ C]
DIFFERENTIAL
R-W MAKES
TEMPERATURE
FALL
THROTTING
RANGE (5˚ F [3˚ C])
TEMPERATURE
CHECKOUT
After the thermostat is wired and mounted, check to be
sure the thermostat and controlled equipment are function-
ing properly. Before proceeding, allow from one to three
hours for the system to stabilize.
T921A
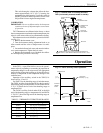
1. Set the temperature setting indicator to room tem-
perature by using the setting adjustment knob, or an Allen
wrench (see Fig. 11). The valve or damper motor should be
at midpoint.
2. Move the setpoint 5° F [3° C] below room tempera-
ture. In a heating application, the valve or damper should
close; in a cooling application, the valve or damper should
open. If the valve or damper is driven in the opposite
direction, interchange the wires at the B and W terminals.
NOTE: If a proportional action limit control is used, the
motor may not move the damper or valve all the way
closed or open. Check the limit action after interchang-
ing the wiring.
3. Move the setpoint 5° F [3° C] above room tempera-
ture. In a heating application, the valve or damper should
open; in a cooling application, the valve or damper should
close.
4. If the valve or damper responds properly to the
thermostat, move the setpoint to the desired temperature.
Home and Building Control Home and Building Control Helping You Control Your World
Honeywell Inc. Honeywell Limited—Honeywell Limitée
1985 Douglas Drive North 740 Ellesmere Road
Golden Valley, MN 55422 Scarborough, Ontario
M1P 2V9
Printed in U.S.A.
QUALITY IS KEY


