60-2242—2 4
T921A,B,E-G
INSTALLATION
Installation
!
CAUTION
Disconnect power supply before installation to
prevent electrical shock and equipment damage.
WHEN INSTALLING THIS PRODUCT…
1. Installer must be a trained, experienced service tech-
nician.
2. All wiring must comply with applicable electrical
codes, ordinances and regulations.
3. Do not exceed the ratings listed on the device name-
plate.
4. After the installation is complete, conduct a thorough
checkout of the product operation.
LOCATION
Locate the thermostat about 5 feet [1.5m] above the
floor in an area with good air circulation at average room
temperature.
Do not mount the thermostat where it can be affected by:
— drafts, or dead spots behind doors and in corners.
— hot or cold air from ducts.
— radiant heat from the sun or appliances.
— concealed pipes and chimneys.
— unheated (uncooled) areas such as an outside wall
behind the thermostat.
MOUNTING
1. Disconnect power supply before installation to pre-
vent electrical shock and equipment damage.
2. Loosen the locking screw at the bottom of the case
with an Allen wrench.
3. Lift off the thermostat cover.
4. Remove the mounting screws that secure the thermo-
stat to the backplate and remove the backplate.
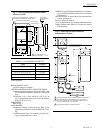
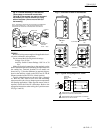
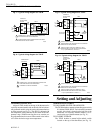
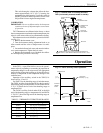
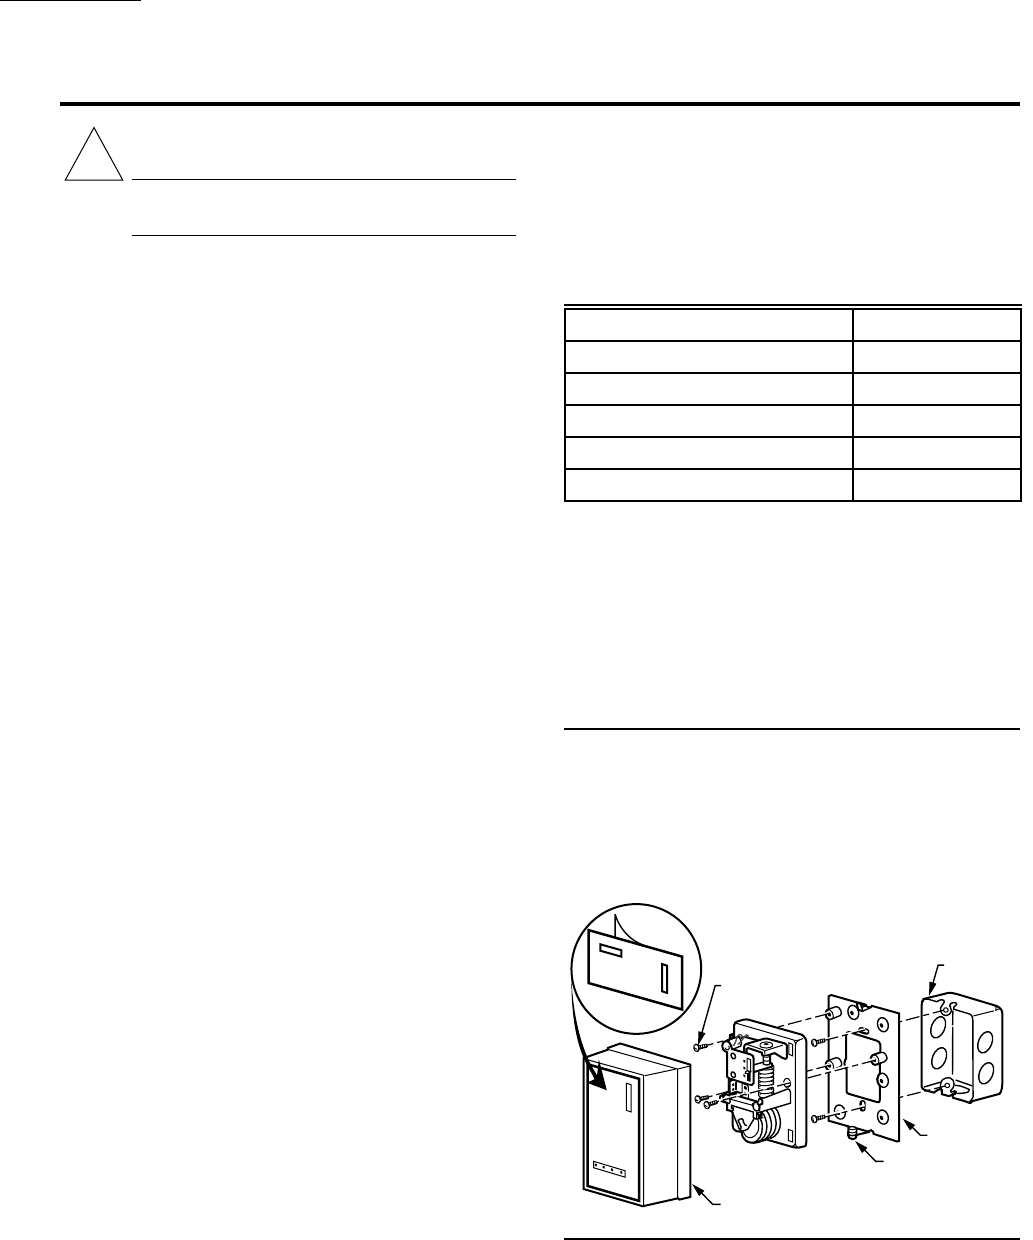
5. Fasten the backplate to the conduit box (see Fig. 3).
Use the 127246A Adapter Plate Assembly (ordered sepa-
rately) to mount the thermostat vertically on the horizontal
conduit box; or to mount the thermostat horizontally on the
vertical conduit box (see Fig. 4).
NOTE: When an accessory adapter plate is used, fasten the
adapter plate to the conduit box with the two screws
provided. Then fasten the backplate to the adapter plate.
6. Make all electrical connections to the terminals on
the back of the thermostat before mounting the instrument
on the backplate. Refer to the Wiring section.
7. Mount the thermostat on the backplate with the mount-
ing screws.
8. After performing the checkout tests, replace the ther-
mostat cover and tighten the locking screw.
ADD FACEPLATES FOR HORIZONTAL
MOUNTING (T921A,B,E ONLY)
T921 models are shipped with a faceplate for vertical
mounting. When mounting the T921A,B,E horizontally,
see Table 2 to order the faceplate with the appropriate scale.
NOTE: Do not mount the T921F,G horizontally.
TABLE 2—ACCESSORY FACEPLATE
Scale Part No.
56° to 84° F [13° to 29° C] 135135A
13° to 29° C [56° to 84° F] 135135B
42° to 75° F [5° to 24° C] 135135C
66° to 95° F [19° to 35° C] 135135D
56° to 84° F [13° to 29° C] 135135C
a
a
Blank faceplate.
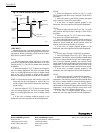
Affix the accessory faceplate when mounting the
T921A,B,E models horizontally with contemporary cov-
ers. Peel the backing strip from the faceplate and place it
lightly over the vertical faceplate. Align the edges and
corners and make sure the scales align with the markings.
Press firmly over the entire surface. Do not attempt to
reapply once the faceplate has been mounted.
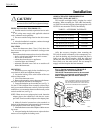
Fig. 3—Vertical mounting of T921A,B,E-G
Thermostats on vertical conduit box.
T921A,B,E Thermostats can also be mounted
horizontally on horizontal conduit box using
add-on faceplate. (Do not mount T921F,G
horizontally.)
HONEYWELL
80
70
60
60 70 80 90
NOTE: ACCESSORY FACEPLATE FOR USE WHEN
THE THERMOSTAT IS MOUNTED HORIZONTALLY.
PEEL OFF BACKING AND APPLY OVER VERTICAL
FACEPLATE AFTER MOUNTING IS COMPLETE.
MOUNTING
SCREWS
BACKPLATE
CONDUIT
BOX
COVER
LOCKING
SCREW
M9037


