173
172
Technical
guide
Technical guideTechnical guide Technical guide
Overall adhesion with tackifier emulsion adhesive
A gripping primer compatible with the tackifier emulsion adhesive and the subfloor must be applied before gluing.
1 - Positioning of the floor covering
The tiles should be removed from their box at least 24 hours before laying and placed in the room in which they are to
be used
2 - Tackifier emulsion adhesive
The tackifier emulsion is applied in a single coat:
• using a finely notched trowel, quantity 100 to 150 g/m
2
, type A1,
• using a foam roller, quantity 100 to 150 g/m
2
.
3 - Laying of tiles. Alignment.
A - When laying the tiles, the following points must be respected:
• use whole tiles or large cut tiles (more than 50% of the original tile size), in heavy traffic zones
(door thresholds, corners in corridors, waiting areas),
• align a row of tiles along the main access paths,
• align one of the start lines with the longest wall-to-wall direction in the room.
B - Alignment.
Trace a guide line along which the tiles are to be laid (see fig 1).
4 - Preparation of subfloor and laying of tiles.
Beware installation directions according to the pattern.
• Spread the tackifier emulsion adhesive over half the room.
• Lay the first row of tiles along the axis perpendicular to the door.
• Block this row in place using the wall as a support (see fig 2).
• Lay the following rows of tiles and block them against the first row.
5 - Smoothing.
This operation must be carried out in two stages .
• Smooth down manually.
• Roll with a 50 kg flooring roller over the entire surface.
Positioning of furniture.
When positioning furniture, pay attention not to drag heavy objects
over the floorcovering
Laying procedure for Saga
1
2
Tracing the guide lines:
• axis perpendicular to main entrance,
• the perpendicularity of this axis is
balanced by the tile cuts.
• Starting in the middle of the room, lay
the tiles of the middle row. Block this
row in place using the wall
perpendicular to this row as a support.
• Lay the following rows of tiles and
block them against the first row.
1
1
2
2
Technical
guide
Other cases:
Reverse lay the following products: Nera Contract, Taralay Comfort. Please note the reverse lay symbols on the packaging.
Most sheet products are laid by overlapping the edges and cutting through.
Tarasafe Standard, Tarasafe Iona, Tarasafe Comfort, Tarasafe Plus, Tarasafe Ultra, Tarasafe Style, Tarasafe Super however should be laid with a 1 mm
gap to allow for the grooving machine. Grooving should be done manually.
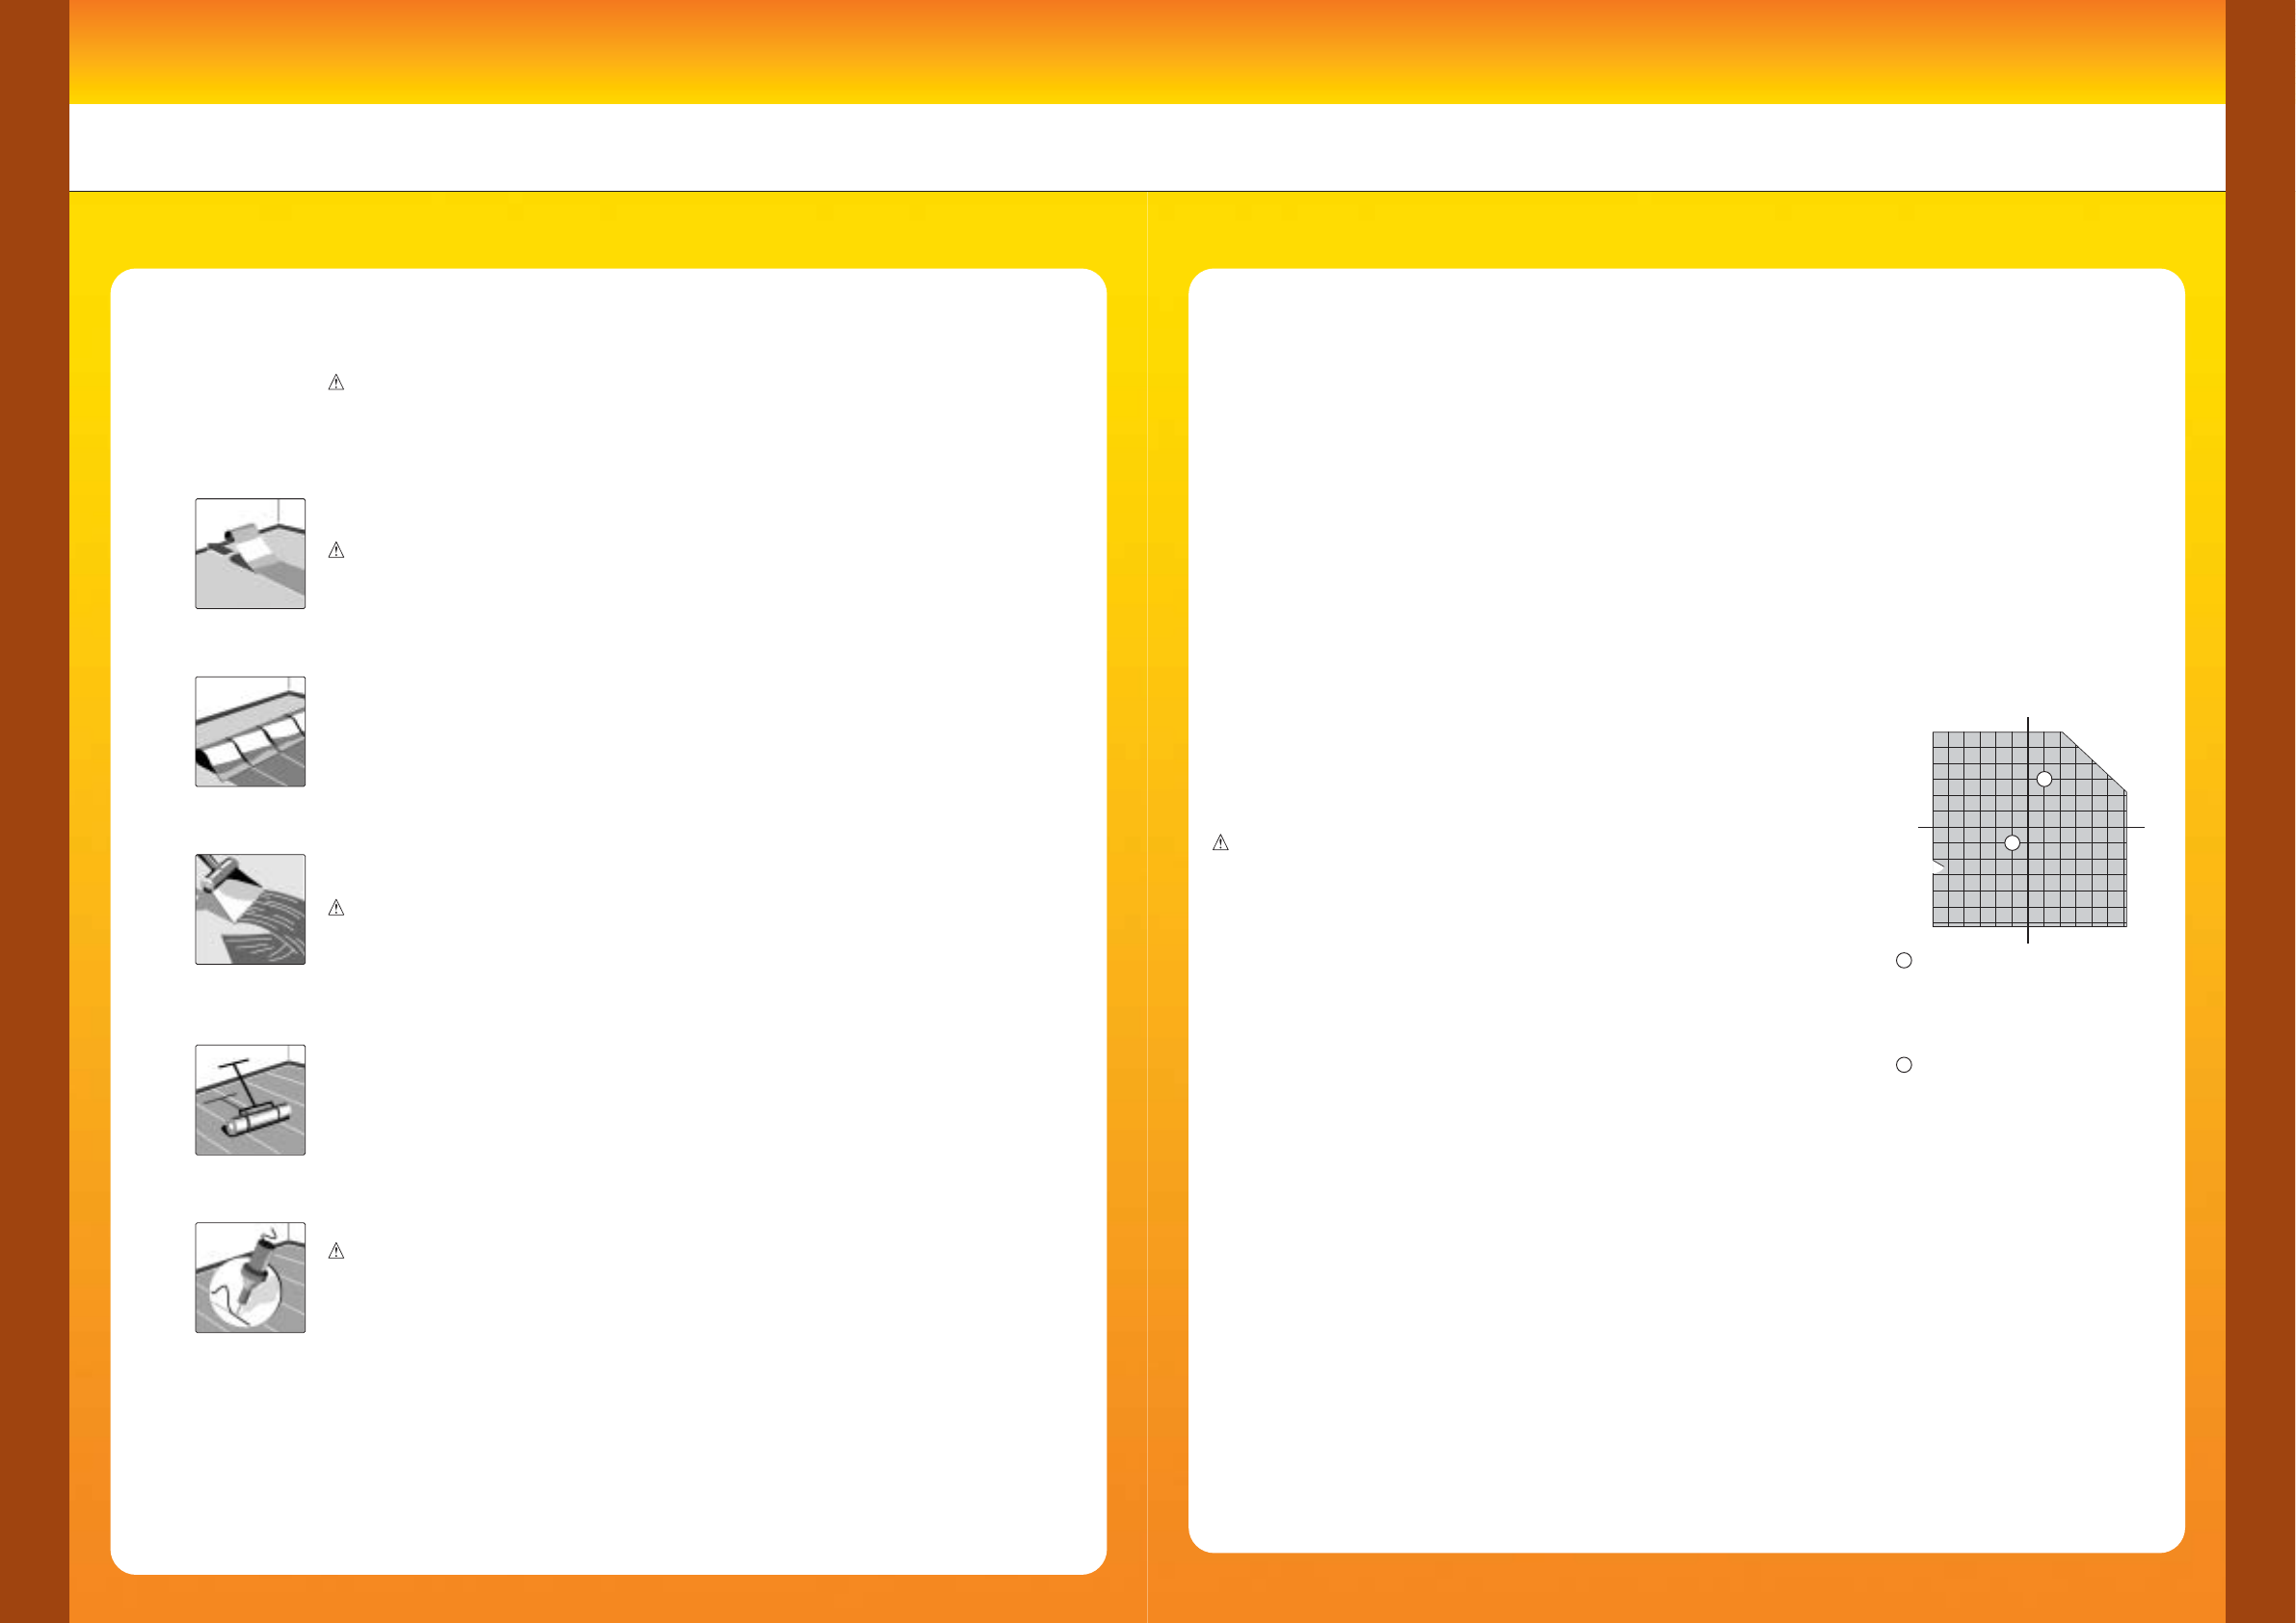
1. Lay first length along guide line, ensuring sheets are laid lengthways
in the same direction as the light falls.
Beware installation directions according to pattern.
2. Fold back sheets half way.
3. Use a finely serrated trowel to apply the single stick acrylic emulsion adhesive.
The adhesive manufacturer's instructions must be followed.
Insufficient open time of the adhesive will cause bubbles.
If the open time is too long the adhesive transfer will be poor.
4. Smooth down manually then roll with a 50 kg flooring roller.
5. If necessary groove and heat weld the joints after 24 hours after installation.
Do not traffic the floorcovering for 48 hours after installation
.
Sheet laying procedure
The sheets must be unrolled and left in the room to be covered, with
the adhesive, for at least 24 hours prior to laying.
Minimum temperature must be 15 °C.


