


Heat & Glo • 6000GL-IPI-R, 6000GL-IPI-S • 2102-900 Rev. R • 6/09 37
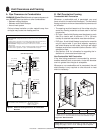
B. Rear Vent
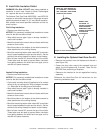
CAUTION! Risk of Cuts, Abrasions or Flying Debris.
Wear protective gloves and safety glasses during instal-
lation. Sheet metal edges are sharp.
NOTICE: Once appliance is set up for top or rear venting,
it CANNOT be changed at a later time.
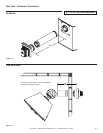
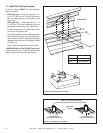
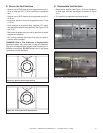
Figure 9.7 To attach the fi rst section of vent pipe, make
sure to use the fi berglass gasket in the manual bag to seal
between the fi rst vent component and the outer fi replace
wrap. Use 2 self tapping screws to secure the gasket to
the outer wrap.
Secure the fi rst section of venting to the fi replace by screw-
ing through the two straps left over from cutting the seal
cap strap in step 2.
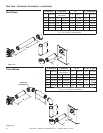
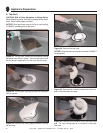
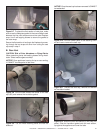
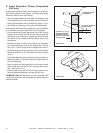
Figure 9.8 Fold the tabs toward the center of the seal
cap (90º) and remove the insulation gasket.
Figure 9.9 Cut the metal retaining band and fold the
sides out.
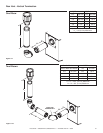
Figure 9.10 Fold the center parts of the retaining band
out and use to remove the seal cap.
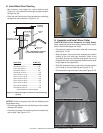
Figure 9.11 Discard the vent cap, remove and discard
the insulation basket.
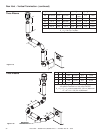
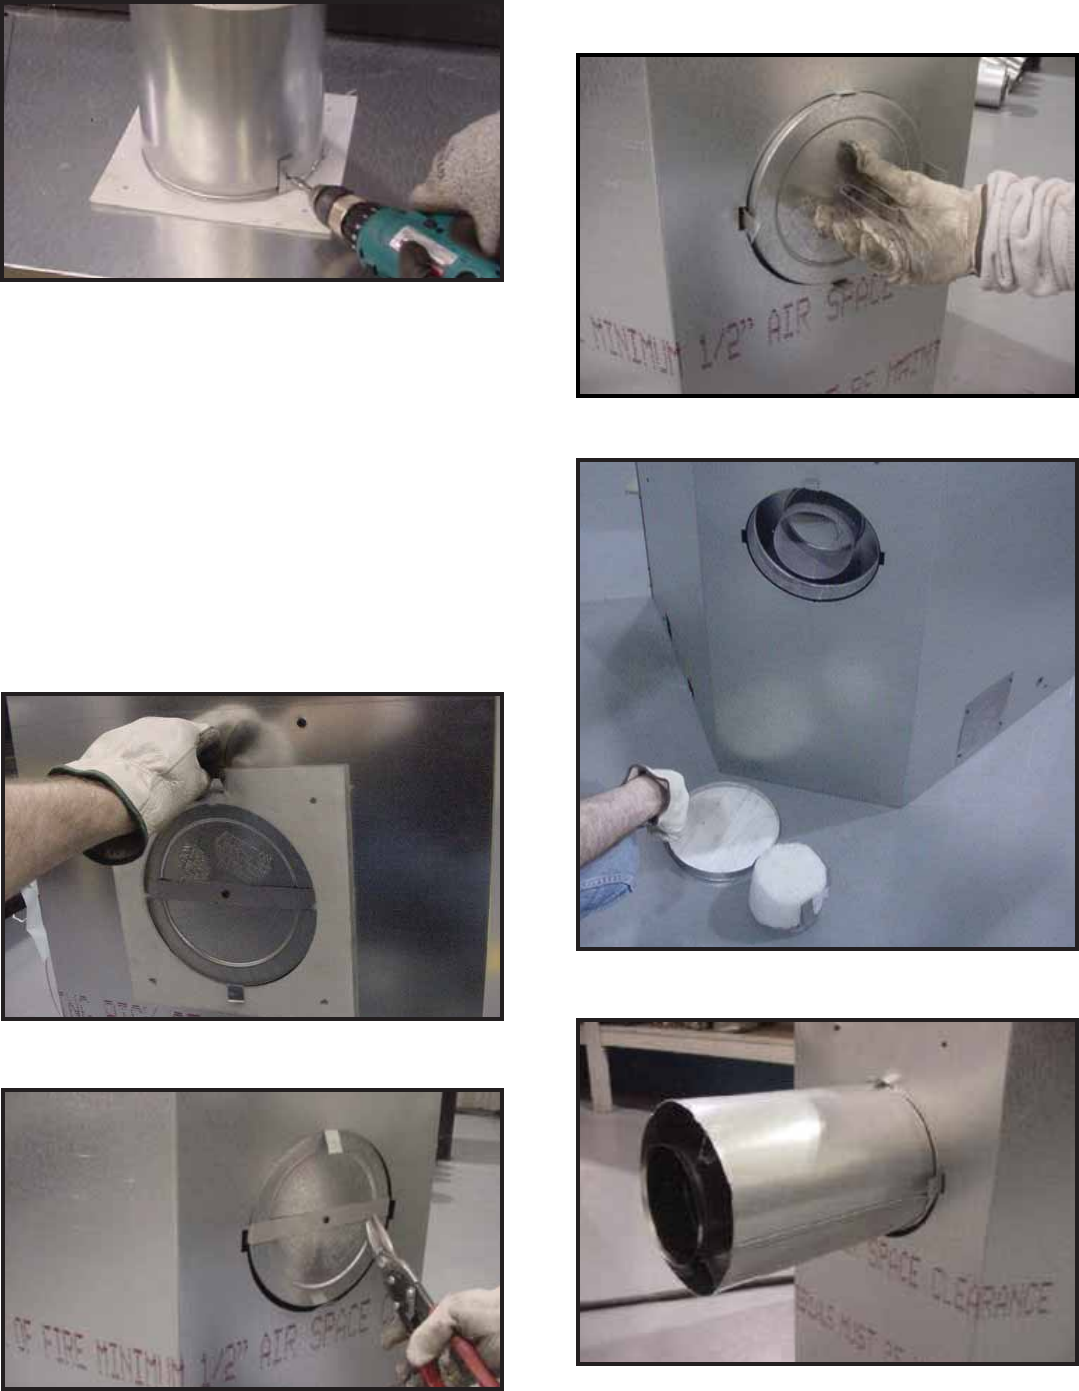
Figure 9.12 Attach the fi rst vent section (it will snap into
place). Slide the insulation gasket onto the vent section,
up against the appliance and over the tabs.
NOTICE: Once the seal cap has been removed it CANNOT
be reattached.