


"
"
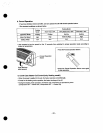
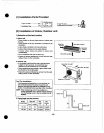
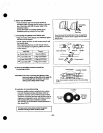
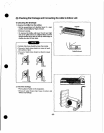
6.
Indoor
unit
installation
"
Hook
the
indoor unit
onto
the
upper
portion
of
installation
plate.
(Engage
the
two
hooks
of
the
rear
top
of
the
indoor
unit
with
the
upper
edge
of
the
installation
plate.)
Ensure
the
hooks
are
properly
seated
on
the
installation
plate
by
moving
it
left
and
right
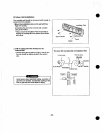
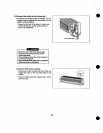
7.
Connecting
the
pipings
to
the
indoor
unit
"
Align
the
center
of
the
pipings
and
sufficiently
tighten
the
flare
nut
with
fingers.
"
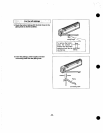
Finally,
tighten
the
flare
nut
with
torque
wrench
until
the
wrench
dicks.
When
tightening
the
flare
nut
with
torque
wrench,
ensure
the
direction
for
tightening
follows
the
arrow
on
the
wrench.
Pipe
Size
Torque
9k,
Liquid
Side
(1/4")
1.8kg"m(13ft.lbs)
12k
Gas
Side
(1/2")
5.5kg"m(39.8ft.ibs)
18k,
Liquid
Side
(3/8")
4.2kg"m(28.9ft.ibs)
24k
Gas
Side
(5180)
6.6kg"m(47.7ft.lbs)
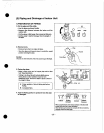
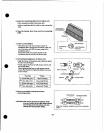
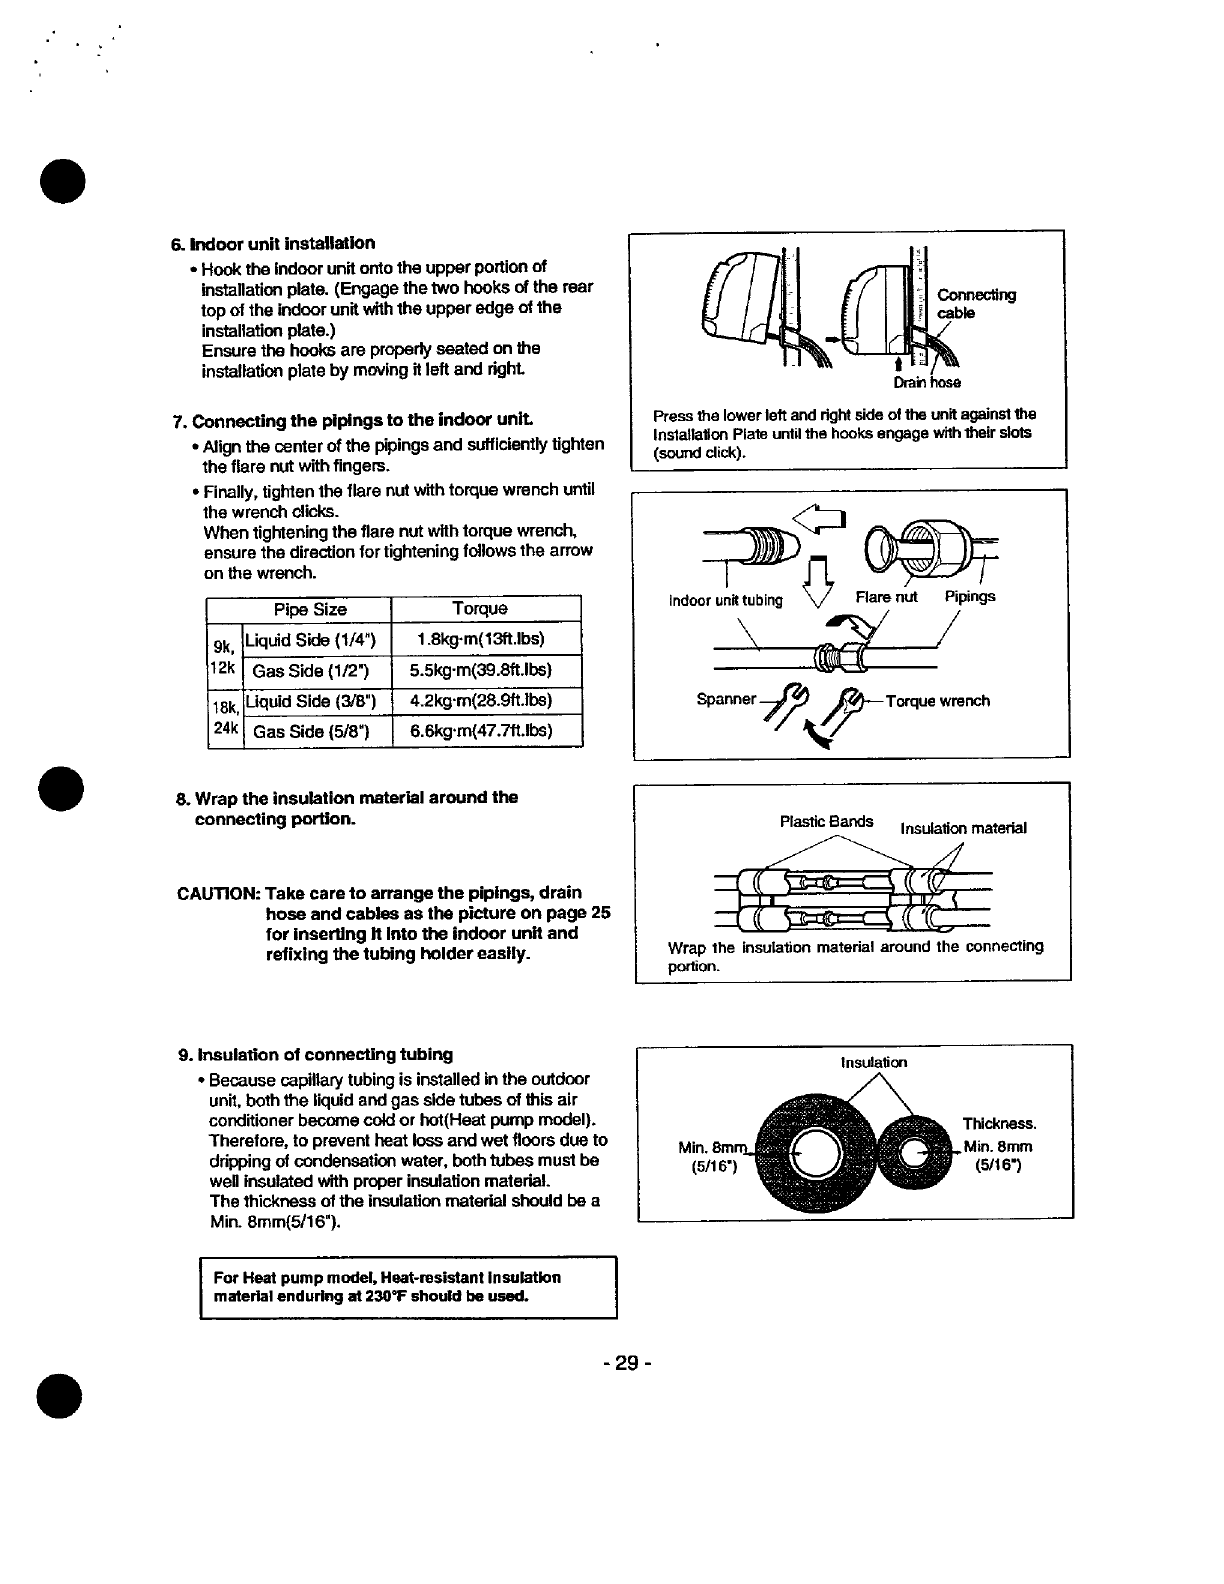
8.
Wrap
the
insulation
material
around
the
connecting
portion.
CAUTION:
Take
care
to
arrange
the
pipings,
drain
hose
and
cables
as
the
picture
on
page
25
for
inserting
h
Into
the
indoor
unit
and
refixing
the
tubing
holder
easily.
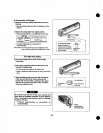
9.
Insulation
of
connecting
tubing
"
Because
capillary
tubing
is
installed
in
the
outdoor
unit,
both
the
liquid
and
gas
side
tubes
of
this
air
conditioner
become
cold
or
hol(Heat
pump
model).
Therefore,
to
prevent
heat
loss
and
wet
floors
due
to
dripping
of
condensation
water, both
tubes
must
be
well
insulated
with
proper
insulation
material.
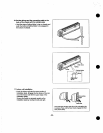
The
thickness
of
the
insulation
material
should
be
a
Min.
8mm(5116").
For
Heat
pump
model,
Heat-resistant
insulation
material
enduring
at
230"17
should
be
used.
Connecting
cable
-
t
-
Drain
hose
Press
the
lower
left
and
right
side
of
the
unit
against
the
Installation
Plate
until
the
hooks
engage
with
their
slots
(sound
click).
llj
Indoor
unit
tubing
Flare
nut
Pipings
ý/º-Torque
wrench
SpanneAA
Plastic
Bands
Insulation
material
Aii9t
Wrap
the
insulation
material
around
the
connecting
portion.
-29-