0
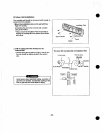
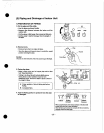
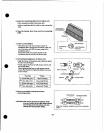
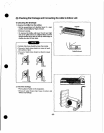
5.
Insert
the
connecting
cable
into
the
indoor
unit
"
Don't
conned
the
cable
to
the
indoor
unit.
"
Make
a
small
loop
with
the
cable
for
easy
connection
later.
6.
Tape
the
tubing,
drain
hose
and
the
connecting
cable.
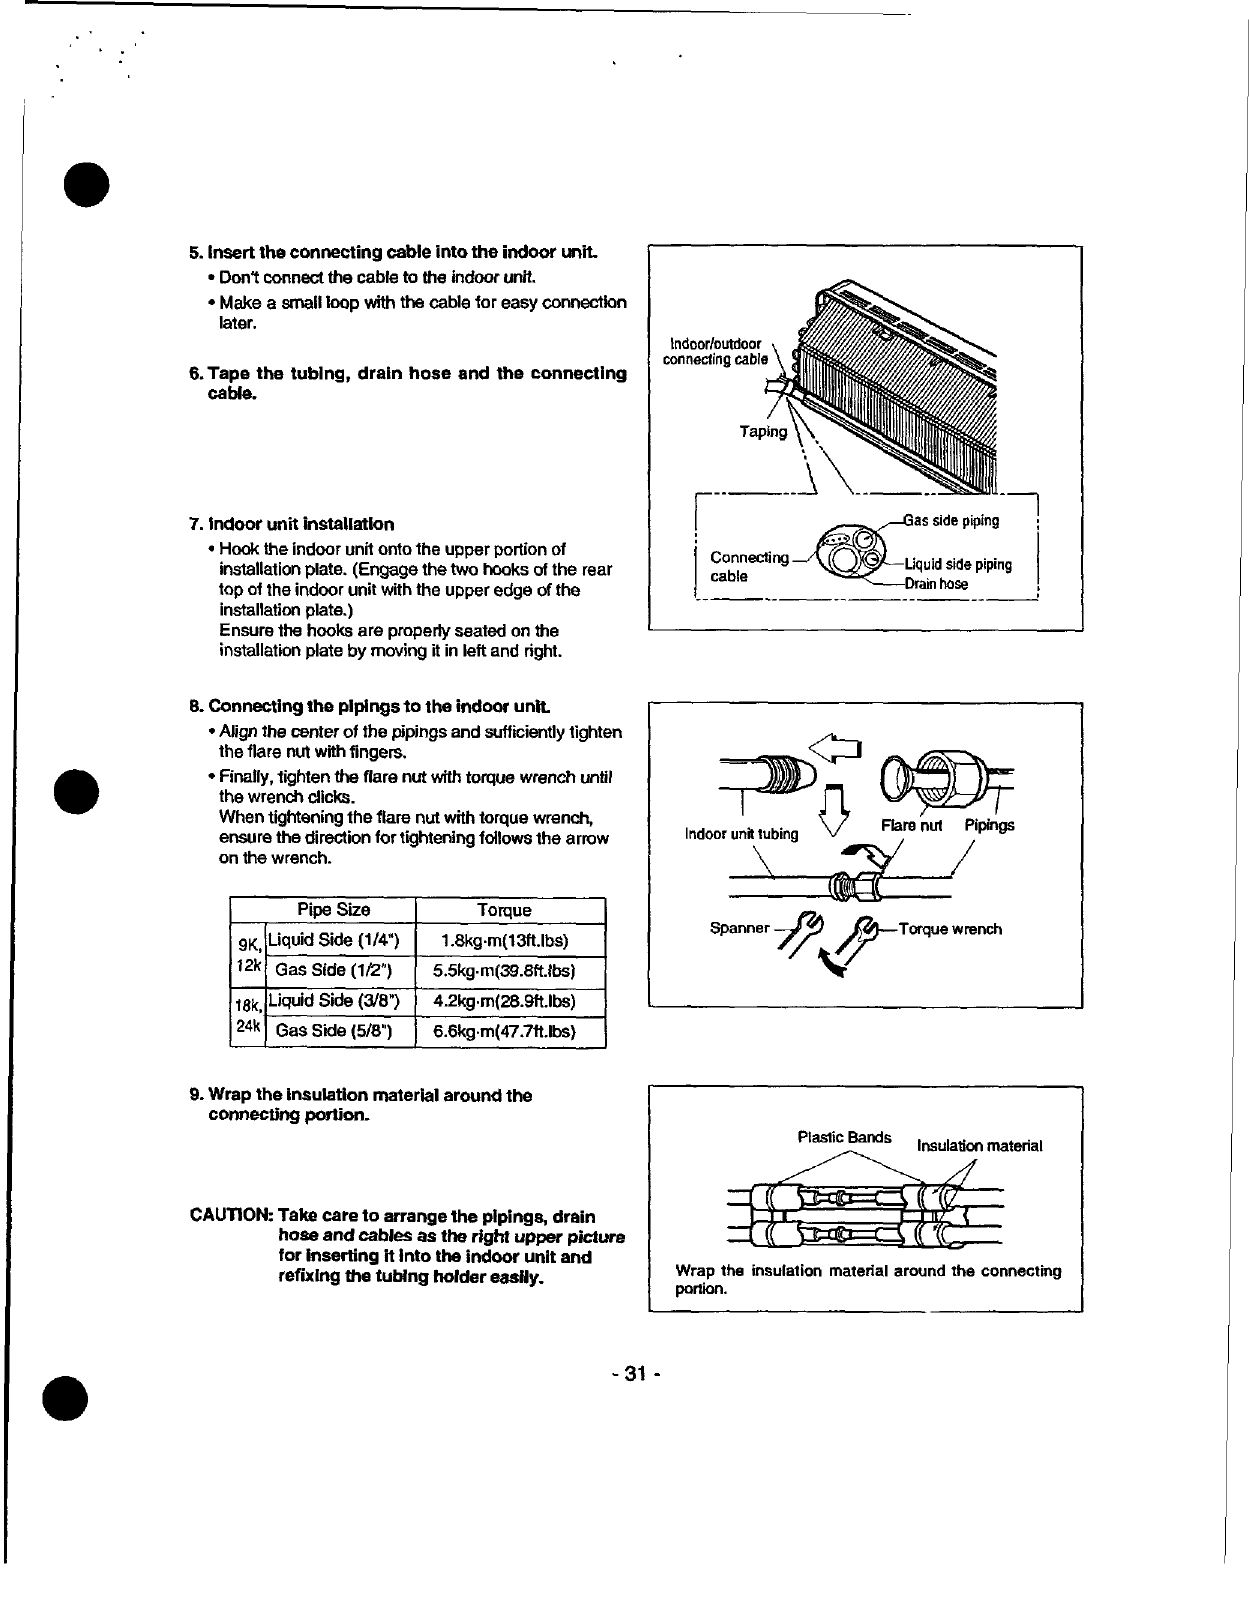
Indoorloutdoor
connecting
cable
Taping
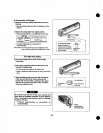
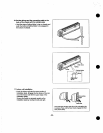
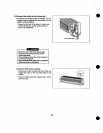
7.
Indoor
unit installation
"
Hook
the
indoor
unit
onto
the
upper
portion
of
installation
plate.
(Engage
the
two
hooks
of
the
rear
top
of
the
indoor
unit
with
the
upper
edge
of
the
installation
plate.)
Ensure
the
hooks
are
property
seated
on
the
installation
plate
by
moving
it in
left
and
right.
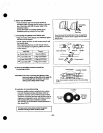
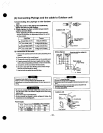
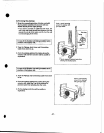
B.
Connecting
the
pipings
to
the
indoor
unit.
"
Align
the center
of
the
pipings
and
sufficiently
tighten
the
flare
nut
with
fingers.
"
"
Finally,
tighten
the
flare
nut
with
torque
wrench
until
the
wrench
clicks.
When
tightening
the
flare
nut
with
torque
wrench,
ensure
the
direction
for
tightening
follows
the
arrow
on
the
wrench.
Pipe
Size
Torque
gK
Liquid
Side
(1/4")
1.8kg"m(13ft.lbs)
12k
Gas
Side
(112")
5.5kg"m(39.8ft.ibs)
18k,
Liquid
Side
(a18")
4.2kg"m(28.9ft.lbs)
24k
Gas
Side
(5/8")
6.6kg"m(47.7ft.lbs
)
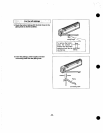
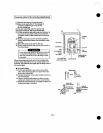
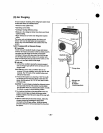
8.
Wrap
the
Insulation
material
around
the
connecting
portion-
CAUTION:
Take
care
to
arrange
the
pipings,
drain
hose and
cables
as
the
right
upper
picture
for
Inserting
it
Into
the
indoor
unit
and
refixing
the
tubing
holder
easily.
as
side
piping
Connecting
Liquid
side
piping
cable
Drain
hose
-
fir---r
ýJý"'ýL7
Indoor
unit
tubing
V
Flare
nut
Pipings
Spanner
AA
-Torque
wrench
Plastic
Bands
Insulation
material
Wrap
the
insulation material
around
the
connecting
portion.
-31-


