


Page 30
August 1, 2008
Heat & Glo · Tiara I B & Tiara II B · 7010-149M
8
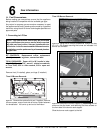
Appliance Setup
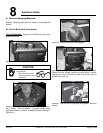
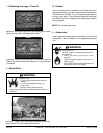
A. Remove Shipping Materials
Remove shipping materials from inside or underneath the
fi rebox.
B. Top to Rear Vent Conversion
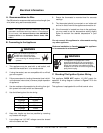
TOOLS REQUIRED: Power drill; #2 Phillips bit; high-temp
sealant (optional).
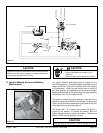
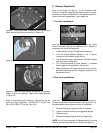
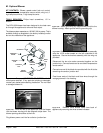
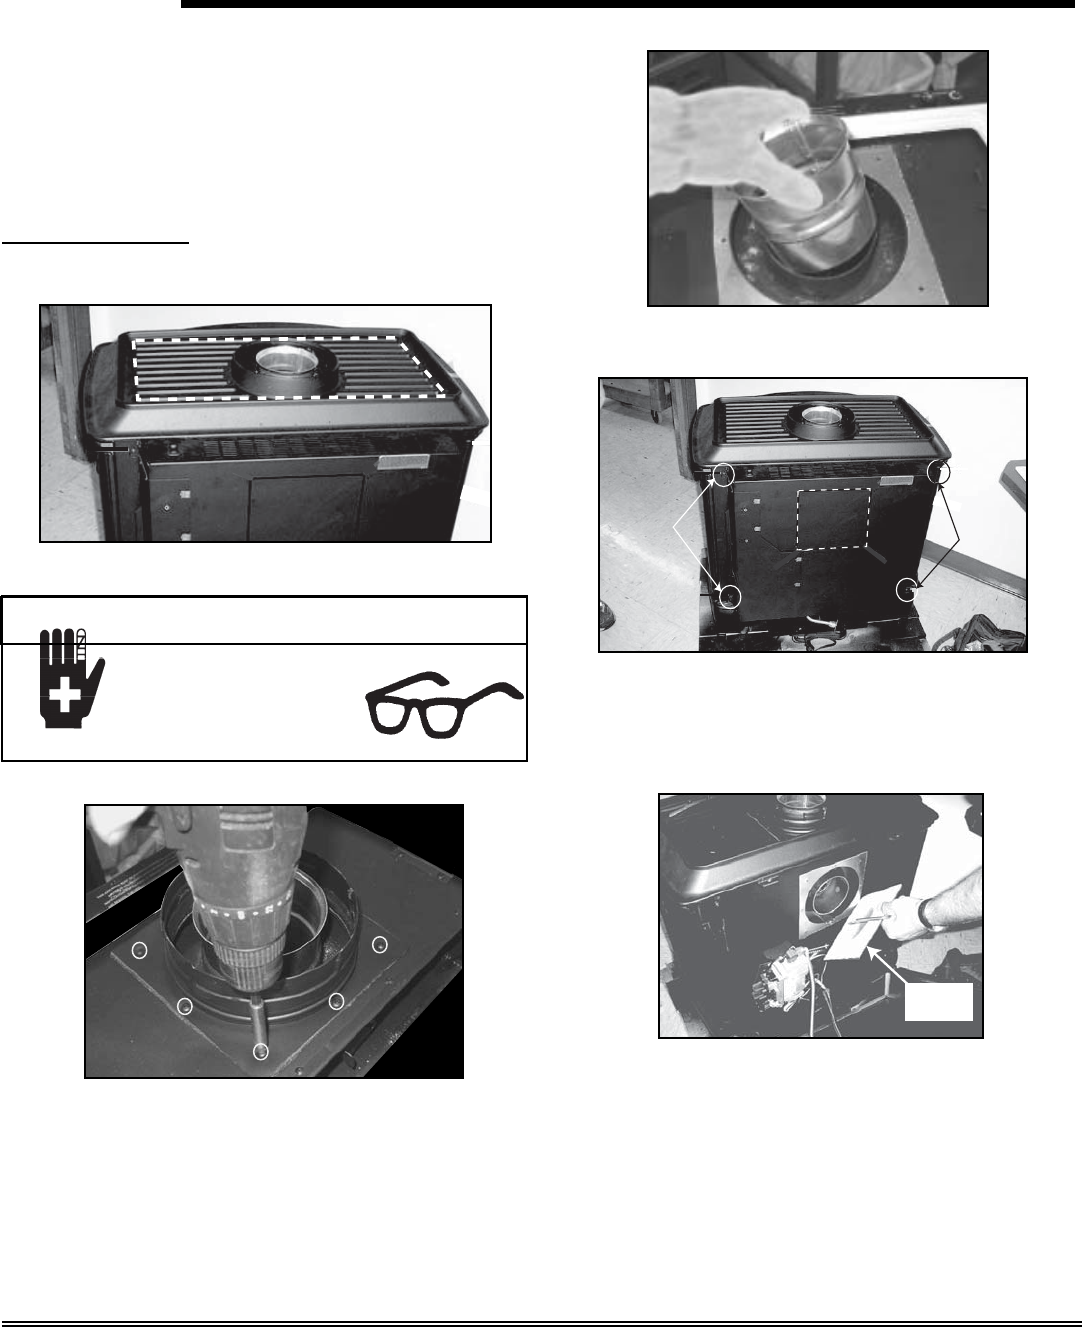
Figure 8.1 Remove top grille, as highlighted.
Figure 8.2 Remove vent pipe adapter and gasket by remov-
ing 8 screws. Save the screws. (If gasket breaks, apply
high-temp sealant to bottom of adapter before installing in
Figure 8.8.)
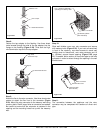
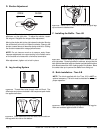
Figure 8.3 Remove the inner collar adapter.
Screws
Screws
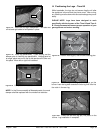
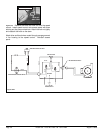
Figure 8.4 Locate the knock out on rear of appliance. Either
remove the four screws holding the back shield in place,
saving the screws, OR break the seal on the knock out and
discard the knock out.
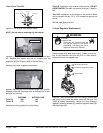
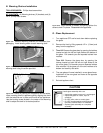
Figure 8.5 Remove rear access plate and gasket. Save the
screws.
Rear plate
and gasket
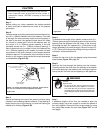
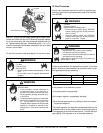
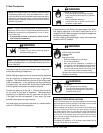
CAUTION
Sharp Edges
• Wear protective gloves
and safety glasses during
installation.