22
Dry Seasoned Wood Only! 3-90-798 Save These Instructions
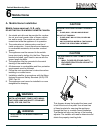
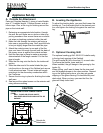
Parts and Supplies Needed: 1 piece of metal exible
pipe, 4" X needed length. 1 Rodent Screen, and alu-
minum tape. Plus, a trim ring for nishing around the
pipe on the inside wall.
1. Determine an appropriate hole location, through
the wall. Be sure there are no studs or other sup-
porting members. Also ensure there are no electri-
cal wires or plumbing contained within the wall.
2. Make the hole through the exterior wall using a
hole saw or reciprocating saw. You'll want the hole
to be just slightly larger than the metal ex pipe.
3. Attach the rodent screen to one end of the ex
pipe, and insert it through the wall until the back of
the screen cover is against the outside surface.
4. Hold the ex pipe in place to make an accurate
determination of the length needed. Cut the ex
pipe to length.
5. Slide the trim ring onto the ex for the inside wall
portion.
6. Slide the other end of the metal intake ex pipe
into the stub on the rear of the Oakleaf and secure
it with aluminum tape. This air intake will supply
outside air for the secondary combustion within
the FireDome.
7. Secure the trim ring in place for nishing the inside
wall area.
8. Seal around the rodent screen on the exterior wall,
using silicone caulking.
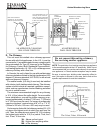
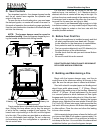
Outside Air
Attachment
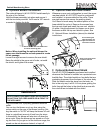
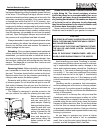
To adjust the leveling bolts, you must rst loosen the
locking nut. Turn the leveling bolt to the desired posi-
tion, and tighten the locking nut against the cast iron
leg.
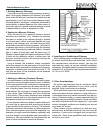
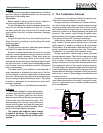
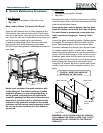
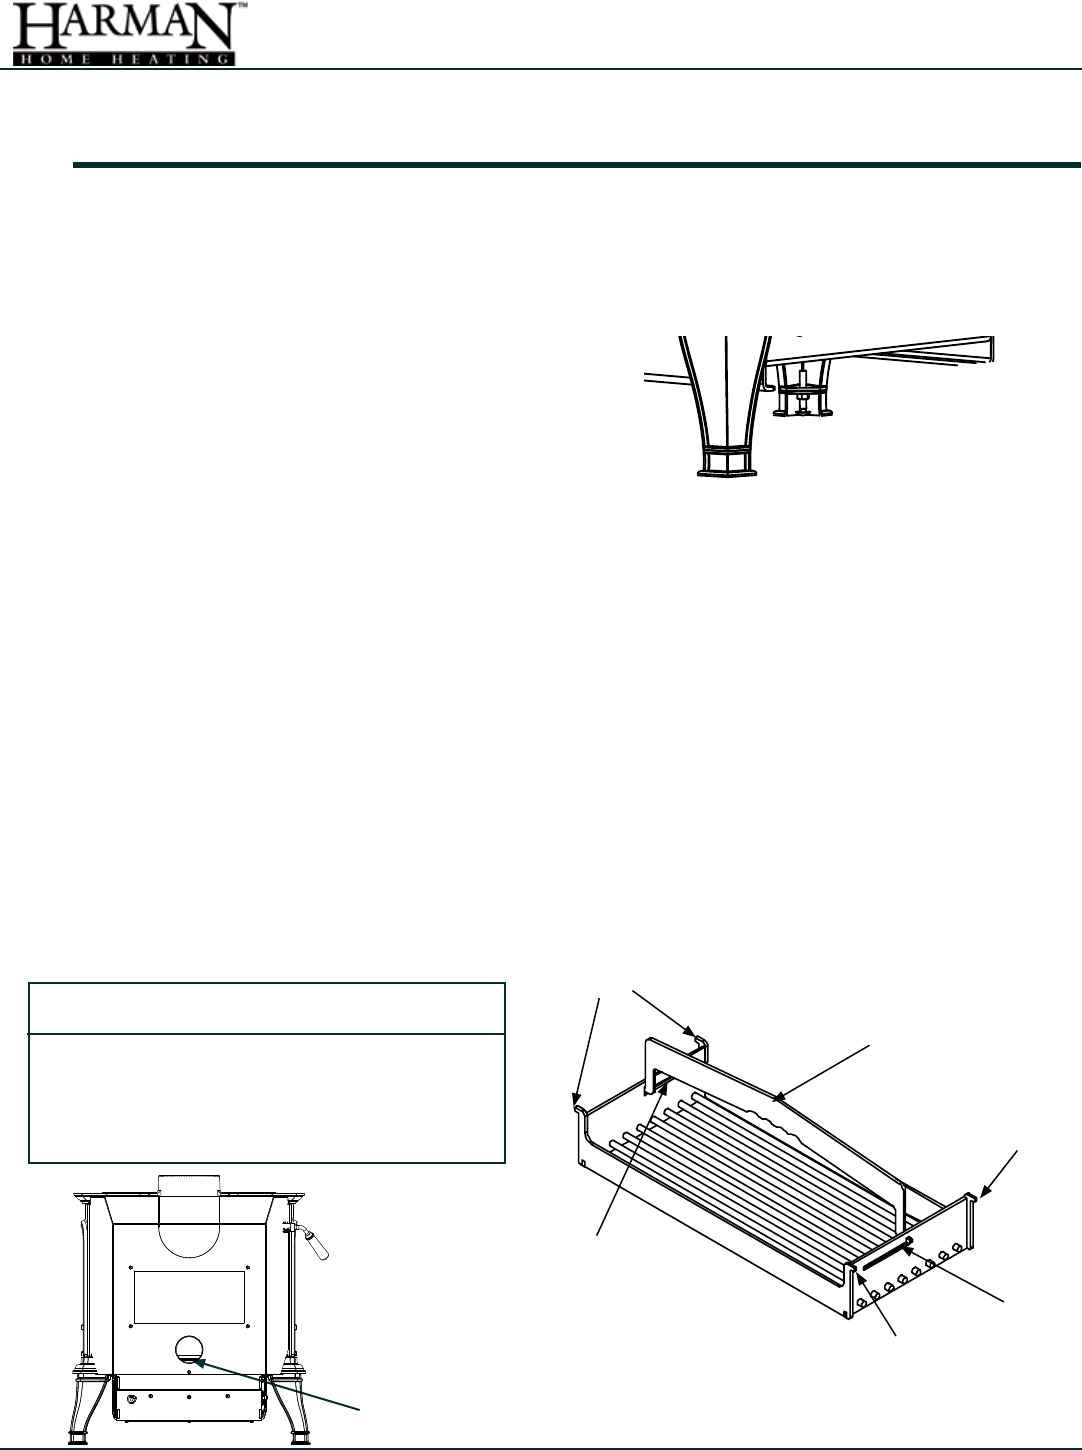
The optional cooking grill #1-00-08121 installs easily
in the top load opening of the Oakleaf.
The grill handle (B) ts in the slots (C) on each side.
To remove the handle, lower and turn.
When installed, the grill hangs in the opening by the
hooks (A).
When grilling, you'll want to keep the re size small
and the bypass damper in the open position. Depend-
ing on the grilling being done, you may get grease
dripping on the glass causing it to become dirty and
obstructed. When you burn your next hot re, the
glass will likely clean itself.


