


Unit Toggle Command
Using HAI PC Access Software, you can create programs to toggle any unit (1-511) from its current state to the opposite state.
When the program is executed, the unit will toggle to Off if the unit is currently in a non-off state (On, On for time, Level 1-100,
Scene A-L, Dimmed Steps, Dimmed for time, Brightened Steps, or Brightened for time).
When the program is executed, the unit will toggle to On if the unit is currently Off.
Note: If a unit is currently timed (On for time, Dimmed for time, Brightened for time, or Off for time), when the toggle program
is executed, the unit will toggle to the opposite state and will defeat the timer.
This programming feature will simplify programming when using a button on a UPB, Compose, ALC, or RadioRA keypad to
toggle a light on and off with the push of a single button. For example:
WHEN FRONT FOYER SW1 PRESSED: FRONT FOYER TOGGLE
Program Security Commands
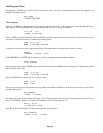
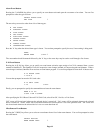
Press the 2 (SECURITY) key to arm and disarm the security system, or to bypass and restore an individual zone. The following
menu is displayed:
0=OFF 1=DAY 2=NIGHT
3=AWAY 4=VACATION
↓
5=DAY INST 6=NIGHT DLY
8=BYPASS 9=RESTORE
↑
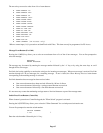
Select (0-6) to arm the system into the desired mode or select the 8 key to Bypass and the 9 key to Restore a security zone. If area
arming is being used, the display will then prompt you for the area to be armed:
AREA
ENTER AREA 0=ALL
↓
Enter the area number followed by the ' # ' key, or use the arrow keys to scroll through a list of areas. Press the ' # ' key first to
specify all areas.
Program Button Commands
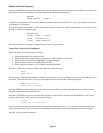
Select the 3 (BUTTON) key to program a macro button. Specify the macro button to be executed - See Button Programs.
BUTTON:
ENTER BUTTON #=MENU
↓
Program All On / All Off Commands
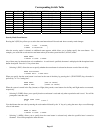
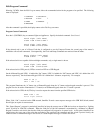
Select the 4 (ALL) key to program All Lights On and All Units Off commands. It is also used to program Leviton Scenes, UPB
Link, RadioRA Phantom Button, or CentraLite Scene.
ALL
0=OFF 1=ON 2=SCN 3=LINK
↓
ALL
4=PHANTOM 5=CENLIT
↑
If area arming is being used, the display will then prompt you for the area to control. Enter the area number followed by the ' # '
key, or use the arrow keys to scroll through a list of areas. Press the ' # ' key first to specify all areas.
Page 67