6
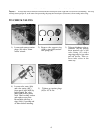
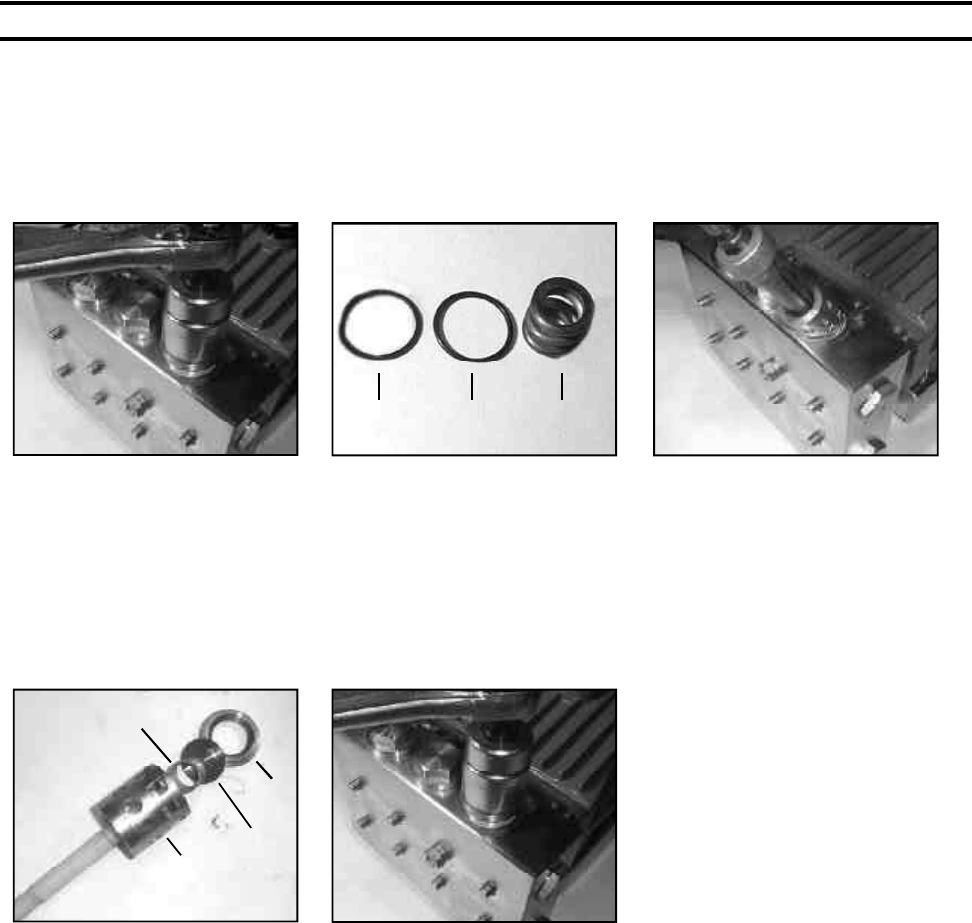
1) Loosen and remove tension
plugs (48) with a 36mm
socket wrench.
TO CHECK VALVES
NOTE: Always take time to lubricate all metal and non-metal parts with a light film of oil before reassembling. This step
will help ensure proper fit, at the same time protecting the pump non-metal parts (elastomers) from cutting and scoring.
44B 44A 45
2) Remove the support ring
(44B), o-ring (44A) and ten-
sion spring (45).
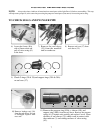
3) Take out discharge valve as-
semblies (46) by pulling
them upwards out of the
valve casing (43) with a
snap-ring tongs or any other
pull-off device. Then re-
move inlet valves in the
same way.
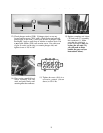
4) Loosen valve seats (46A)
and valve spring (46C)
from spacer pipe (46D) by
lightly hitting the valve
plate (46B) with a plastic
stick. Check sealing surface
and replace worn parts.
Reassemble with new o-
rings (44A) if possible and
oil them before installing.
5) Tighten up tension plugs
(48) to 107 ft.-lbs.
46A
46D
46B
LP301A-5100 REPAIR INSTRUCTIONS
46C


