


7
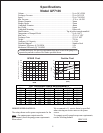
GP7132 AND GP7136 REPAIR INSTRUCTIONS
NOTE: Always take time to lubricate all metal and non-metal parts with a light film of oil
before reassembling. This step will help ensure proper fit, at the same time protecting
the pump non-metal parts (elastomers) from cutting and scoring.
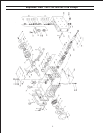
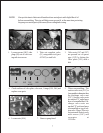
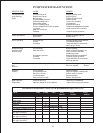
1. Lossen screws (58C), take
plugs (58) out of valve cas-
ing with two screws.
2. Take out complete valve
(51) using either tool (part
#07662) or stud bolt.
3. Valve seats (51C and 52C)
are pressed out of spacer
pipe (51F) by hitting the
valve plate (51D) with a
bolt.
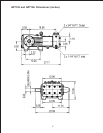
4. Check surfaces of valve plate, valve seat, O-rings (51B, 58A) and
replace worn parts.
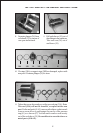
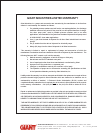
5. When reassembling: The
suction valve seat (51C) is
1mm smaller in diameter than
the discharge valve seat
(52C). Suction valve seats
are marked "S" and always
have to be installed first. Dis-
charge valve seats are
marked "P" and are always
tobe installed on top of suc-
tion valve. Plugs (58) are to
be tensioned down evenly
with screws (58C) and
crosswise at
155 ft-lbs.
51F 51E 51C 51B 51A 51C or 52C
or 52C
P
S
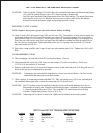
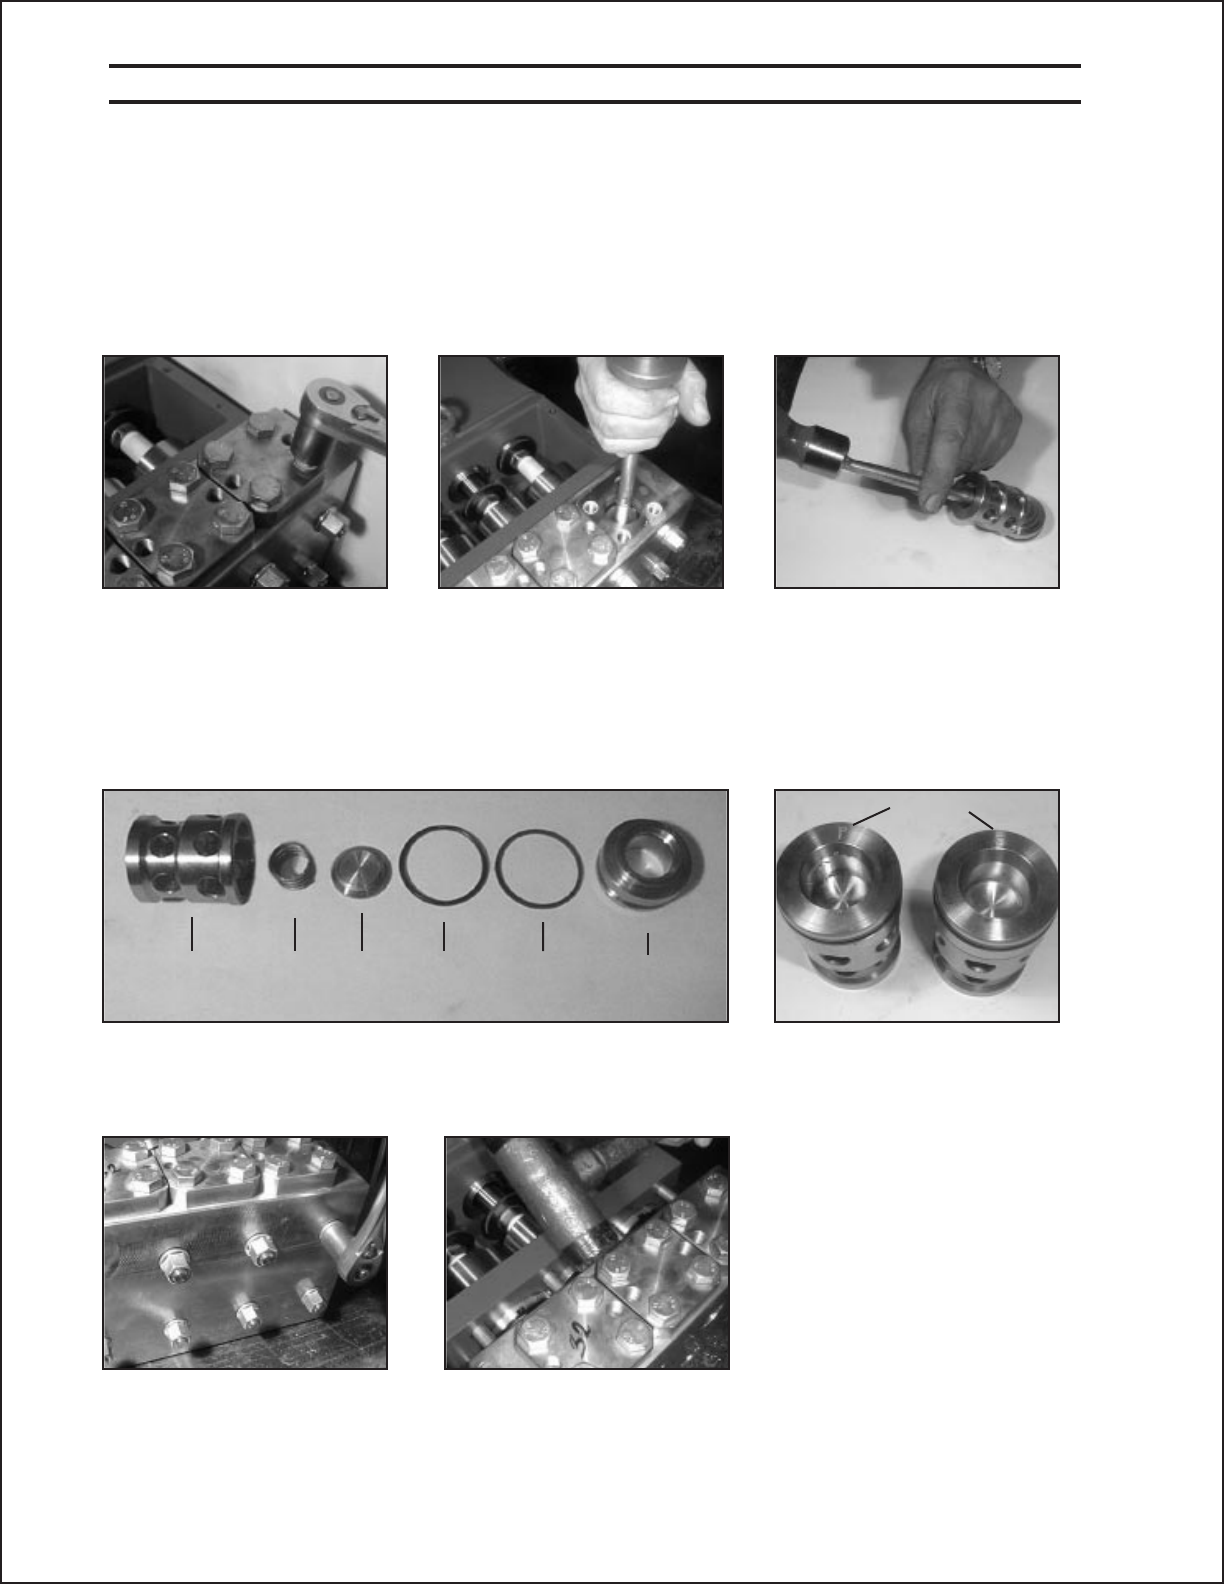
6. Loosen nuts (49A) 7. Remove pump head.