


10
For Help, call 1-800-35-GENIE or visit www.geniecompany.com
A Monthly:
• Door springs and door hardware:
– Oil door roller, bearings, and hinges using silicone
lubricant or light oil.
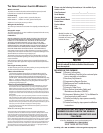
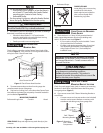
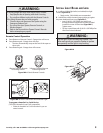
• Balance Door.
– Close door.
–
Release Carriage Assembly from Rail Assembly by pulling
the Emergency Release Knob towards the door.
– Raise door manually 3’- 4’ and verify that door stays at
that position. See Check Step 2 on page 4.
– Reattach Carriage Assembly to Rail Assembly:
a.
Pull the Emergency Release Knob toward
Power Head.
b. Close door.
• Contact Reverse Test.
– Perform Adjustment 2 on page 8.
NOTE
When the door is 3’ - 4’ above the ground, the door
should stay open. Slight movement is acceptable. If
the door moves too much, contact a Genie Factory
Authorized Dealer for service or call Customer Service at
1-800-35-GENIE.
WARNING:
Do not operate door automatically or manually if springs
are broken. Contact a Genie Factory Authorized Dealer for
service or call Customer Service at 1-800-35-GENIE.
If the door fails to reverse on contact with the board,
adjust the Close Force Control as specified in Set Limit
Switches and Force Controls on page 7 & 8. If the Opener
still fails, contact a Genie Factory Authorized Dealer for
service or call Customer Service at 1-800-35-GENIE.
NOTE
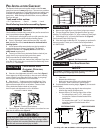
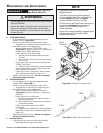
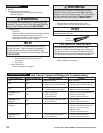
Use ONLY Genie Lubricant (GLU-3). Other lubricants
may damage the Opener.
FCC AND IC CERTIFIED
All devices comply with Part 15 of the FCC Rules.
Operation is subject to the following two conditions: (1)
this device may not cause harmful interference, and (2)
this device must accept any interference received, includ-
ing interference that may cause undesired operation.
GLU-3
Lubricant
MAINTENANCE
B Yearly:
• Wipe off old excess lubricant from Drive Screw.
• Lubricate Drive Screw with Genie Lubricant (GLU-3)
C As needed
• Replace lightbulbs. (See page 9)
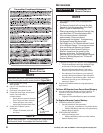
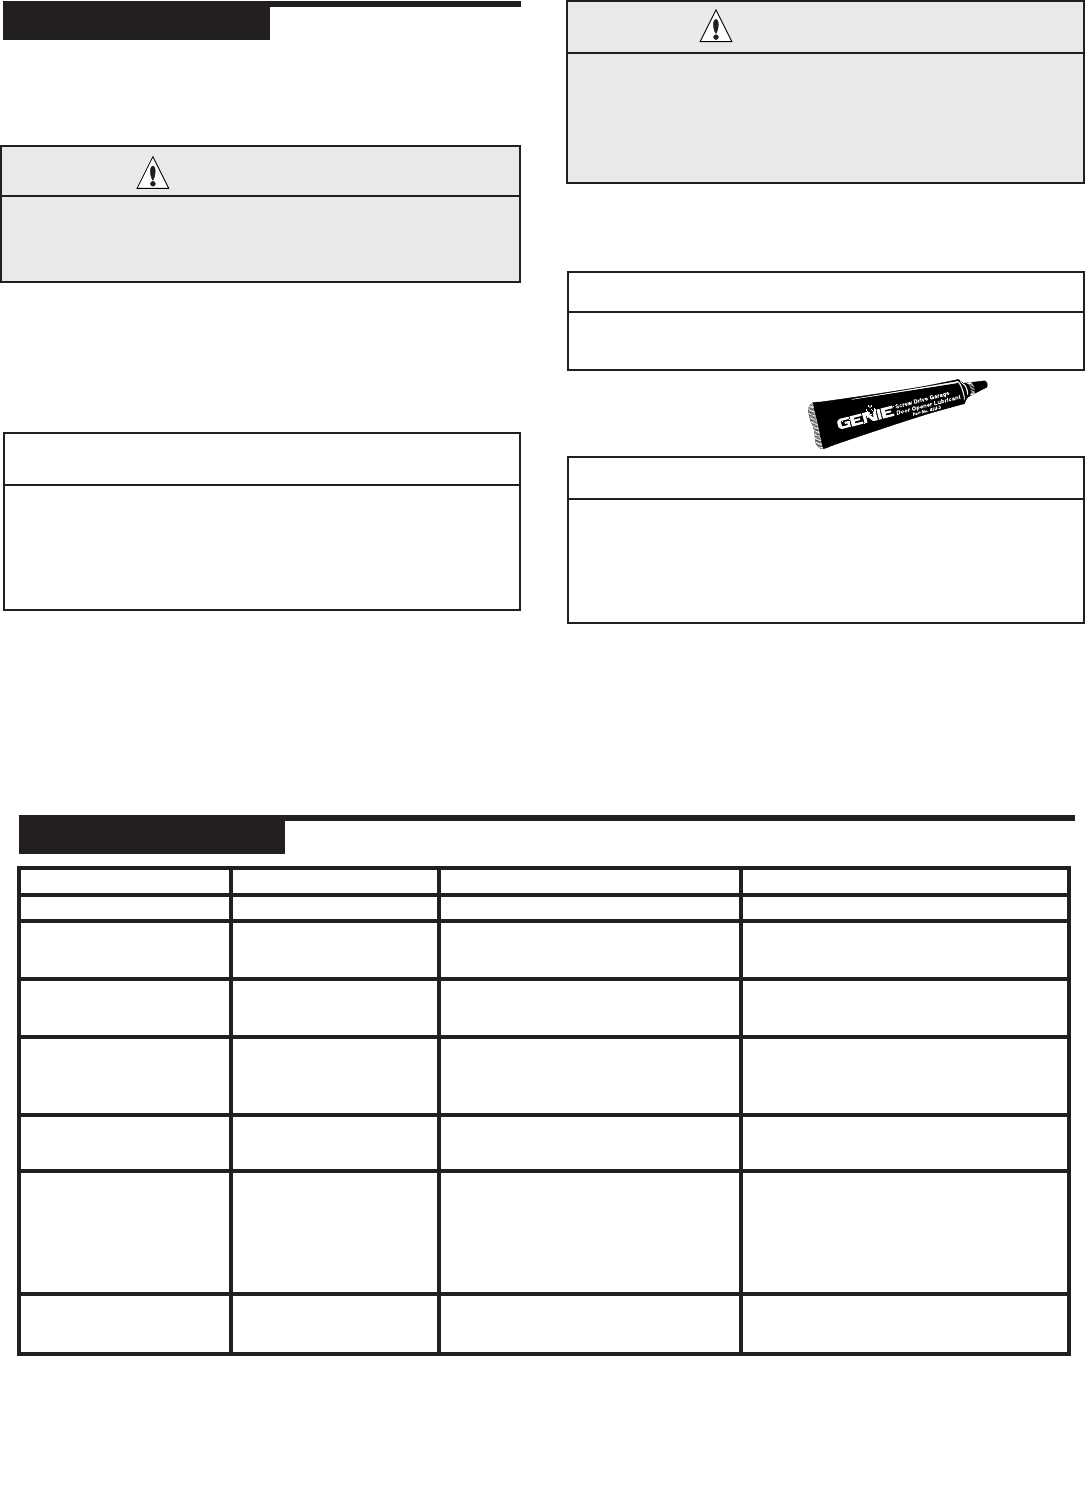
Safe-T-Beam® System Self-Diagnostic Troubleshooting
Source (Red LED) Sensor (Green LED) Possible Problem Solution
ON ON Normal operation None required
OFF OFF
• Power Head not powered • Check breakers, fuses, plugs
• Wiring from Power Head bad • Check wiring for obvious shorts
OFF ON
• Wiring to Source missing or bad • Check wiring
• Power has been interrupted • Remove power and reapply
2 BLINKS, Pause • Beam not aligned • Check Source, Sensor alignment
(Repeat) ON • Beam obstructed • Check for obstruction
• Sensor defective • Contact Customer Service
2 BLINKS, Pause • Wire to Sensor missing or bad • Check wiring
(Repeat)
OFF
• Sensor defective • Contact Customer Service
3 BLINKS, Pause • Sensor receiving interference • Determine source of interference
(Repeat)
ON
• Check for interference from sun-
light or a source unit on an
adjacent door
• Contact Customer Service
4 BLINKS, Pause • Source not sending pulses • Contact Customer Service
(Repeat)
ON
• Source defective • Contact Customer Service
TROUBLESHOOTING
WARNING: