14
● Make sure the dust collection unit is properly mounted before cleaning or performing other
tasks on it. If the unit is not properly mounted, it could fall off and cause damage or injury.
● You can be injured if you touch the heat exchanger when removing or installing the dust collec-
tion unit. Do not insert your fingers between the dust collection unit and the heat exchanger.
The display section for the air clean indicator will flash when it is time for the periodic cleaning of the dust collection unit.
• When the flashing of the display section for the air clean indicator is slow (approximately 1 flash every 7 seconds)
This will flash after approximately 400 hours of operation. Cleaning of the dust collection unit as soon as possible is
recommended.
• When the flashing of the display section for the air clean indicator is fast (approximately 1 flash every 3 seconds)
This will flash after approximately 500 hours of operation. Stop the air cleaning operation and clean the dust collection
unit.
● As a guideline, clean every 6 months.
● If unusual sounds like the rushing of air or popping are heard, clean the dust collection unit as quickly as possible.
● If the air cleaning check function is operating, open the intake grille and press the MANUAL AUTO button.
CLEANING THE ELECTRONIC AIR CLEAN UNIT
CAUTION!
Removing the dust collection unit
1. Use the remote controller to stop opera-
tion and turn off the power supply.
2. Open the right side intake grille and re-
move the air filter. (Refer to page 13.)
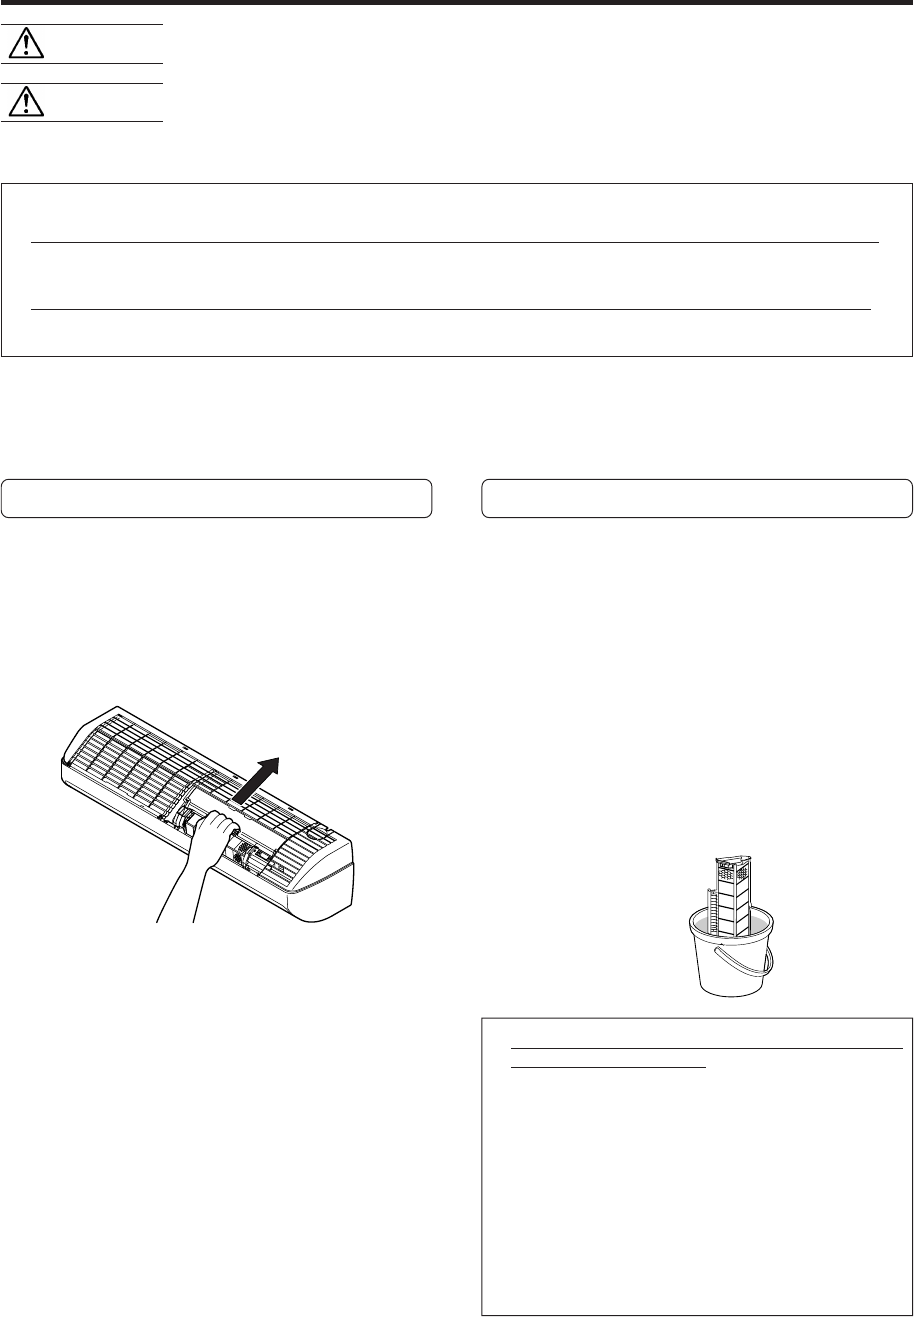
3. Remove the dust collection unit.
Grasp the handle of the dust collection unit. Pull up to
remove (shown as direction A).
Cleaning the dust collection unit
Wash with water and dry.
1 Soak the dust collection unit in warm water (100 to
115 °F) for 10 to 15 minutes. If the dust collection unit
is extremely dirty, extremely dilute a mild synthetic
laundry detergent (low alkalinity or isotope detergent)
to 15 times the standard concentration and allow the
dust collection unit to soak in it.
2 Gently move up and down and to the right and left. A
soft sponge can also be used to wipe the rear sur-
face.
3 Rinse with clean water.
4 Shake the dust collection unit to drain off the water.
(If the dust collection unit is extremely dirty, repeat
Steps 1 through 4 two or three more times.)
5 Place the dust collection unit in the shade and allow
it to dry completely.
● Only use a mild synthetic laundry detergent (low alka-
linity or isotope detergent).
● Never disassemble the dust collection unit.
● Never soak the dust collection unit in hot water.
● Never wipe the dust collection unit with a scrub brush
or other hard or abrasive items. This will damage the
honey comb filter.
● Never insert a brush into the inside of dust collection
unit for washing. This will damage the internal parts
and cause malfunctioning of the air cleaning unit.
● Never use dryer or other device to blow hot air on the
dust collection unit. This will cause deformation or
other damage.
A
Before cleaning the dust collection unit, be sure to turn off the power supply to the air conditioner.
Electric shock may result.
WARNING!


