2
8. Make sure the shaft is clean.
9. Clean the face of the rotating part of the seal with a
soft cloth. Dip the assembly in a soap solution or clear
water and push onto the shaft, with the sealing face
fi rst, until the square rubber drive ring is completely on
the shaft shoulder.
10. Screw the impeller on the shaft until its hub is against
the shaft shoulder. This automatically positions all
seal parts properly.
11. Replace the motor on the case and base.
TROUBLESHOOTING
1. PUMP WON’T DELIVER ANY WATER
Review priming instructions. Make sure the pump and
suction line are full of water.
2. LOSS OF PRIME
a) Check the suction line and foot valve for leaks. The
entire suction side of the system must be totally
air tight.
b) Make sure the water level hasn’t dropped enough
to uncover the suction inlet. Suffi cient pipe would
be used to prevent this from happening.
3. LOW FLOW OR PRESSURE
a) Check suction piping for leaks.
b) Check the impeller for clogging. Remove all foreign
material if it is clogged.
4. NOISE
a) Make sure pump and piping are supported.
b) Make sure suction lift does not exceed 20 ft.(6mm)
c) Check disch. piping for excessive bends or elbows.
d) Check motor bearing for damage.
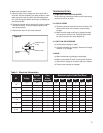
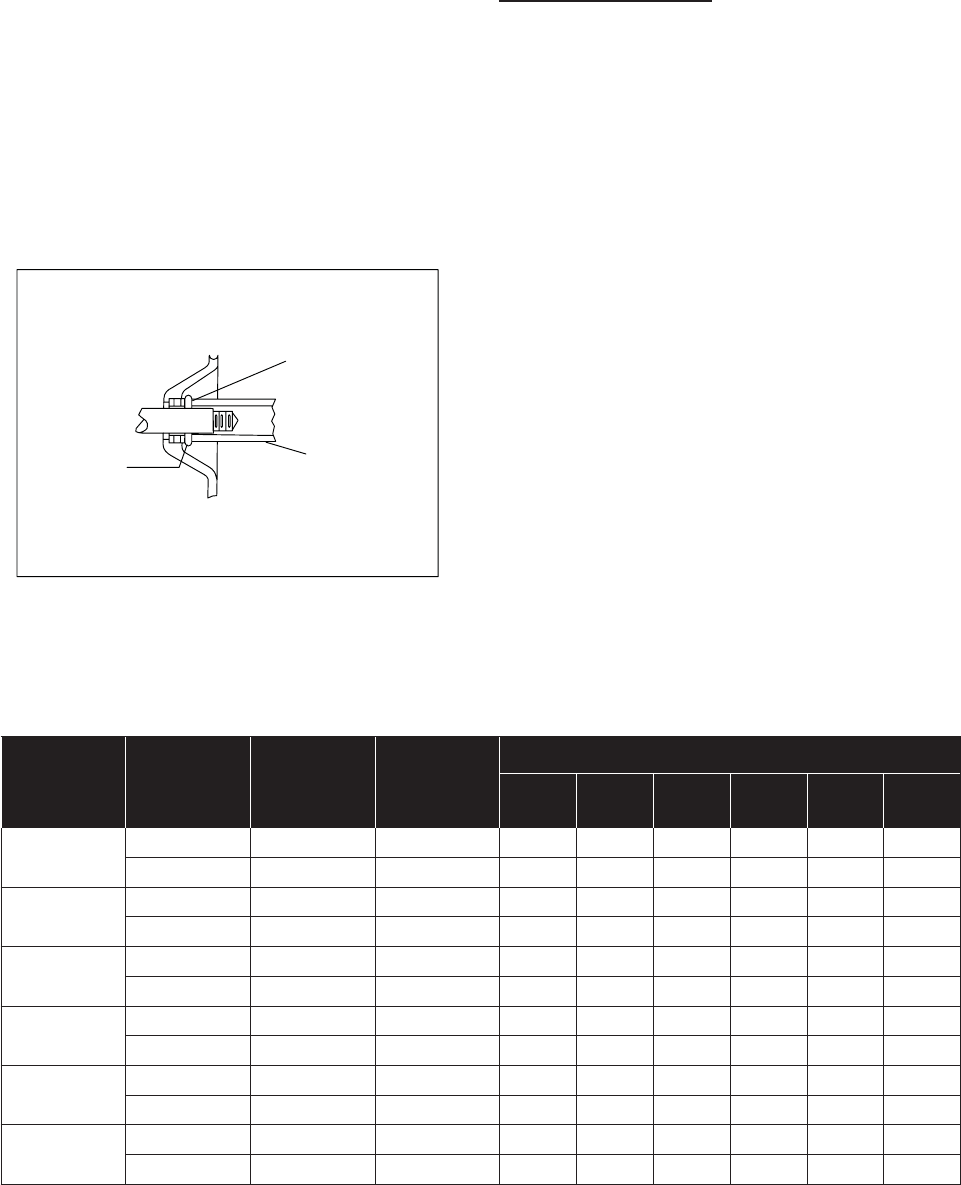
Figure 3
Cardboard
Washer
Polished surface
or seat
Pipe or Tool
HP Voltage
Branch
Max. Loads
Amperes
Fuse
Rating
Amperes
Maximum Length of Cable Size Shown
50’ 100’ 200’ 300’ 400’ 500’
1/2
115 8.6 15 14 14 10 8 8 8
230 4.3 15 14 14 14 14 14 12
3/4
115 13.2 20 12 12 8 6 6 4
230 6.6 15 14 14 14 12 12 10
1
115 16.2 25 12 10 8 6 4 2
230 8.1 15 14 14 14 12 10 10
1-1/2
115 20.8 30 10 10 8 6 4 2
230 10.4 15 14 14 12 12 10 8
2
115 21 30 10 10 6 6 4 2
230 10.5 15 14 14 12 12 10 8
2-1/2
115 23 35 1086422
230 11.2 15 14 14 12 12 10 8
Table 2 - Electrical Information


