


4
d. Connect the flex connector flare
nut to the sideburner manifold elbow
flare fitting. Be sure to tighten
securely. Use a second wrench to
support the manifold to avoid
damaging the manifold.
e. Check all gas connections for
leaks with a brush and soapy water
solution before lighting. NEVER
USE A MATCH OR OPEN FLAME
TO TEST FOR LEAKS.
f. Lower the unit into the enclosure.
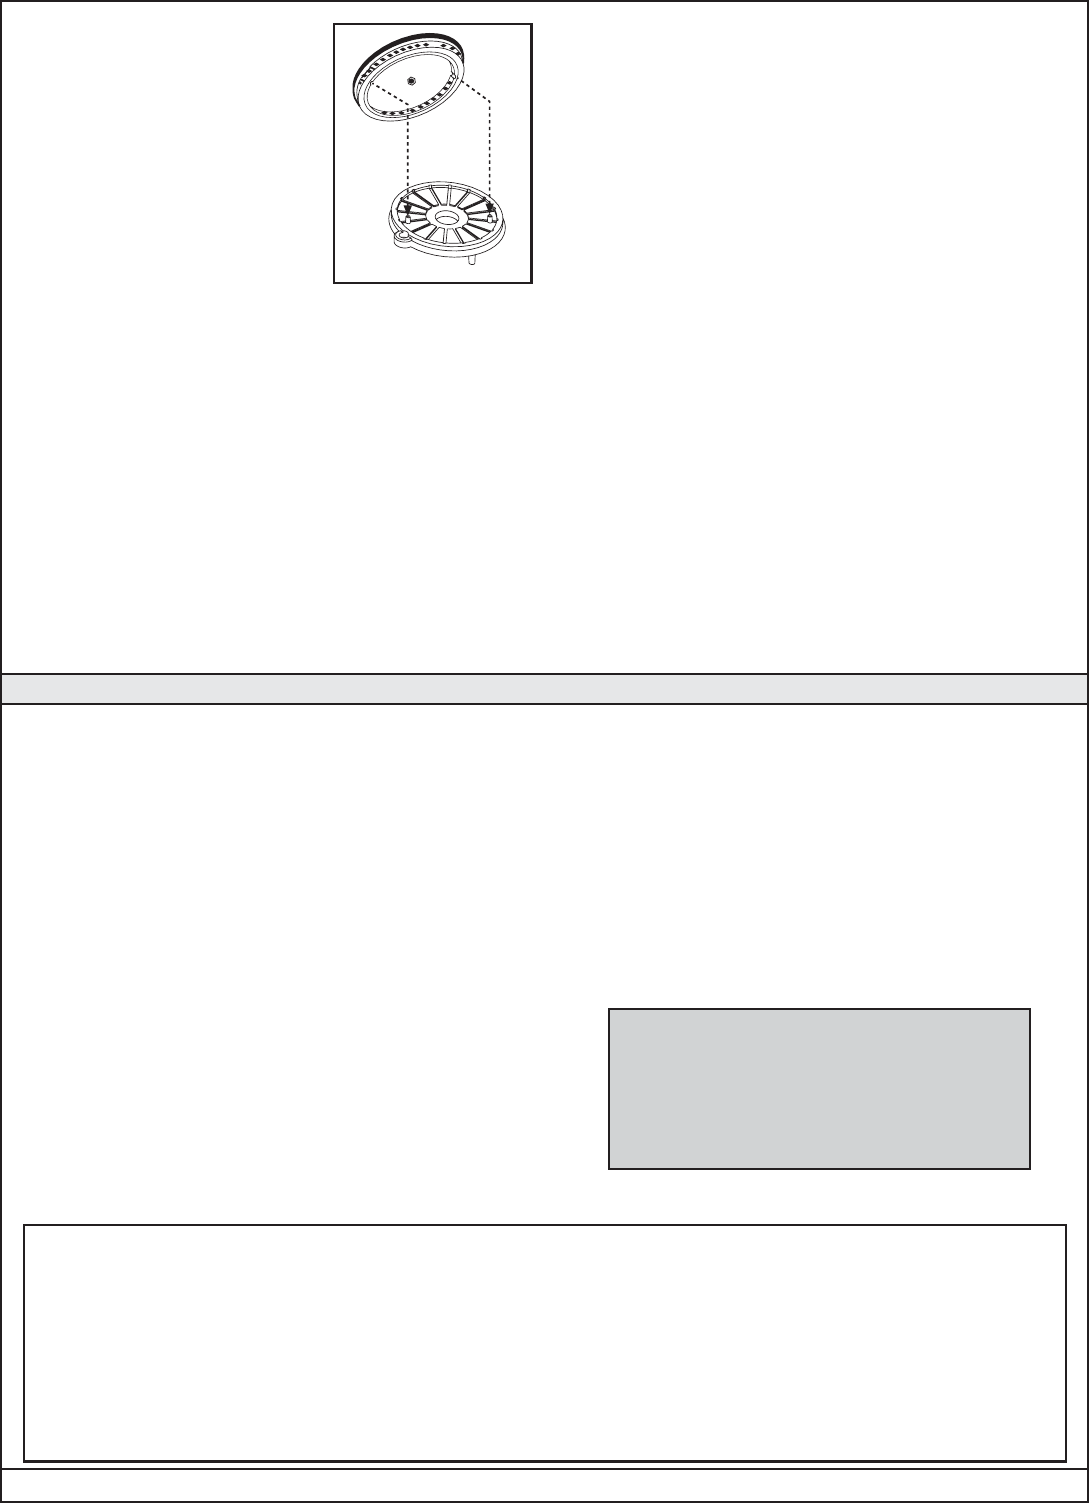
3. POSITIONING THE BURNER
CAP AND GRILL: Place the burner cap so it is centered over
the burner. Be sure the notches in the burner cap fit over the
studs protruding from the burner (see Figure 3). The burner
cap and grill are coated with a high temperature porcelain
finish that prevents rust and can be cleaned with oven cleaner.
SAFETY TIPS IN USING YOUR SIDEBURNER: Each time
you use your sideburner, ensure that:
1. The area around the unit is clear and free from flamable
vapors, liquids and other combustable materials.
2. There is no blockage of air flow around the burner.
3. When using propane gas:
a. The special ventilation openings in the enclosure
are kept free and clear of debris.
b. If connected to a propane cylinder, the rubber hose
attached to the regulator is carefully inspected before
each use.
c. The propane cylinder, regulator and rubber hose
are installed in a location not subject to heating above
125° F (51° C).
4. Burner flames are burning evenly around the burner cap
with a steady flame (mostly blue with yellow tipping).
PRESERVING YOUR SIDE BURNER FOR YEARS OF
CAREFREE USE: The sideburner surfaces may be cleaned
with any common acid free household cleaner.
Occasionally remove the burner cap and, if necessary, use a
soft, stiff brush (an old toothbrush) to clean the ports in the
burner and the underside of the burner cap.
CAUTlON: Never use acid chemicals or abrasive pads to
clean porcelain or aluminum surfaces.
Do not operate the burner with the cover closed.
The valve, igniter and burner on your Fire Magic Sideburner
have been pre-assembled and tested before shipping. We
suggest you follow and practice these instructions for safe
lighting of your Fire Magic Sideburner.
CAUTION: DO NOT ALLOW A COOKING POT OR PAN TO
GET TOO CLOSE TO OR COVER, THE IGNITOR OR FLAME
ADJUSTMENT KNOBS DURING USE. OVERHEATING OF
THE KNOBS WILL OCCUR, RESULTING IN DAMAGE AND
POSSIBLE UNIT MALFUNCTION. IF THIS CAUTION IS NOT
FOLLOWED.
FOR AUTOMATIC LIGHTING:
1. Open the lid.
2. Make sure the control valve is in the 'OFF' position.
3. Open the propane gas tank valve or gas line valve.
4. Depress the control valve and turn to the 'HIGH'
position.
5. Immediately press the spark generator button. The
burner should light.
6. If the burner does not light, turn the control valve to
the 'OFF' position and WAIT 5 MlNUTES.
7. Repeat steps 4 and 5. If the burner still does not light,
turn the control valve to 'OFF' and WAIT 5 MINUTES.
Then follow the manual lighting instructions below.
FOR MANUAL LIGHTING:
1. Follow steps 1 thru 3 above.
2. Insert a long-stemmed burning match or a long necked
butane lighter to the ports below the burner cap.
3. While holding the match or lighter flame next to the
burner, depress the control valve and turn counterclock-
wise to 'HIGH'.
4. If the burner does not light immediately, turn off the
valve. WAIT 5 MlNUTES before repeating steps 2 and 3.
ADJUSTING THE FLAME: The valve is on 'HIGH' flame
at first click, and the 'LOW' flame is in the extreme
counterclockwise position. You may regulate the height
of the flame by adjusting the knob between 'HIGH' and
'LOW'. You may also adjust the 'LOW' flame height, with
the burner in the 'LOW' position by turning the small
adjusting screw in the center of the valve stem. This screw
is accessed by removing the valve knob from the valve
stem and inserting a small screwdriver down the hollow
center of the valve stem.
IF YOU SMELL GAS:
1. Shut off
gas to the appliance.
2. Extinguish any open flame.
3. Open lid.
4. If the odor continues, immediately
call your gas supplier.
Replacement parts may be obtained from your Fire Magic
dealer.
LIGHTING INSTRUCTIONS
Robert H. Peterson Co. • 14724 East Proctor Avenue, • City of Industry, CA 91746
ROBERT H. PETERSON CO.
Quality Check Date:___________
Orifice # (MAIN): __________
Orifice # (OTHER):__________ Model #: ___________
Leak Test: ___________ Serial #: ___________
Burn Test: ___________ Air Shutter: ___________
Gas Type: ___________ Inspector: ___________
NAT / PROPANE
Figure 3