Page 4
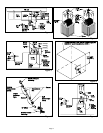
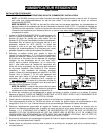
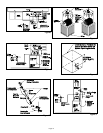
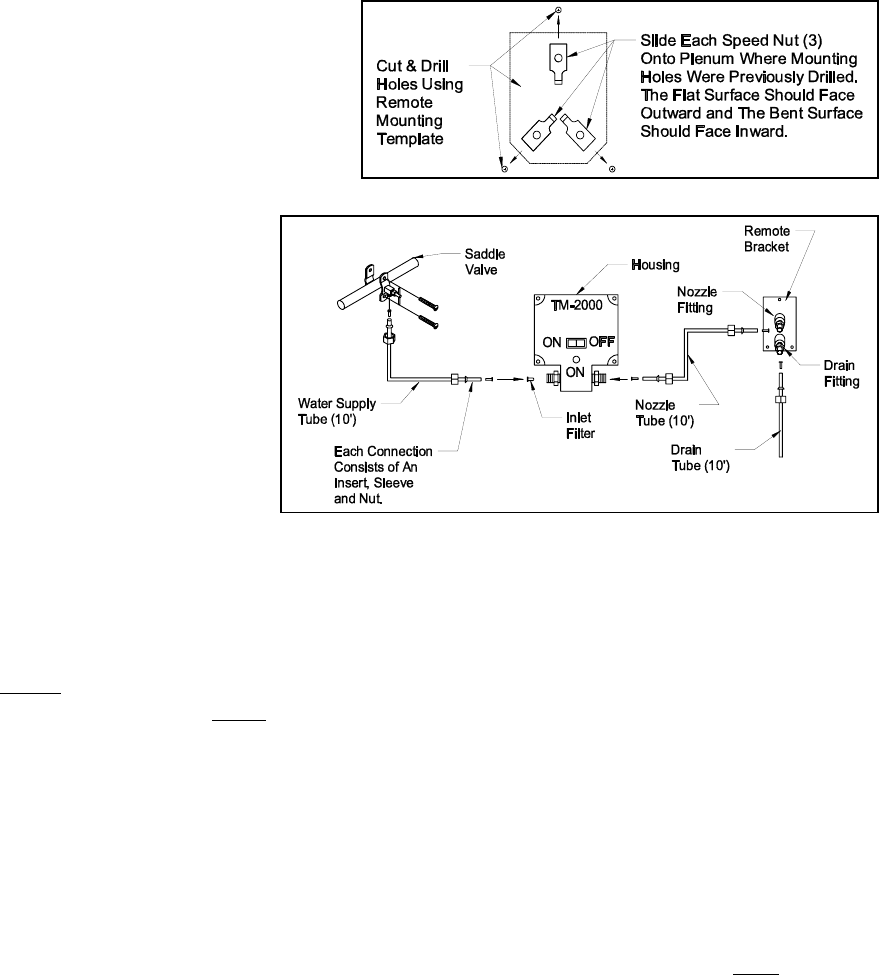
Clip the three speed nuts over the mounting holes as
shown in Figure 9.
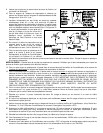
9. Attach the Remote Nozzle Bracket to the plenum,
using the three #8-15 x 1/2” long hex head sheet
metal screws.
10. Locate a cold water line, upstream of any water
softener, within 10 feet of the Remote Nozzle
Bracket Assembly. The line may be plastic, copper,
steel, iron or brass tubing or pipe and must
have an outside diameter of between 3/8”
and 1-5/16”. If the nearest suitable line is
further than 10 feet away, 1/4” copper tube
must be used instead of the plastic tubing
supplied (contact Field Controls Technical
Support for assistance if needed).
11. Carefully following the instructions printed
on the Saddle Valve Assembly bag, attach
the saddle valve to the water line. (See
Figure 10)
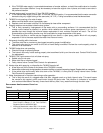
12. Attach one 10’ section of the supplied
plastic tubing to the saddle valve and the
inlet connection of the Housing Assembly,
as shown in Figure 10, using the inserts, sleeves and nuts found in the saddle valve bag, and cutting to length
as necessary.
CAUTION:
To avoid overtightening of the fittings use caution. Only use enough force to “snug up” the
fitting nuts, then turn nut half a turn more.
13. Attach another 10’ section of plastic tubing to the Housing Assembly’s outlet connection and the Remote
Nozzle Bracket’s nozzle
fitting.
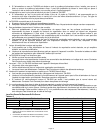
14. Attach the remaining 10’ section to the drain
fitting on the Remote Nozzle Bracket and fix the other end to an
open drain or receptacle (a coffee can will do), or route outdoors. Maintain a downward slope of at least 1” of
drop per foot of tubing if possible; cut the tubing to length as necessary. IT IS IMPORTANT THAT THE END
OF THE DRAIN TUBE BE AT LEAST 10” LOWER THAN THE NOZZLE DRAIN FITTING. DO NOT CONNECT
THE DRAIN TUBE TO A DRAIN PIPE OR VENT. THE END OF THE DRAIN TUBE MUST REMAIN FREE OF
INSECTS, DIRT, AND OTHER BLOCKAGE AND BE FREE TO DRAIN AT ALL TIMES.
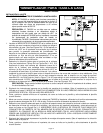
15. Slowly open the saddle valve, turning the handle counterclockwise, and check all connections for leaks. If any
leaks are observed, tighten the fitting nut until the leak stops. Make sure the saddle valve is fully open.
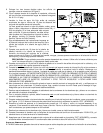
16. Strip approximately 1/2” of insulation from the ends of both red and white wires at one end of the power supply
cable.
17. Using an electrical crimper or pliers, securely crimp on a quick connect terminal (supplied) to each
of the red
and white wires.
18. Plug both of the terminals into the bushing terminals on the side of the Housing Assembly as shown in Figures
1-3 & 5. Turn the Housing Assembly power switch to the “OFF” position.
19. Route the power cable to a nearby 115 volt outlet and cut to length if necessary. If a longer cable is needed,
contact Technical Support or use 18 gauge 2-conductor thermostat wire purchased locally.
20. Strip the ends of both red and white wires in the cable as before.
21. Firmly attach the red wire to either of the screw terminals on the 120/24 VAC transformer, and the white wire
to the other terminal on the transformer.
22. Make certain the Housing Assembly’s power switch is “OFF,” and plug the transformer into the outlet. The
transformer should now be supplying 24 volts AC to the TM-2000.
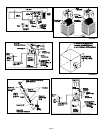
Figure 10
Figure 9


