CHARGING THE CORDLESS HAND SWEEPER
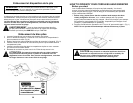
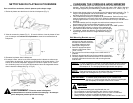
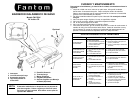
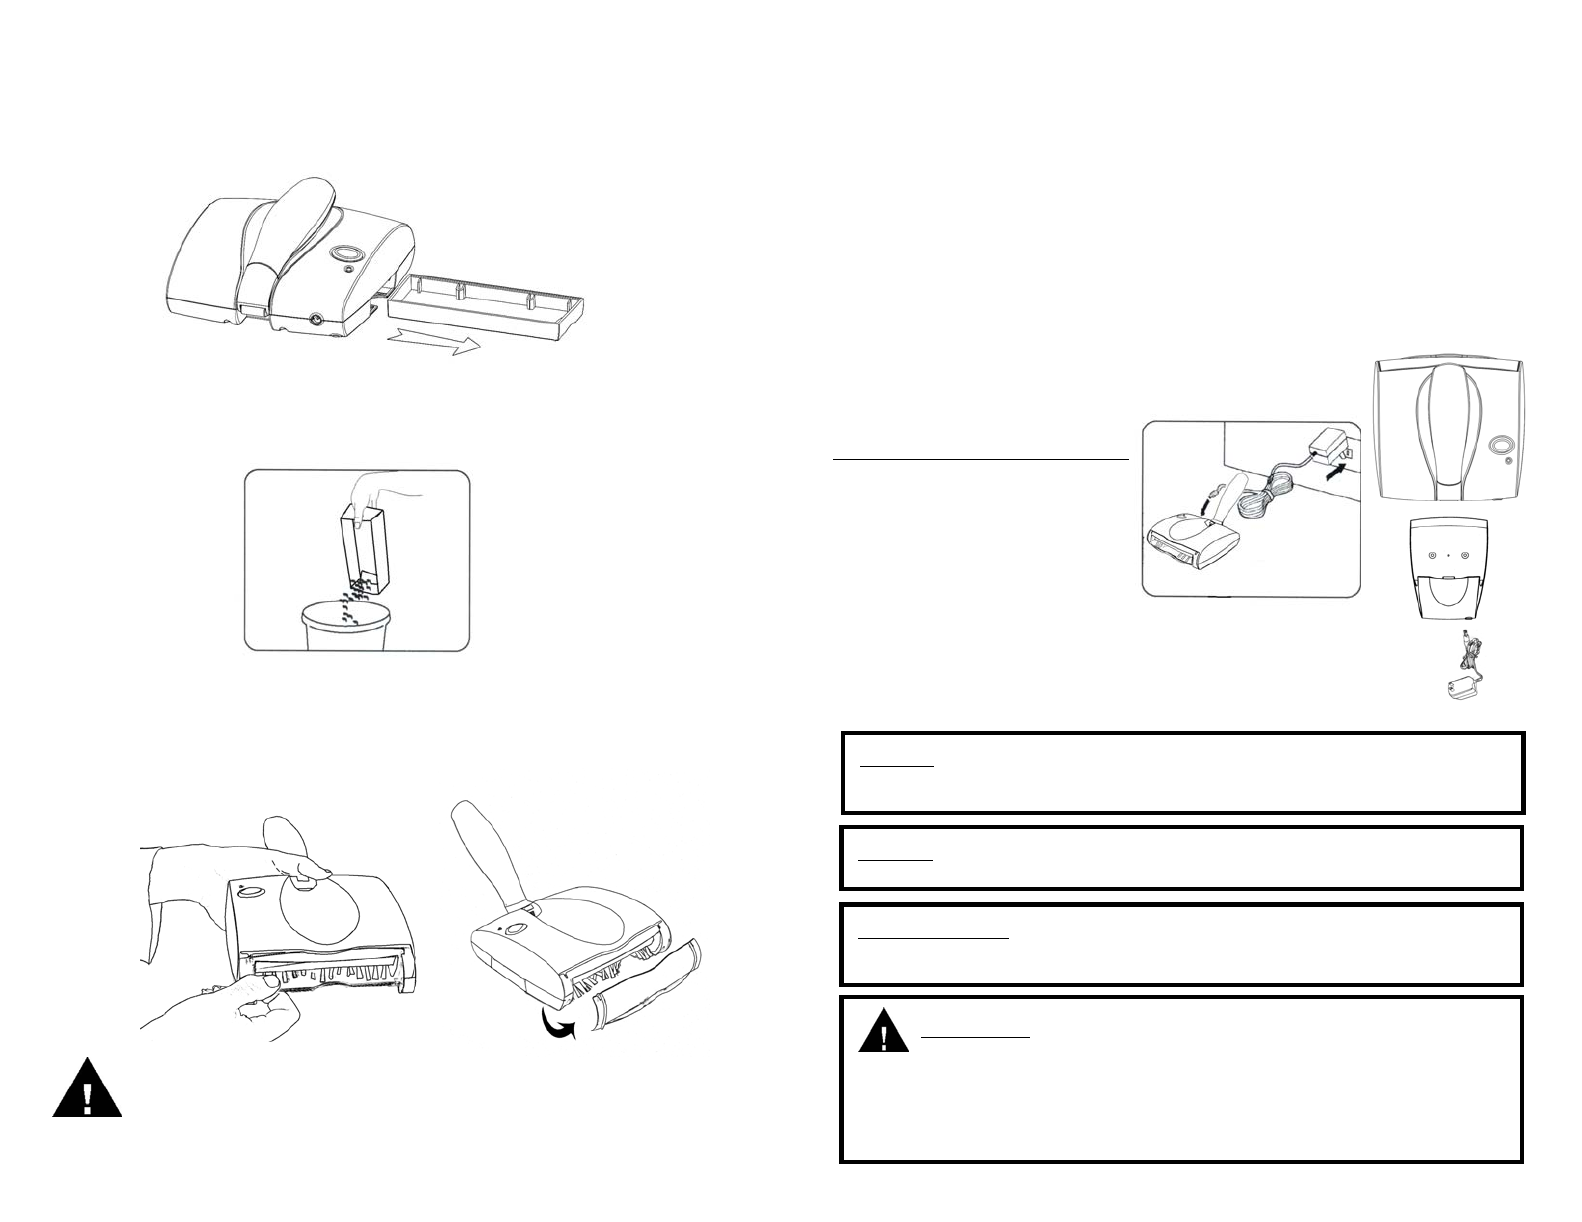
1a. Connect the charger plug to the charging jack or hole on the back of the hand
sweeper. Plug the the charging adapter into the wall outlet. (120V.,60Hz.) Use only
the charger supplied by the manufacturer, rated output DC 5.5 V, 100mA. (Fig. 6)
OR
1b. Connect the charger plug on the charging jack of charging stand (optional). (Fig. 7).
Plug the charging adapter into the wall outlet(120V., 60Hz). Use only charger
provided, place the unit in the charging stand.
2. This cordless hand sweeper is powered by Ni-Cd batteries. Before first use, they
must be charged for a minimum of 24 hours. When the batteries are charging,
charging light indicator on the top of the unit will illuminate to tell you that the unit is
charging.
3. Once the batteries are fully charged, the cordless hand sweeper will run for
approximately 20-25 minutes before recharging is required.
4. When recharging the unit, the "On/Off" switch must be in the "OFF" position.
5. The charging light indicator on the top of the sweeper will
illuminate to indicate that the sweeper is properly charging.
6. To recharge, repeat step #above. Charging times will vary
depending upon the amount of usage between charging
cycles.
CAUTION
• Use only with the battery pack supplied with the unit.
• Do not attempt to remove the battery pack from the unit to charge it.
• Never attempt to throw the battery pack or unit into a fire or incinerate it.
• Do not attempt to remove or damage the battery casing.
• Battery must be recycled or disposed of properly at the end of it's service life.
AVERTISSEMENT: Évitez de mettre la balayeuse
accidentellement en marche pendant son nettoyage. Ne nettoyez
pas la balayeuse pendant qu’elle se recharge.
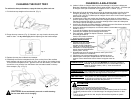
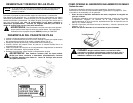
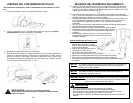
2. Videz le contenu du plateau (Fig. 3). Si vous le désirez, rincez le plateau à l’eau
pour le nettoyer mais séchez-le complètement avant de le remettre dans la
balayeuse.
3. Remettez le plateau dans la balayeuse.
4. De temps à autre, retirez le couvercle transparent de la brosse et retirez toute
accumulation de peluches, de cheveux ou de fibres sur la brosse rotative. Pour
enlever le couvercle transparent, agrippez le couvercle à partir du bas, tirez-le
vers l’extérieur jusqu’à ce qu’il sorte des fentes du bas et de languettes situées
dans le haut de la balayeuse (Fig. 4, Fig. 5).
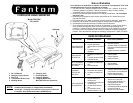
Fig. 2
Fig. 4
Fig. 5
Fig. 6
Fig. 7
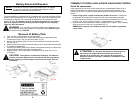
1. Make sure that the intended
wall area for the wall mounting
bracket to be drilled is free from
any hidden electrical wires,
water pipes and gas lines.
2. Select an appropriate place
close to a wall power outlet
(120V., 60 Hz).
3. Do not mount near direct sunlight, near a heat source or
outdoors.
4. Select an appropriate drill type for the material to be drilled.
5. Carefully measure and mark the location of all bracket holes
and then drill holes and screw the wall mounting bracket
onto the wall.
Wall Mounting Bracket (Optional)
NETTOYAGE DU PLATEAU À POUSSIÈRE
Pour un meilleur rendement, videz le plateau après chaque usage.
1. Retirez le plateau tout droit hors du côté de la balayeuse (Fig. 2)
Fig. 3
NOTE: If, when you place the sweeper to recharge and the charging indicator
light does NOT illuminate, then press the On/Off button once to turn
the sweeper off. The charging indicator light should now light up.
NOTE: Peak performance may only be realized after the unit has been
charged and discharged two (2) or three (3) times.
IMPORTANT: To maintain peak performance of your cordless hand
sweeper, it is recommended that the unit be fully discharged,
then completely re-charged at least once a month.
20
5


