ENGLISH
INSTRUCTIONS FOR USE
• Before operating the vacuum cleaner, make certain that the dust bag
and lters are in the proper position.
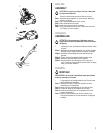
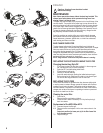
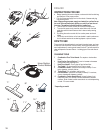
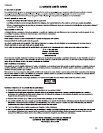
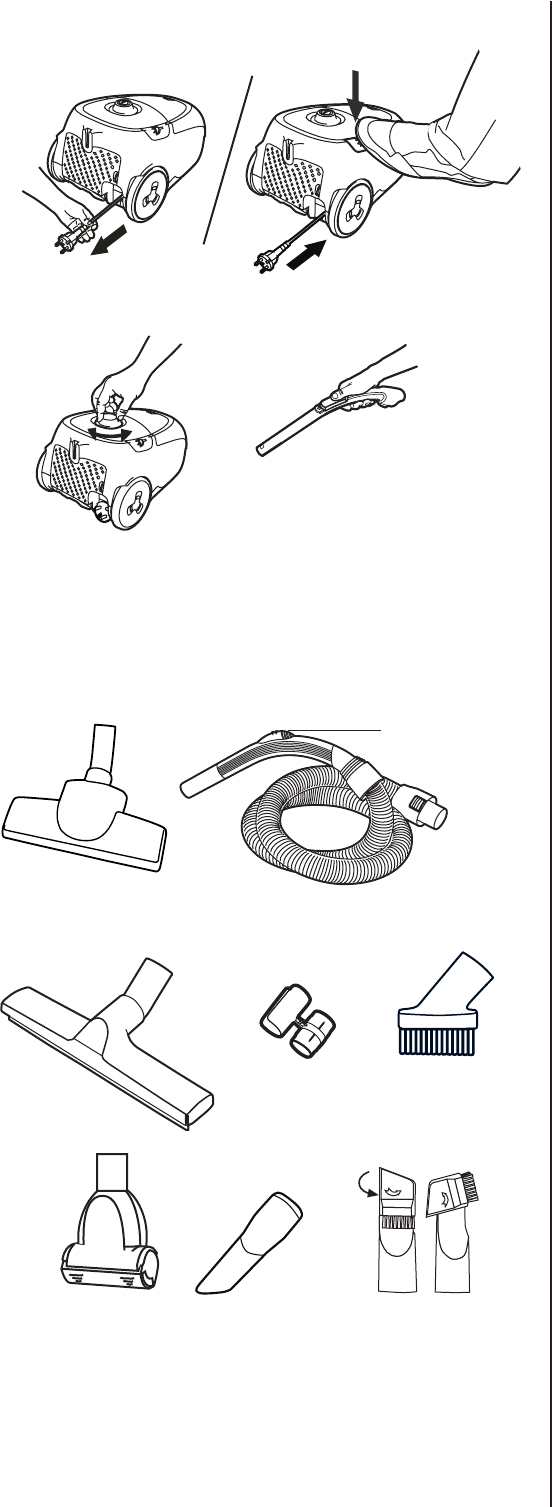
1 Pull all of the power supply cord out from back of cleaner and plug
into electrical outlet.
Note: When pulling on power supply cord watch for a yellow line on
the cord. Then continue slowly pulling on cord till you see the red
line, stop. The red line indicates the end of usable cord.
2 Turn the ON/OFF suction control dial to switch the cleaner on.
3 To rewind the power cord, press the rewind button with foot and
guide the cord with hand to ensure that it does not whip causing
damage.
2 By moving the suction control dial, the suction power can be ad-
justed.
4 The suction control button on the hose handle is used to reduce suc-
tion for delicate work such as cleaning drapes or picture frames.
HOW TO USE
Floors should be cleaned regularly over heavily traveled areas, and once
a week over the entire area. Vacuum slowly, making several passes (for-
ward and backward), covering small areas at a time. The time required to
clean will depend on several factors - including type of oor and amount
of dirt.
CLEANING TOOLS
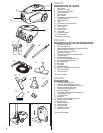
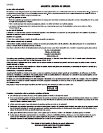
5 Combination Floor Turbo Nozzle: For carpets or hard surface
oors.
6 Hose Suction Control Button: For use to increase or decrease
suction when using cleaning tools.
7 Hard Floor Nozzle*: For any type of hard surface oor.
8 Tool Caddy*: To store cleaning tools. Clips on wand.
9 Combination Brush*: (stored on tool caddy on wand): For cur-
tains, draperies, cushions, fabrics.
10 Turbo Brush*: For upholstery and for stairs.
11 Crevice Nozzle*: (stored on tool caddy on wand): For crevices,
corners, baseboards, between cushions.
12 Combination Crevice Nozzle/Brush*: (stored in base of unit
under lter cover) For crevices, corners, baseboards, between
cushions. Brush rotates to allow use as brush or crevice depending
on task. *On some models.
* Depending on model
5.
1.
3.
4.2.
6.
7.*
10.*
11.*
12.*
8.
9.*
*
Hose Suction
Control Button
10


