4
HOW TO ASSEMBLE (Continued)
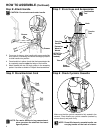
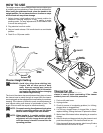
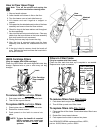
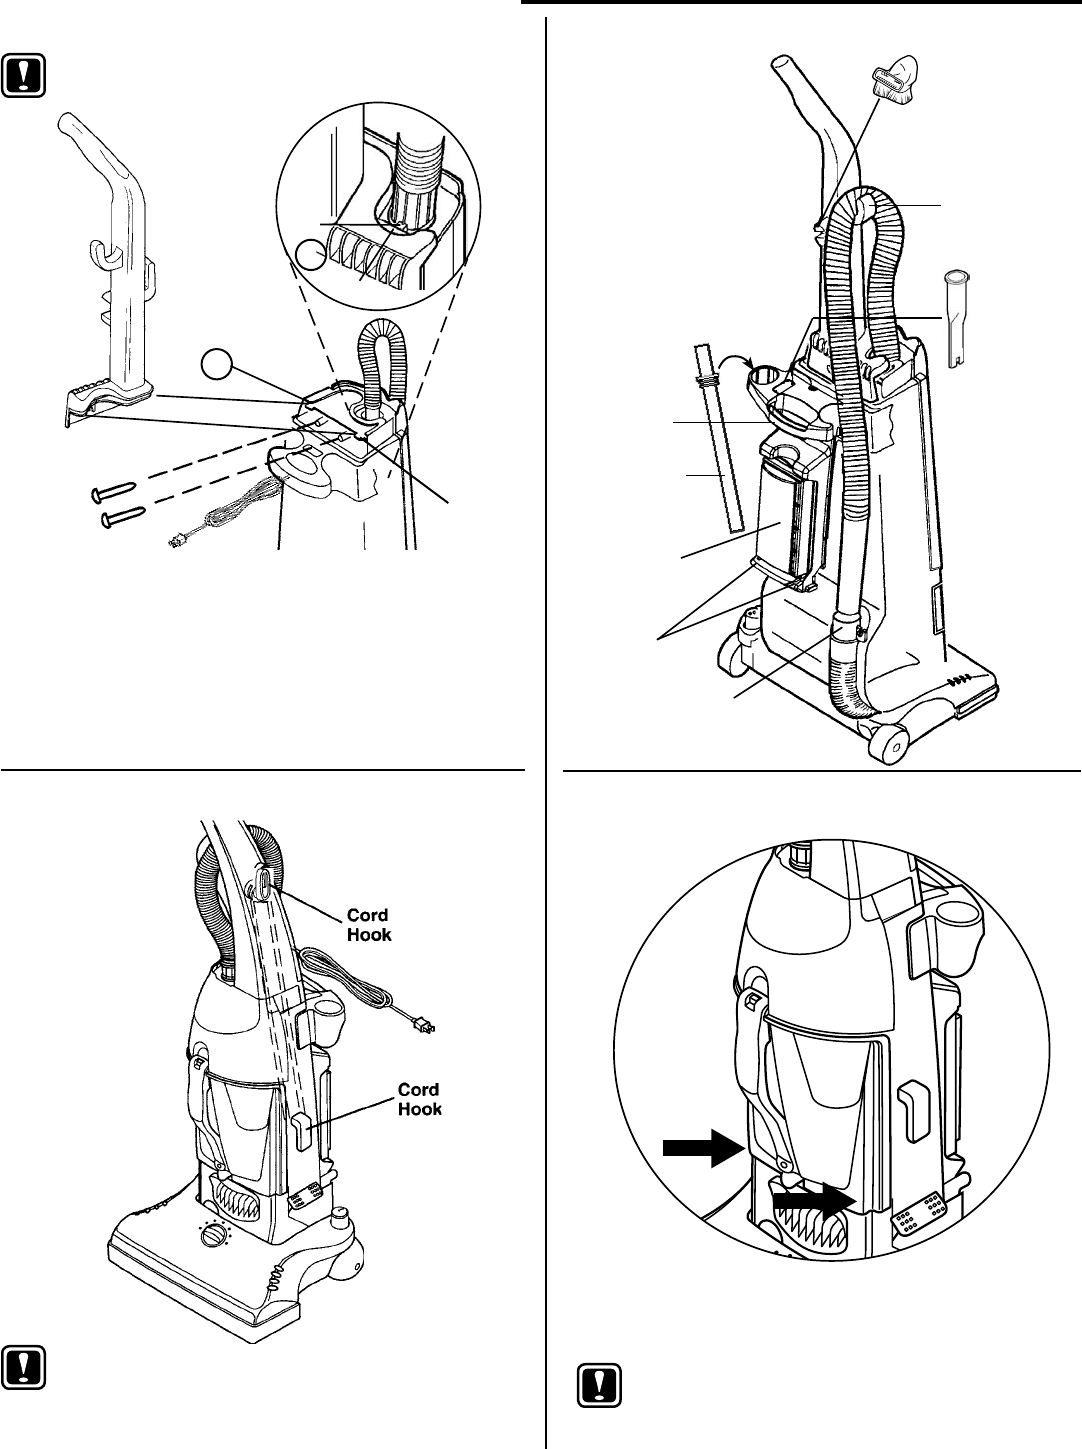
Step B Attach Handle
CAUTION: Do not catch cord under handle.
3. From rear of cleaner, align handle with groove and slide
onto cleaner. If necessary, use thumb and nger pressure
to slide handle into position.
4. Once handle is in place, check that the hose adapter tab
is completely secure under the ledge of the handle.
5. Attach handle with two 5/8 inch screws in the assembly
packet. Use either a slotted or Phillips
®
head screwdriver.
Groove
Groove
Tab
Ledge
3
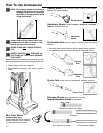
Step C Store Hose and Accessories
Combination
Tool
Crevice
Tool
Hook
Hose
Retainer
Tabs
Extension
Wand or
Wands
Carrying
Handle
HEPA Filter
(on some
models)
4
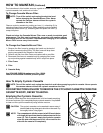
Step D Store Electrical Cord
NOTE: For easier access to bag compartment,
when you store the electrical cord use a
gure 8 pattern.
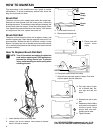
Make sure that the cyclonic cassette is fully seated in the
vacuum. Place thumbs on cyclonic cassette (marked by
arrows above) and push rmly.
NOTE: Do not lift cleaner by cassette handle, use
carrying handle on the back of cleaner.
Step E Check Cyclonic Cassette


