


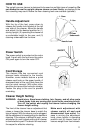
5
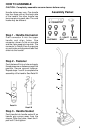
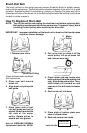
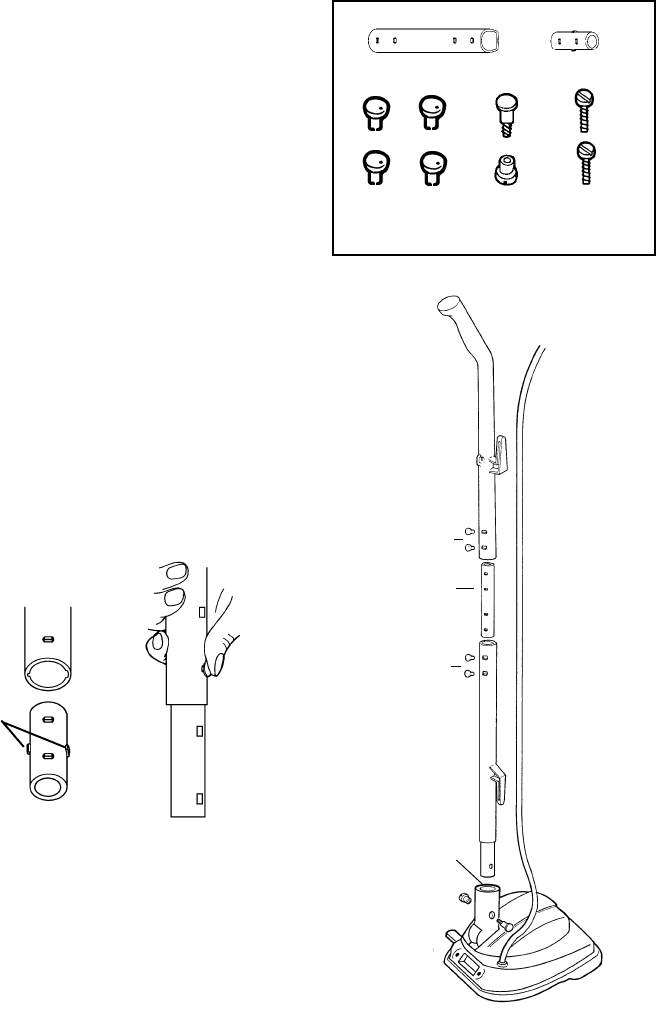
HOW TO ASSEMBLE
CAUTION: Completely assemble vacuum cleaner before using.
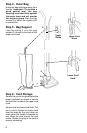
Handle styles may vary. One handle
has four snap pins on the back side
of the handle, the other handle has
two snap pins on each side. The cord
hooks may be different.
Step 3 - Handle Socket
Push handle into handle socket E so
handle grip curves away from the
cleaner. Align the holes, insert the 2-
part bolt C and tighten.
Step 2 - Fastener
Push fastener B into a hole and apply
thumb pressure so fastener snaps into
position. Secure second fastener.
Repeat steps 1 and 2 to complete the
assembly of the handle. See Detail B.
Step 1 - Handle Connector
Push connector A into the upper
handle and align holes. One
connector, shown, is flat on one side
and the 4 pins snap into one side. The
connector in Detail A has 2 snap pins
on each side and alignment tabs that
slide into the handle.
Detail A
Detail B
B
A
B
E
C–
D - BAG
SCREWS
C - 2-PART
BOLT
B -
FASTENER
A - CONNECTOR
Assembly Packet
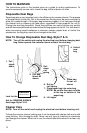
Tab