


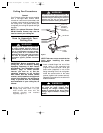

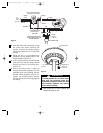
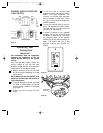

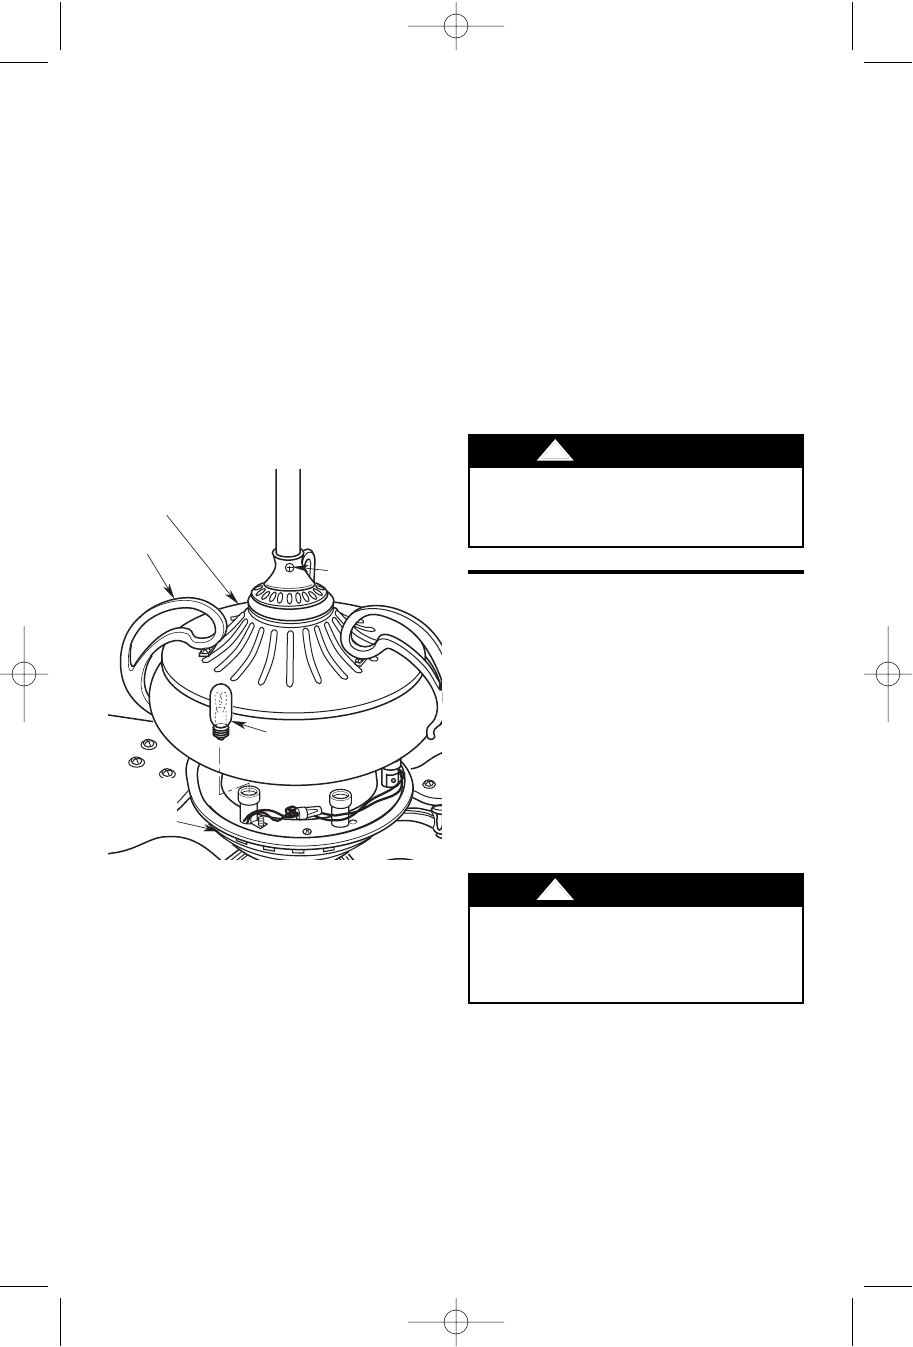
Replacing Light Bulbs
SETSCREW
UPPER
HOUSING/GLASS
HOUSING
TRIM
7-WATT (MAXIMUM)
CANDELABRA BULB (6)
LOWER
HOUSING
FLANGE
Figure 24
To replace a burned out light bulb, loosen
the setscrew in the upper housing and
raise the upper housing/glass enough to
access the defective bulb, then tighten the
setscrew (Figure 24). Unscrew the
defective bulb and screw in the
replacement 7-watt (maximum) candel-
abra bulb. Firmly grasp the housing trim to
prevent the upper housing/glass from
falling down the downrod and damaging
the glass, then loosen the setscrew.
Carefully lower the upper housing/glass
until the glass seats evenly in the lower
housing flange. Tighten the setscrew.
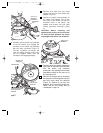
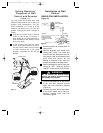
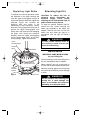
Attaching Light Kit
CAUTION: To reduce the risk of
electrical shock, disconnect the
electrical supply circuit before
installing the fan and optional light kit
and/or remote control receiver.
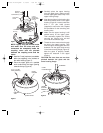
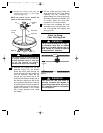
To install an optional Emerson light kit,
remove the four screws securing the
switch cup assembly to the switch cup
adapter. Remove the finial nut from the
switch cup and install the light kit in
accordance with the light kit Owner’s
Manual.
To avoid possible electrical shock, be
sure electricity is turned off at the main
service box before wiring.
!
WARNING
Do not use water when cleaning your
ceiling fan. It could damage the
motor or the blades and create the
possibility of an electrical shock.
!
WARNING
Maintenance
IMPORTANT CARE INSTRUCTIONS
for your Ceiling Fan
Periodic cleaning of your new ceiling fan is
the only maintenance that is needed.
When cleaning, use only a soft brush or
lint free cloth to avoid scratching the finish.
Abrasive cleaning agents are not required
and should be avoided to prevent damage
to finish.
16
BP7306 Nottingham 6/19/06 1:00 PM Page 16