9
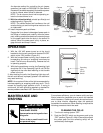
3. Release the latch on top of power pack and pull the
power pack straight away from cabinet at the top.
Then lift pack out of ledge at bottom edge of cabinet.
Set power pack aside.
4. Remove the cell(s) and pre-filter(s) from cabinet.
Using a solution of warm water and low sudsing
detergent, soak cell(s) and pre-filter(s) for 20 to 30
minutes.
NOTE: Ionizing wires may become coated causing
loss of cleaning ability by the collecting cell. Using a
damp cloth, wipe each ionizing wire, exercising care
not to damage them.
5. Remove the cell(s) and pre-filter(s) from solution and
rinse thoroughly with clean water.
6 Allow cell(s) and pre-filter(s) to drip dry for a mini-
mum of 2 hours. Cell(s) and pre-filter(s) may be
tipped at a slight angle to expedite the drip-dry pro-
cess.
7. Reinstall the cell(s) and pre-filter(s) in the cabinet.
8. Replace the power pack. Turn furnace fan on. After
30 minutes push ON-OFF switch on the power pack
to the “ON” position.
A moderate amount of arcing or “snapping” may
occur at this time, which will indicate that the cell(s)
are still damp. If the noise is objectionable, push the
ON-OFF switch to the “OFF” position and allow
additional time for cell(s) and pre-filter(s) to dry. In
some cases the Operating Light will remain OFF
during this initial activation of the air cleaner, and this
would indicate that the cell(s) are not completely dry.
The Operating Light should remain ON while the
furnace fan is running once the drying is complete.
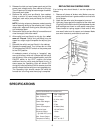
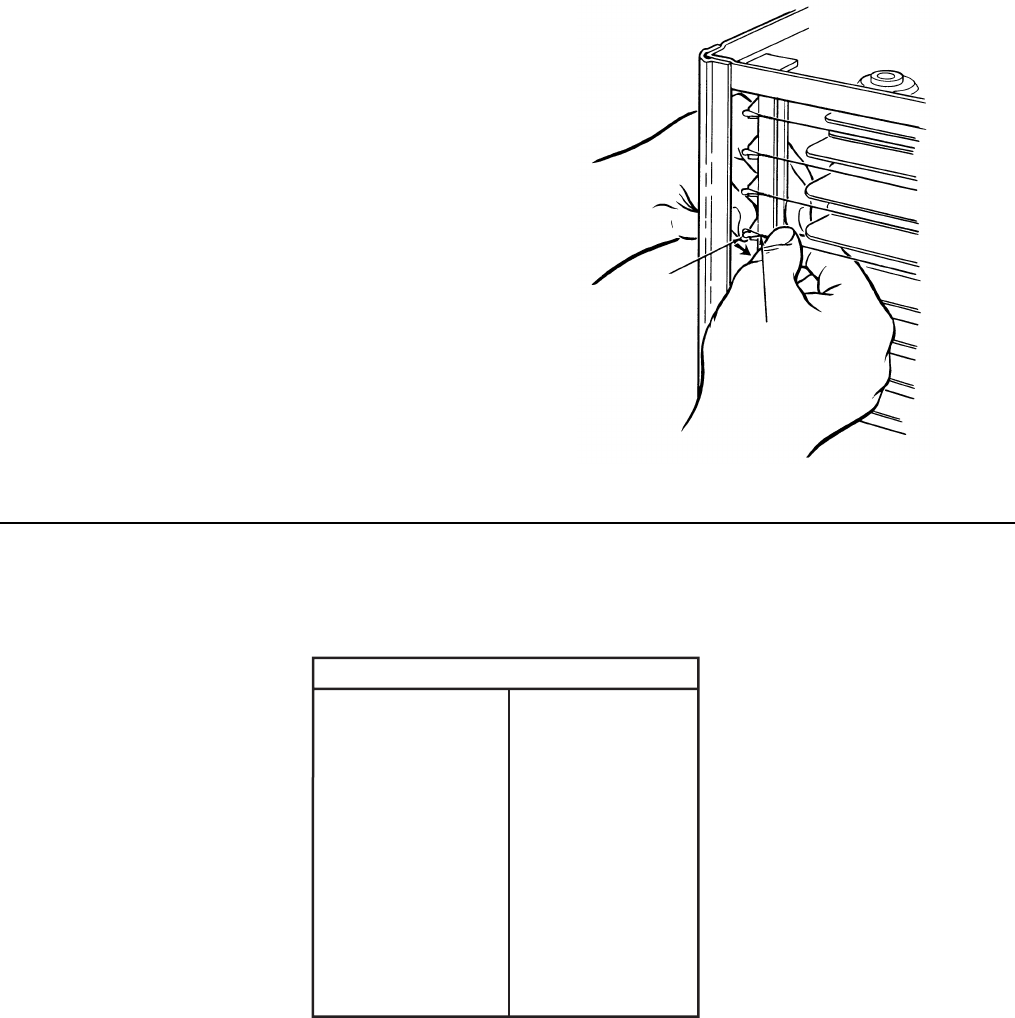
Support
Ionizing
Wire
Figure 22
Rated Capacity 1000 - 2000 cfm
Max. Pressure Drop .12 in. W.G.
Cell Weight (2) 9 lbs. each
Power Pack Weight 9 lbs.
Unit Weight 37 lbs.
Power Consumption 40 Watts (Max)
Electrical Input 120 VAC 60 hz.
Electrical Output 1.5 Ma
@ 6450 VDC (nom)
Max. Ozone Output .05 ppm
Temperature Rating 40° F to 125° F
SPECIFICATIONS FOR 16C26S-010
REPLACING AN IONIZING WIRE
If an ionizing wire should break, it can be replaced as
follows:
1. Remove all pieces of broken wire. Make sure sup-
ports at each end are in good condition and not bent
out of shape.
2. Hook the new wire onto the support at one end.
3. Hold your finger against the support at the other end
(Figure 22) and hold the ionizing wire between thumb
and forefinger as shown or use needle nose pliers.
Press inward on spring support. Hook end of wire
over small tab at end of support and release. Make
sure wire is securely anchored at each end.
SPECIFICATIONS


