


8
1. Pull cover open at tab. Remove cover from base by sepa-
rating at rear snap-in hinges by rotating cover backwards.
2. Place the base on ceiling or wall exactly where you want to
mount the unit. With a pencil, mark the location of the screw
holes.
3. Taking care to avoid any electrical wiring in the ceiling or
wall, drill a hole through the centres of the marked locations.
Push the plastic Screw Anchors provided into the drilled
holes. Screw in firmly.
(b) Connecting the battery
The battery is easily removed from the holder by holding back
one of the plastic clips while lifting the battery with the other
hand.
Snap Battery Connectors to Battery. They fit together only one
way.
Gently push Battery into Battery Holder
With a pencil, write the date of battery installation on the
inside of the cover to remind you when to replace the battery.
To close the cover match up snap-in hinges and gently press
together until base and cover snap together. Test the installed
Smoke Alarm - see section “Manually Testing your Smoke
Alarm”.
NOTE: You may hear a loud chirp when attaching the Battery
Connectors to the Battery.
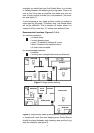
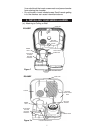
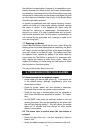
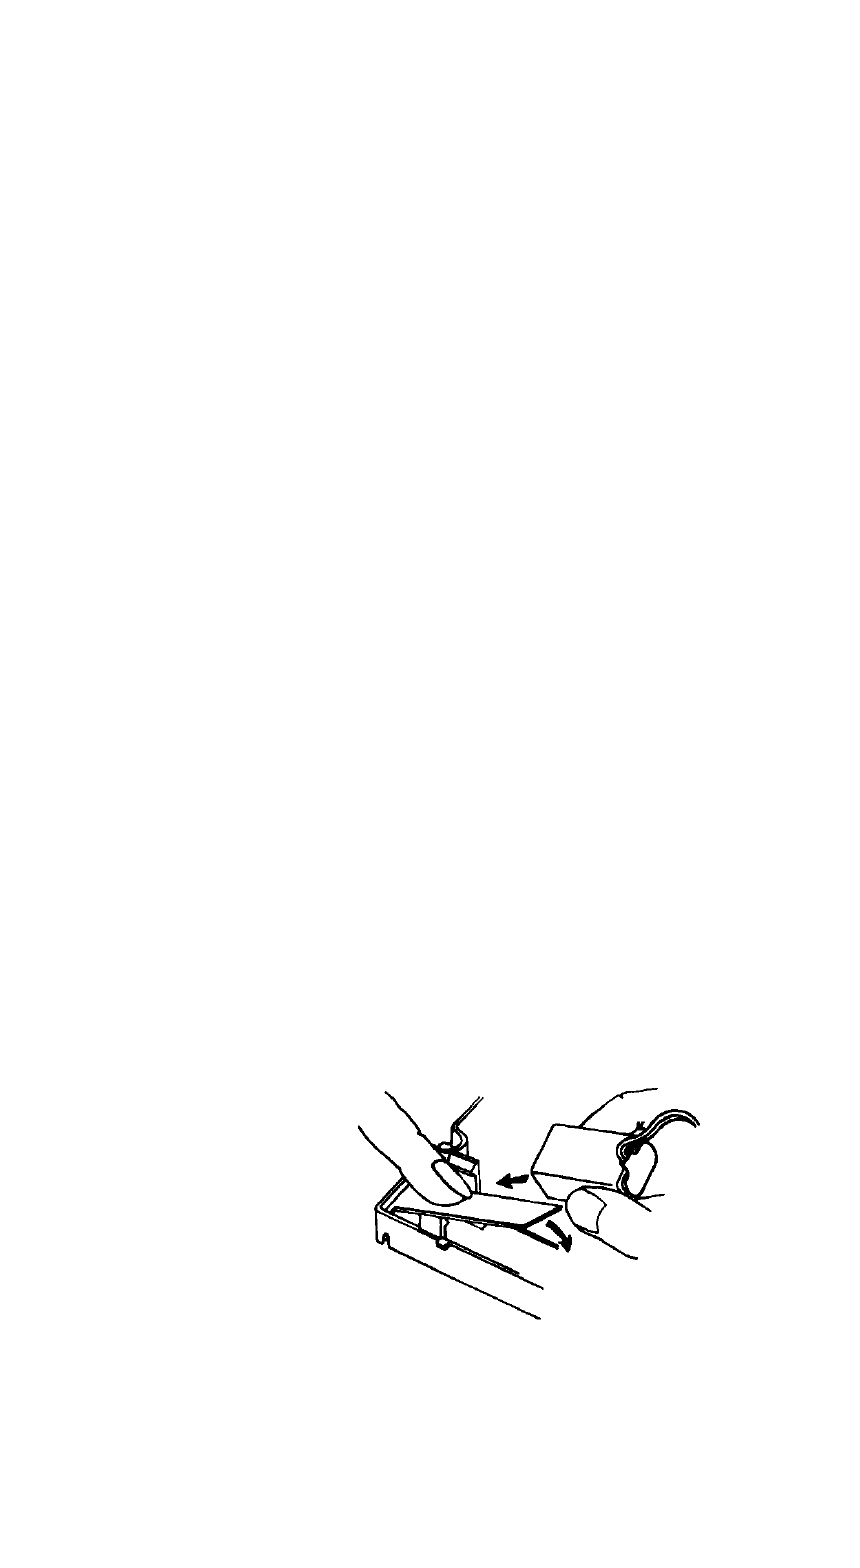
Battery Missing indicator
The unit is fitted with a warning flag which pops up when the
battery is removed. This prevents the cover from closing when
there is no battery in the unit. When the battery is being
installed or changed, this flag must be held down while gently
pushing the Battery into the Battery Holder. (Figure 8).
7.Check the radio link interconnection by holding the test but-
ton down until the amber light has come on continuously – this
indicates that the alarm is now transmitting radio link signals.
You should now be able to hear the other alarm(s) in the dis-
tance. If you do not hear the other alarm(s) then you may
need to rotate/resite the alarm (see section 5.2 below).
Figure 8