E-4
English
4
4 Accessories
4.1 Connecting Flanges
The use of flat-sealing connecting flanges allows the unit, as an
option, to be connected by means of flanges.
5 Transport
For the transport by means of a hand truck or boiler trolley, po-
sition the latter under the front end of the unit below the transport
security device.
For transport on a level surface, the unit can be lifted from the
rear or from the front by means of a lift truck or forklift. In this
case, the transport securing device is not imperative.
ATTENTION!
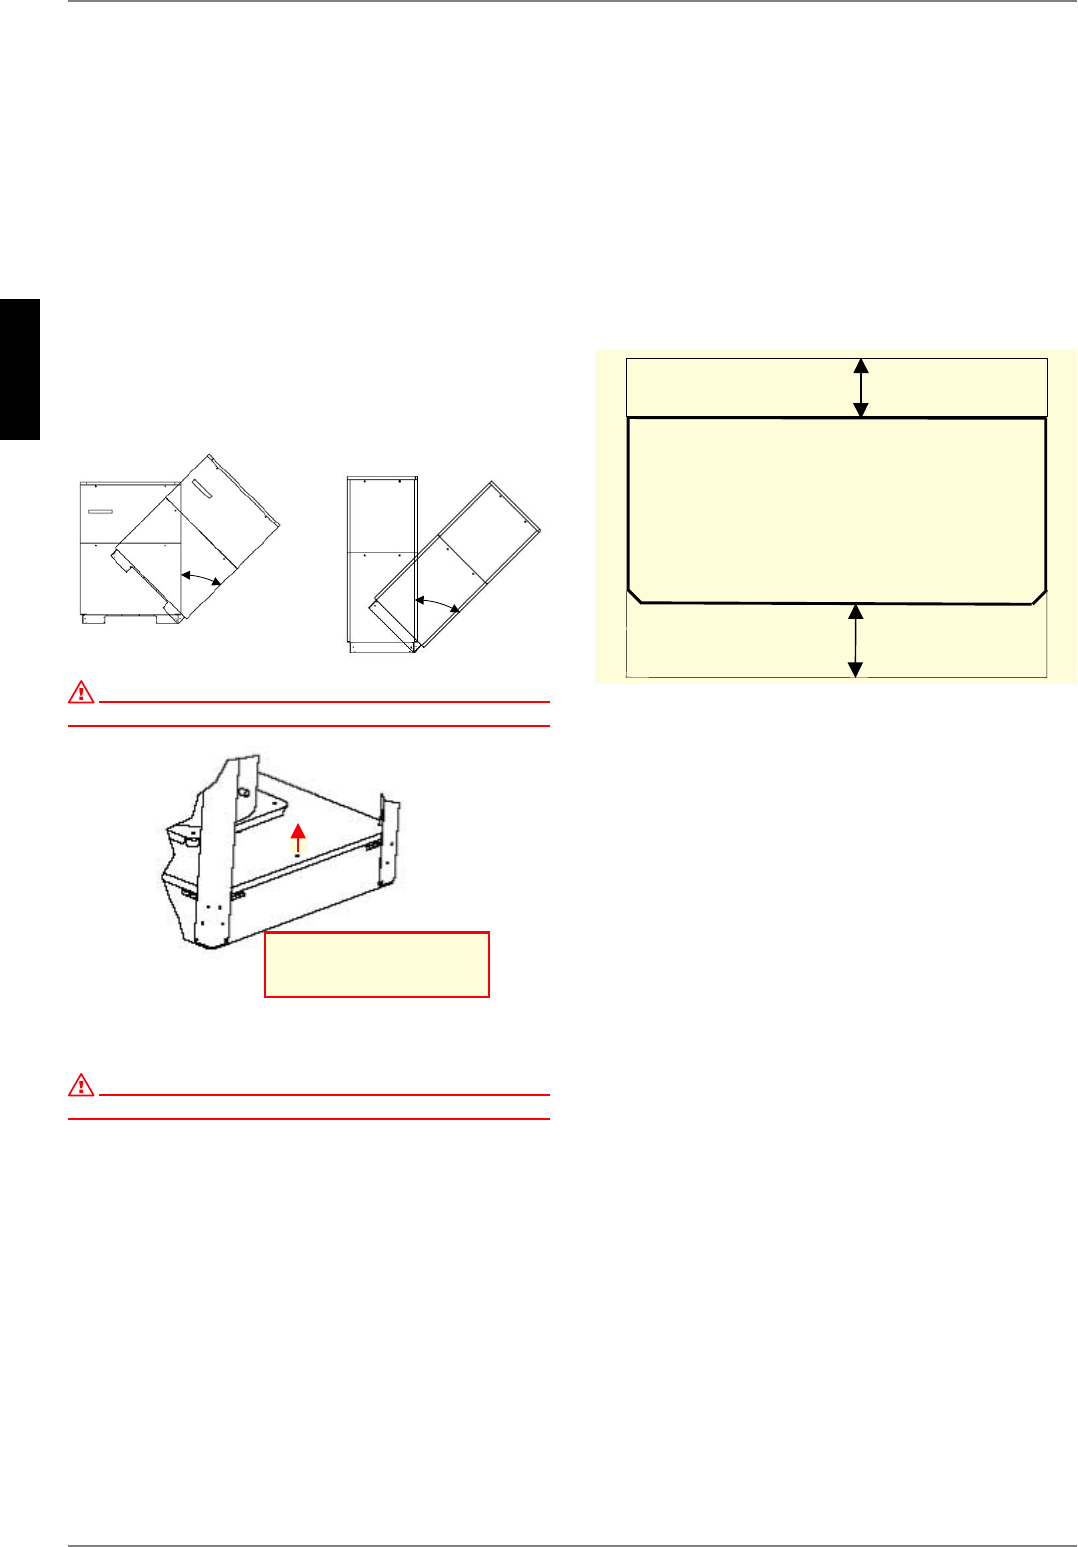
The heat pump must not be tilted more than max. 45° (in either direction).
After the transport, the transport securing device is to be re-
moved on either side at the bottom of the unit.
ATTENTION!
The transport securing device is to be removed prior to commissioning.
To remove the panelling, open the individual covers by unscrew-
ing the respective turn-lock fasteners and then gently tilting the
covers away from the device. Then lift them up out of the mount-
ings.
6 Installation
6.1 General Information
As a rule, the unit must be installed indoors on a level, smooth
and horizontal surface. The entire base frame should make full
contact with the surface in order to ensure adequate sound insu-
lation. Failing this, additional sound insulation measures may be-
come necessary.
The heat pump should be installed to allow easy maintenance/
service access. This is ensured if a clearance of approx. 1 m in
front of the heat pump is maintained.
6.2 Sound Emissions
The heat pump offers silent operation due to efficient sound insu-
lation. Any vibration transmission to the foundation or the heating
system can be largely prevented by internal sound decoupling
measures.
7 Mounting
7.1 General Information
The following connections need to be estab-lished on the heat
pump:
supply/return flow of the brine system
supply/return flow of the heating system
power supply
5HPRYHVFUHZLQ
WUDQVSRUWORFN
P
P


