


English
15
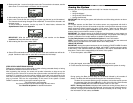
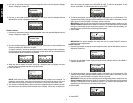
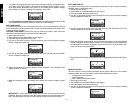
7. The system will request one final check before clearing the settings. All registered sen-
sors, sirens, Key Chain Remotes, and users will be deleted from the system. To sim-
ply change sensor descriptions, user names or user codes use the System Settings
menu instead. To confirm a clearing of the settings, select YES.
See Programming for Initial Setup for instructions on adding sensors and users. Be
sure to contact the monitoring service to notify them of the changes.
AUTO ARM ON/OFF
The system can be set to arm at a particular time each day. This feature can be useful to
ensure the system can be properly armed if arming cannot be initiated by the master user
or other users of the system.
CAUTION: LOUD NOISE. Enabling the auto arm feature will cause a brief, loud noise
while arming that may startle any persons near the Base Unit.
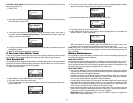
1. Start at the main screen.
2. Select MENU or press MAIN MENU on the keypad.
3. Using the keypad, enter the master code.
4. Use the up and down arrows to scroll through the menu until the System Settings
screen is displayed. Select OK.
5. Use the up and down arrows to scroll through the menu until the Auto Arm ON/OFF
screen is displayed. Select OK.
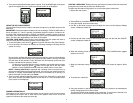
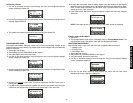
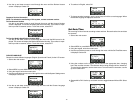
6. When the Autoarm OFF screen appears, select CHANGE. The CHANGE button
toggles between off and on.
7. When the automatic arming is enabled, the Autoarm ON screen will appear. Select
EXIT.
IMPORTANT: If a user disarms the system after the auto arm time and still requires
protection, the user will need to re-arm the system using the Key Chain Remote or key-
pad. The following day, the auto arm will continue to auto arm at the pre-set time.
AUTO ARM TIME SET
The system can be set to arm at a particular time each day. To set or change the time of
automatic arming, follow these steps.
1. Start at the main screen.
2. Select MENU or press MAIN MENU on the keypad.
3. Using the keypad, enter the master code.
4. Use the up and down arrows to scroll through the menu until the System Settings
screen is displayed. Select OK.
5. Use the up and down arrows to scroll through the menu until the Set Auto Arm Time
screen is displayed. To set the time, select OK.
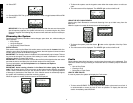
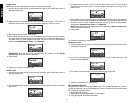
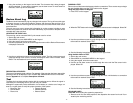
6. Using the numbers on the keypad, choose the time the system is to be automatically
armed, changing hours first and then minutes. The character that is being changed will
be underlined. To move back a character, use the down arrow. To move forward a char-
acter, use the up arrow. Select SET.
7. Choose AM or PM. Use the up and down arrows to toggle between AM and PM. Select
SET.
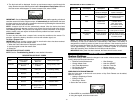
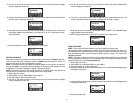
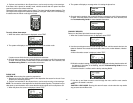
REVIEW ACCOUNT
The user is able to view the account information directly from the Base Unit. This includes
contact numbers, the account number, and the mobile identification number.
• Customer Service Information
• Account Number
• MIN – Mobile Identification Number
1. Start at the main screen.
2. Select MENU or press MAIN MENU on the keypad.
3. Using the keypad, enter the master code.
4. Use the up and down arrows to scroll through the menu until the System Settings
screen is displayed. Select OK.