


111252-01A
For more information, visit www.desatech.com
For more information, visit www.desatech.com
23
23
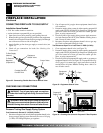
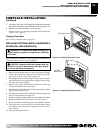
FIREPLACE INSTALLATION
Continued
FIREPLACE INSTALLATION
Removing/Replacing Glass Door (Cont.)
Installing Optional Brick Liner Models BL36D(S) and BL36DH(S)
INSTALLING OPTIONAL BRICK LINER MODELS
BL36DA(SA) AND BL36DHA(SA)
WARNING: If fireplace has been running, turn
off and unplug fireplace. Let cool before installing
brick liner.
This brick liner kit is optional. You may purchase brick liner from
your local retailer or see Accessories, page 39.
CAUTION: Always handle brick panels with two
hands. Do not force brick panels into place. Exces-
sive force will break brick panels.
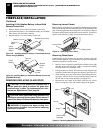
1. Remove top and bottom louvers to allow access to door latches.
2. Unlock door latches and open glass door. See Removing/Re-
placing Glass Door, steps 1 and 2 on page 22.
3. If installing brick liner in new fireplace, go to step 4. If install-
ing brick liner in an existing fireplace, carefully remove logs,
lava rock, and ember material.
4. Remove three screws from deflector shield on the inside top
of firebox. Set shield and screws aside.
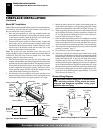
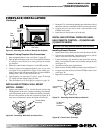
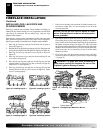
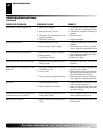
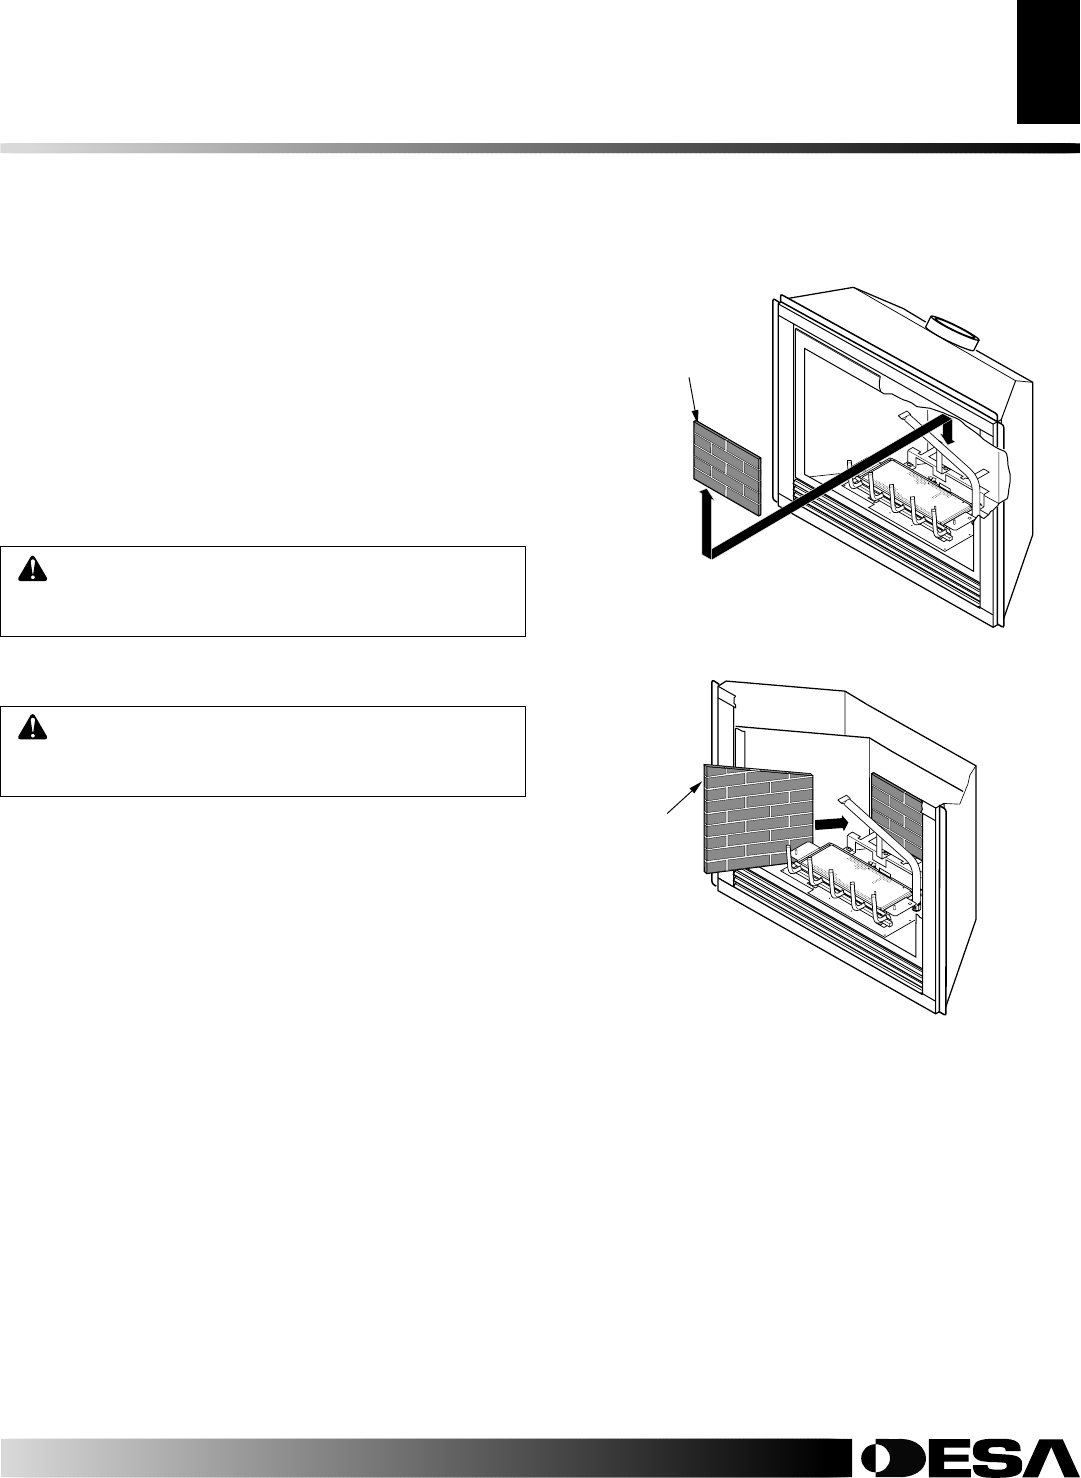
5. Install rear brick panel first. Rest bottom edge of panel on back
edge of grate (see Figure 43).
6. Install left side brick panel by sliding it between the grate and
the side of the firebox (see Figure 44).
7. Install the right brick panel using the same method described
8. Replace deflector shield using screws removed in step 4.
9. Follow instructions to install logs, lava rock, and ember material.
10. Close glass door and lock latches on top and bottom of door
and replace screen. See Removing/Replacing Glass Door,
steps 5 and 6.
11. Close top and bottom louvers.
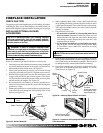
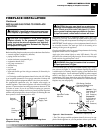
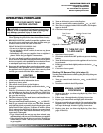
5. Close glass door frame. Lock latches by placing the bar under the
tab on door and pushing down and back on latch (see Figure 42).
6. Replace screen/rod assembly by reversing step 1.
7. Replace louvers by reversing procedure under Removing
Louver Panels, page 22.
Cleaning Glass Door
See Cleaning and Maintenance on page 28.
Figure 43 - Installing Rear Brick Panel
Figure 44 - Installing Side Brick Panels
Rear Brick Panel
Left Side
Brick Panel